Rebellion was was released earlier this month, and there are a whole lot of new cards to play with. That means new summoners and monsters on the field, with a host of new abilities and fun interactions. Today, I will be sharing a battle which includes a few of those Rebellion cards - as it just so happens our battle for today was from a Rebellion-only tournament battle, which means that every single card featured today is from the Rebellion set! In this post we will be highlighting a few of the new cards, as well as their usefulness in battle. In a brand new format, it is even more important than usual to be aware of the meta and all of the available options you have at your disposal - the last thing you want to do would be to get blindsided by a strategy or card combination that you never saw before!
If you wanted to jump right to the action, the Battle Link is right here. Want to hear some more about the lineup? Read on further!
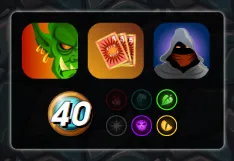
First up: the ruleset. We have Up Close & Personal, which means that only melee monsters may be used in this battle. We also have Odds Ones Out - even mana costed monsters only!, and Silenced Summoners - summoner abilities will have no effect for this fight. Finally, we have a relatively high mana cap of 40 to work with, and 3 splinters to choose from - Earth, Death, and Dragon.
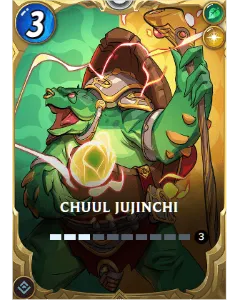
Silenced Summoners is interesting to see here, because in Rebellion we have a cycle of great summoners for this situation. The dual element summoners introduced in Rebellion don't have any summoner abilities that may be negated in Silenced Summoners, and they still have their effect of allowing you to choose monsters from two different splinters for your team. For this battle I decided to go with Chuul Jujinchi, the Earth and Life summoner. While the particular rules for battle mean that I only get to use Earth and Neutral monsters, Chuul still allows me to use a summoner while costing me just 3 mana - certainly better than a summoner which costs 5 or perhaps even more mana.
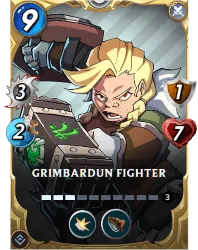
I led off with Grimbaedun Fighter. Grimbardun Fighter is a great tank to have in Up Close and Personal thanks to the Shield ability coupled with a respectable amount of bulk. Shield in Up Close and Personal should be a very familiar strategy from previous sets, and it should be great with Rebellion cards too. Grimbardun Fighter isn't lacking in the offense department either, packing 3 melee damage and 2 speed.
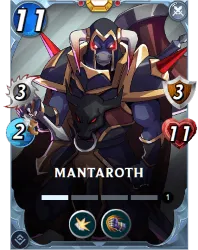
Up next was another tank, an excellent melee monster who is also the promo card I received from participating in the Rebellion presale. Mantaroth is fairly expensive, weighing in at 11 mana. But you get a whole lot of tank for that mana - 3 armor and 11 health is a whole lot of of bulk, not to mention the Shield ability. Mantaroth can also attack, going in for 3 per turn as well as packing the Armored Strike ability, which grants an additional attack based on armor.
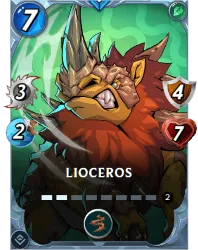
I finished off my team with an anti-melee monster at the back. Lioceros is a great attacker with the exact same 3 damage and 2 speed combination that the rest of my team has, but in this case the main value came from the Thorns ability. With Thorns and a good amount of armor and health, my goal with Lioceros was to intercept and potential Sneak or Opportunity attackers on the opposing team and kill them off with Thorns counter-damage.

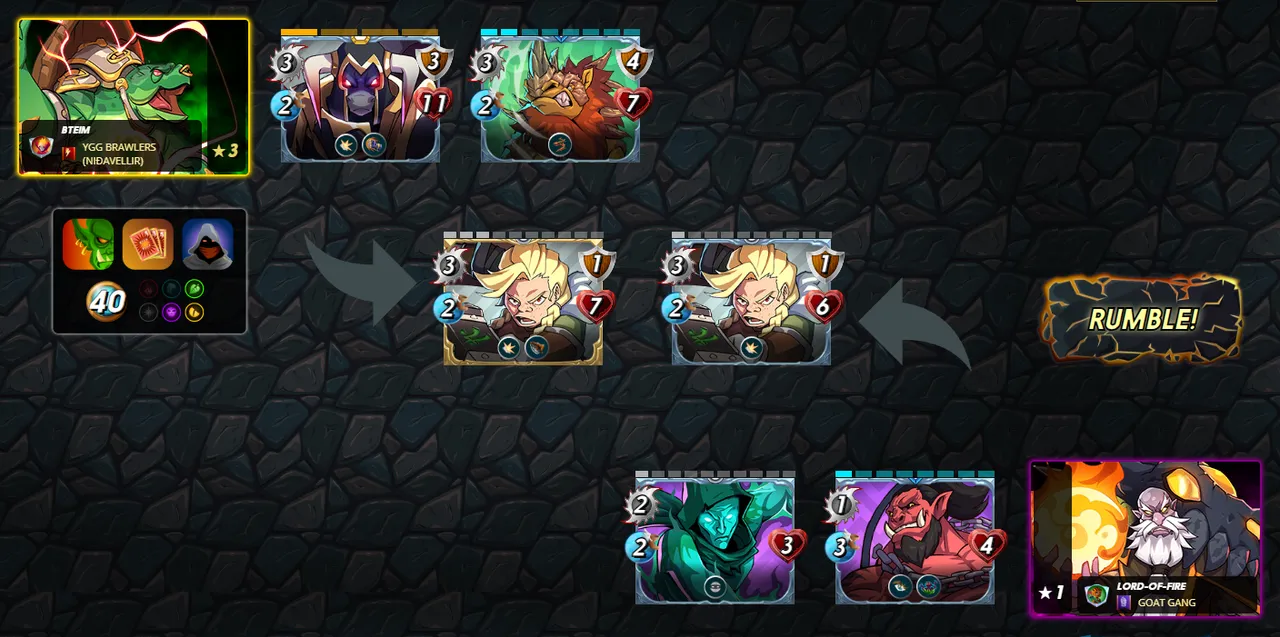
With the lineup set, it's off into battle! When I see the selected teams I feel pretty good about my chances. In Rebellion-only battles you tend to be working with a limited deck, and that applies doubly so with the Up Close and Personal and Odd Ones Out ruleset. As a result, both me and my opponent brought relatively sparse teams into the battle. But luckily for me, my monsters appear to have a big advantage in bulk. With plenty of beef at the front of my lineup and with Lioceros sitting pretty at the back, my team looks well positioned for success.
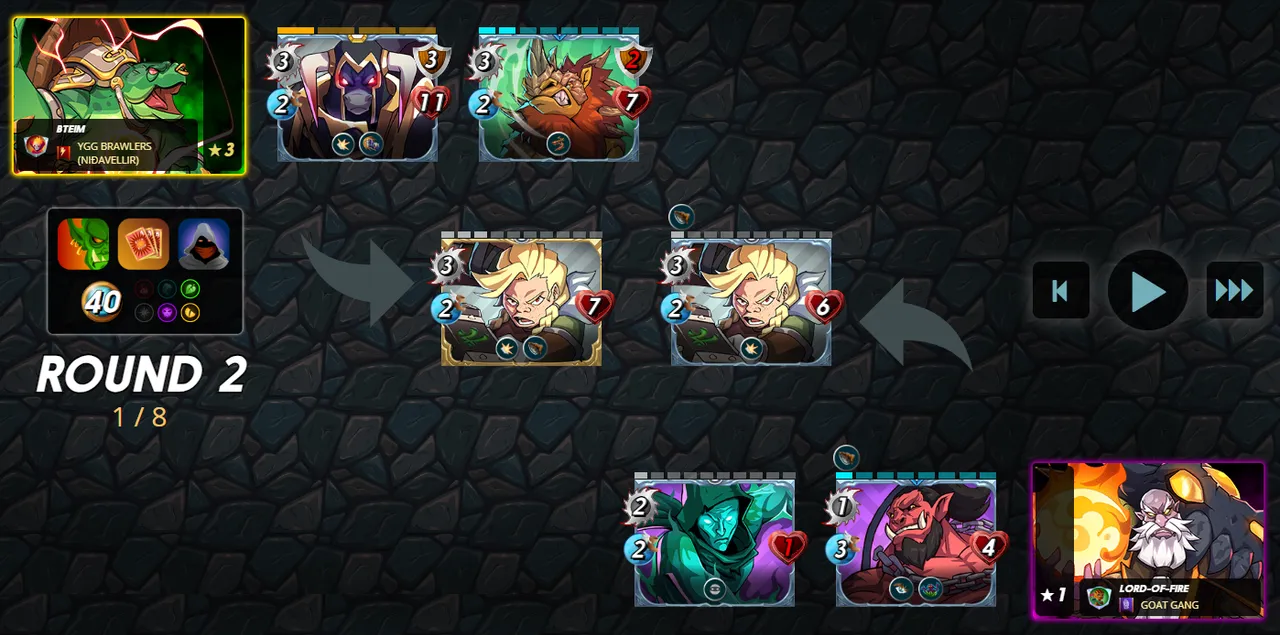
In the first round of battle my team gets off to a great start - Lioceros is giving as good as he (it?) gets at the back, beginning to damage the opposing Sneak attackers. At the front, my Grimbardun Fighter has a level advantage, and that doesn't even take into account the fact that I still have Mantaroth sitting back in reserve.
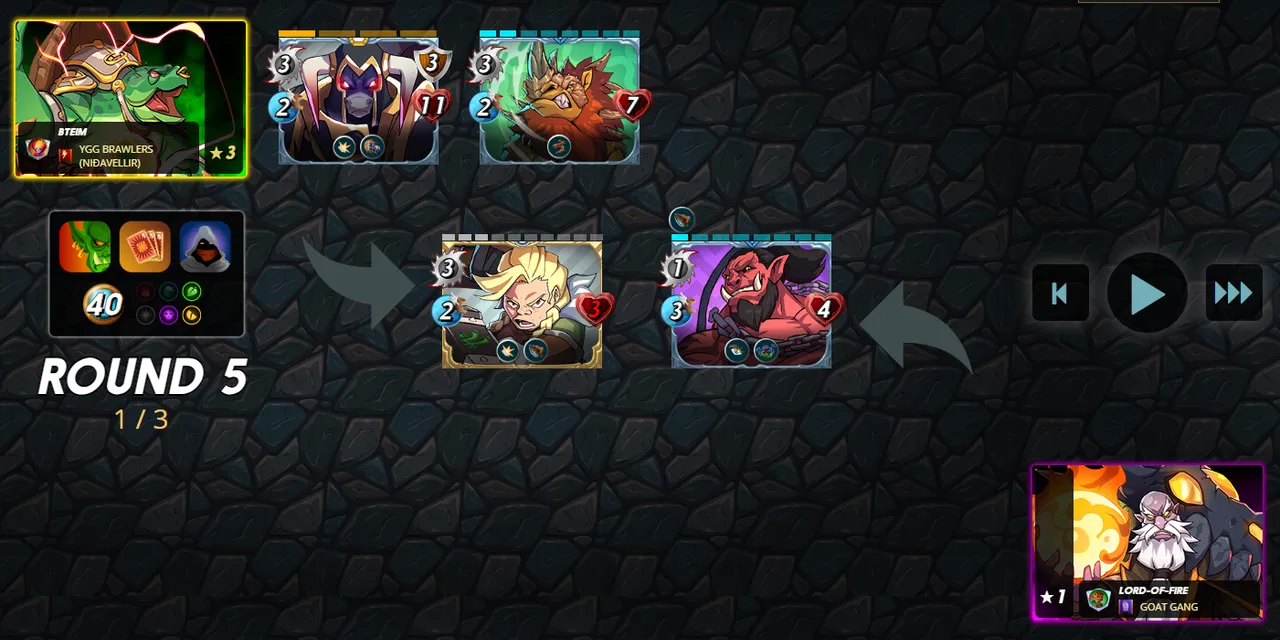
By round 4 the enemy team is looking considerably worse for the wear. The opposing Grimbardun Fighter is on its last legs. And while my own Grimbardun Fighter has also taken heavy damage, the rest of my team has yet to take any health damage at all!

One round later and my team had the battle on lockdown - the enemy Chaos Jailer with its single point of melee damage was all that remained on the other side of the battlefield, and against my Grimbardun Fighter with Shield its damage output was reduced to zero. Checkmate!
And again, if you wanted to see the whole battle for yourself, you can see it right here.
This battle highlighted the importance of having a broad collection. In a relatively restrictive rule combination, your monster options can become very limited. I was able to pull off the victory in this fight mainly due to the fact that I was able to spend more of my available mana cap and bring a bulkier team onto the battlefield. We were using all new Rebellion cards for this fight, but in the end it was one of the oldest strategies in the book - plenty of Shield monsters and bulk to win in a melee-only battle.

Thank you so much for reading all the way to the end. Interested in seeing some more of my writing in the future? Be sure to give me a follow! In the meantime, if you'd like to see some of my recent posts:
A Bit of a Headscratcher - Battling with Rise of the Commons! - A Splinterlands battle analysis, featuring the brand new Rebellion cards!
Eyes On the Prize - Setting your Splinterlands Goals - Starting out in Splinterlands? Be sure to come up with a plan!
Rebellion Sale Plans and Goals - My plans and goals as we approach the Rebellion release!
Thinking about giving Splinterlands a try but haven't signed up yet? Feel free to use my referral link: https://splinterlands.com?ref=bteim, and be sure to reach out to me if you have any questions!
All images used in this article are open source and obtained from Pixabay or Unsplash. Thumbnails borrowed with permission from the Splinterlands team or made in Canva.