Un gran sa-sa-sa-saludooooo para toda la buena people de HIVE, especialmente a los friends de la comunidad de HIVEARTE, mucho arte, mucho talento, mucho yeahhhh!!! Agradezco a todos los que se acercaron y valoraron y comentaron mi post anterior: Proceso de Art, Técnicas: Tradicional + Digital / Art Process, Techniques: Traditional + Digital, si no le han visto, igualmente están super invitados a visitarlo, solo den click y ya estarán por allá. yesssssss.
Hoy continuamos con nuestros experimentos artísticos, ya saben, mezclando técnicas tradicionales con nuevas tecnologías y arte digital, cosa que me encanta. Hoy intentaré darle vida a un dibujo tradicional que haré mostrando todo el proceso desde cero. ¿Y como le vamos a dar vida? pues haciendo una animación y dándole movimiento en un vídeo. Y es que con la tecnología actual, ahora se pueden reducir los procesos de trabajo, y lo que antes en una animación podía llevar horas y días de trabajo, actualmente puede llevarse solo unos poco minutos.
Mi idea con esto es ver que tan factible es, si queda con una calidad aceptable, y en cuanto tiempo se puede realizar. Justo ahora son las 10:30 am del miércoles 14 de mayo, así queeee... manos a la obra!!
IDEA
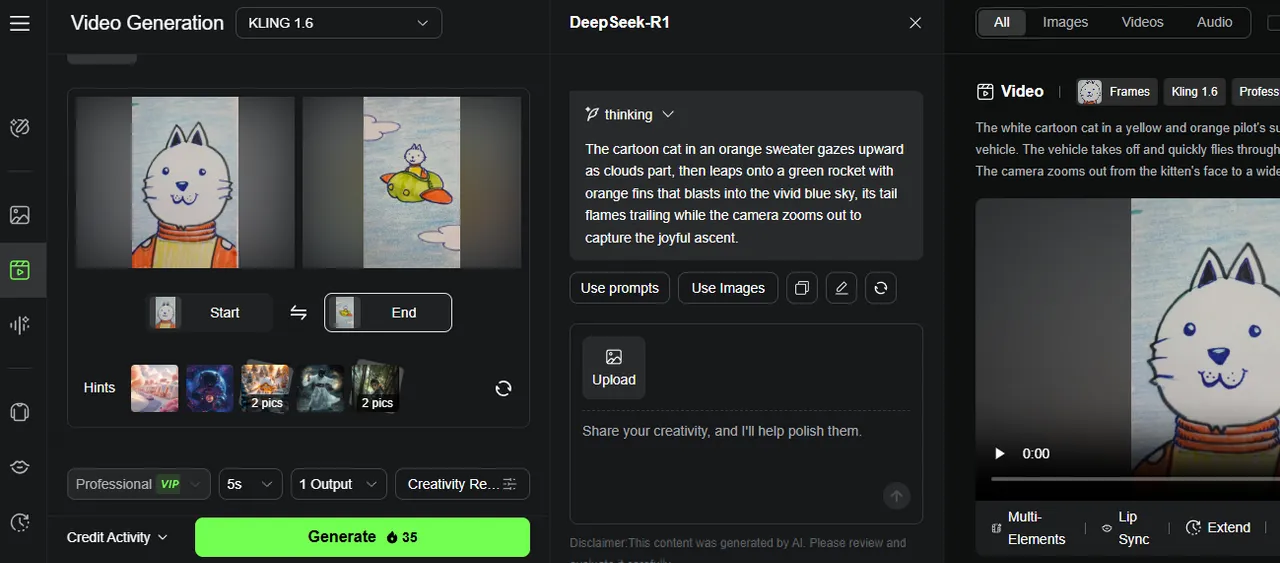
La idea que tenemos acá, es aprovechar la herramienta que nos ofrece KLING AI, uno de los mejores generadores de vídeo de la actualidad. La herramienta consiste en proporcionar a la plataforma dos imágenes. La primera imagen corresponde al frame inicial del vídeo, y la segunda al último, entonces, la AI de KLING se encarga de crear la animación entre estas dos imágenes, y claro, añadiendo un prompt de texto que ayude a la AI a comprender las imágenes que debe generar entre un frame y otro.
Aquí les traigo un ejemplo, ya que anoche ya hice una prueba y el resultado fue bueno, no es la octava maravilla, pero si bastante satisfactorio, y encendiendo bombillos de lo que se puede hacer y lograr. Es por esto que he querido hoy hacer este experimento y que ustedes puedan ver todo el proceso. Pero vamos al ejemplo que nos estamos desviando del tema, jaja.
EJEMPLO
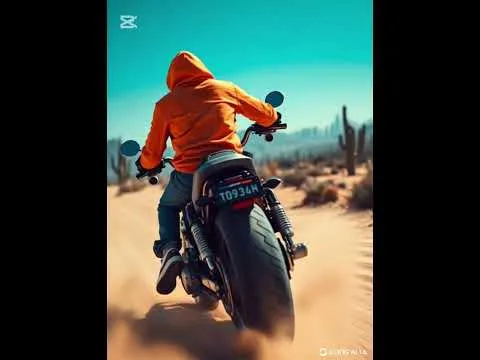
Ayer en la app de QWEN cree un par de imágenes, en las mismas se muestra a un personaje bastante peculiar conduciendo una moto. En la primera imagen está de frente en una vista de tres cuartos aproximadamente, mientras que en la segunda ya se encuentra de espaldas, todo en el mismo escenario.
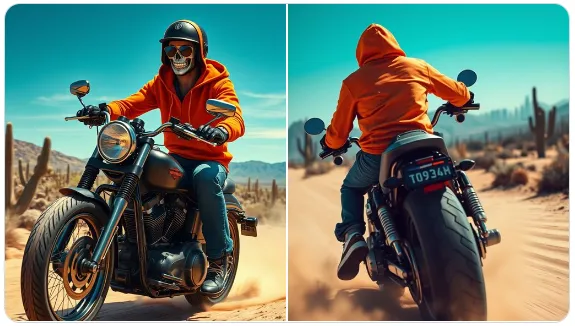
Entonces, esas imágenes las llevamos a la app de KLING, y allí hacemos la magia, generando un vídeo de 5 segundos entre las dos imágenes. Y para hacer un vídeo un poco más largo de 10 segundos, generamos un segundo vídeo de 5 segundos a partir del segundo vídeo. Estos dos vídeos los unimos en un editor de vídeo - nosotros utilizamos la app de CAPCUT - y así logramos tener una pequeña secuencia coherente de dos segundos. Acá el resultado en nuestra cuenta de youtube:
Que les ha parecido? dejen sus opiniones abajo en los comentarios plisssss.
Now, vamos intentar hacer algo similar con dibujos tradicionales, VAMOS AL ROLLO!!!
DIBUJO con TÉCNICA TRADICIONAL
Utilizaremos como materiales una hoja blanca para reciclar - ya saben, vivimos en unos tiempos que no se puede desperdiciar nada, ok? - y marcadores de colores.
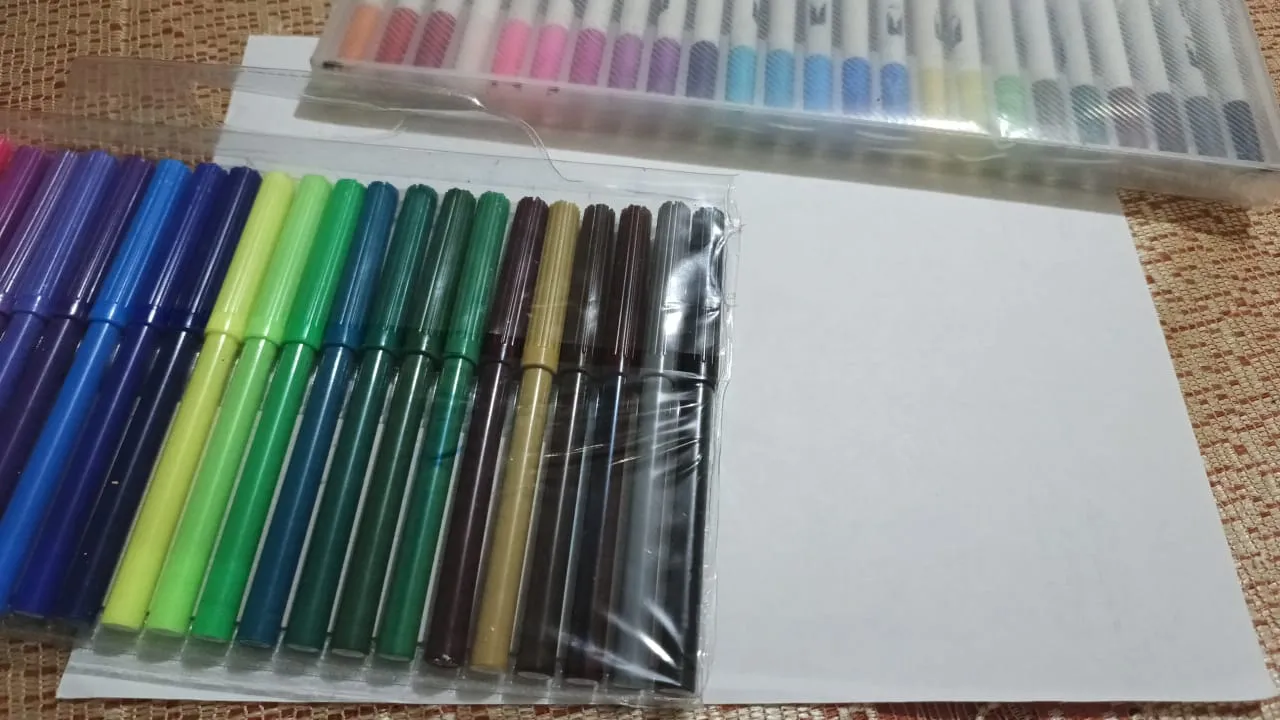
De la misma manera que en el post anterior en HIVEARTE, haremos el sketch con marcador azul claro. Normalmente lo haría con lápiz de grafito, pero entonces no se ve muy bien en las fotos, y la idea es que ustedes puedan apreciar bien el proceso, y con el azul se ve un poco más, no mucho pero si mejor que con el lápiz. Así que dicho esto... iniciamos!
La idea será hacer tres dibujos, de manera que luego podamos generar animaciones entre ellos y ver la posibilidad de crear un loop. No estoy seguro si pueda hacerlo, porque los créditos de KLING para generar estos vídeos son limitados y les cuento, tengo por ahora una cuenta gratuita, así que hay que trabajar con lo que se puede.
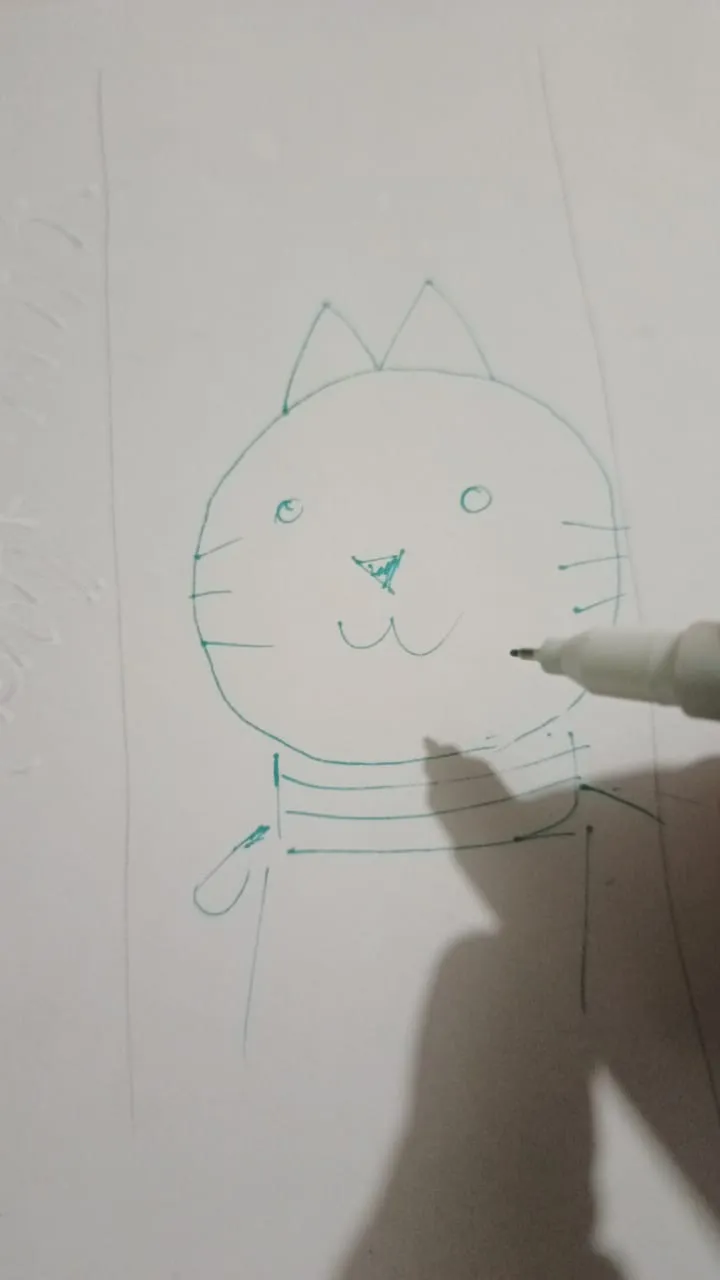
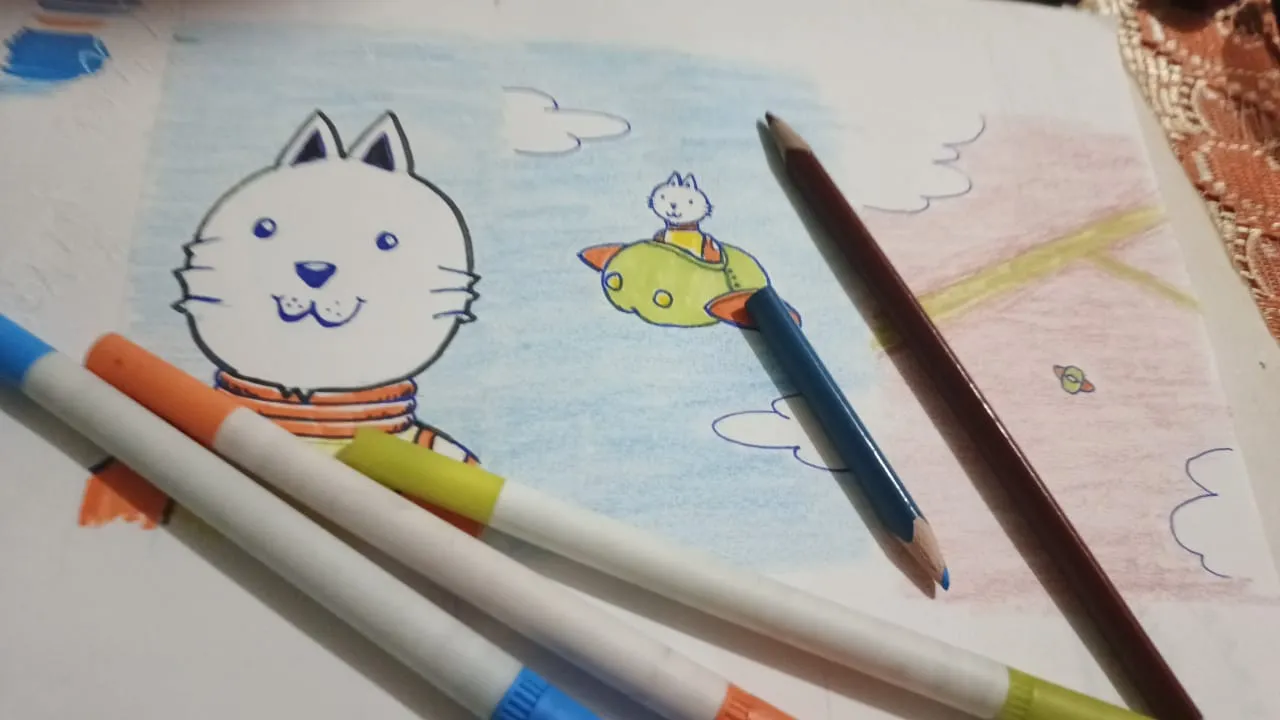
Dibujaremos un primer frame con el primer plano del rostro de un gatito piloto, luego haremos un segundo frame con el mismo gatito pero más lejos ya pilotando una nave o vehículo aéreo, y finalmente haremos un tercer frame con este vehículo bastante lejos, a ver que tal.
FRAME 1
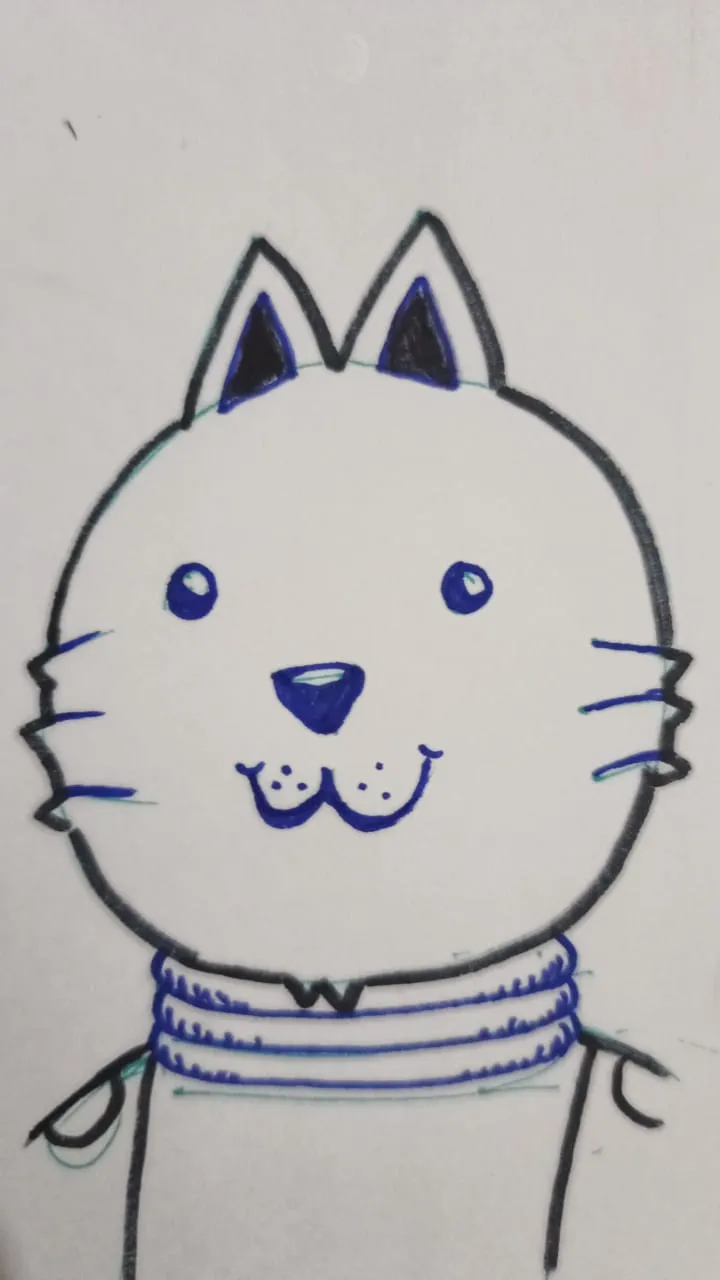
Comenzamos haciendo el sketch del primer plano del gatito. Como la idea es hacer un vídeo short o reel, lo haremos en formato vertical.
Ahora vamos hacer los detalles con marcadores oscuros: negro y púrpura o morado oscuro.
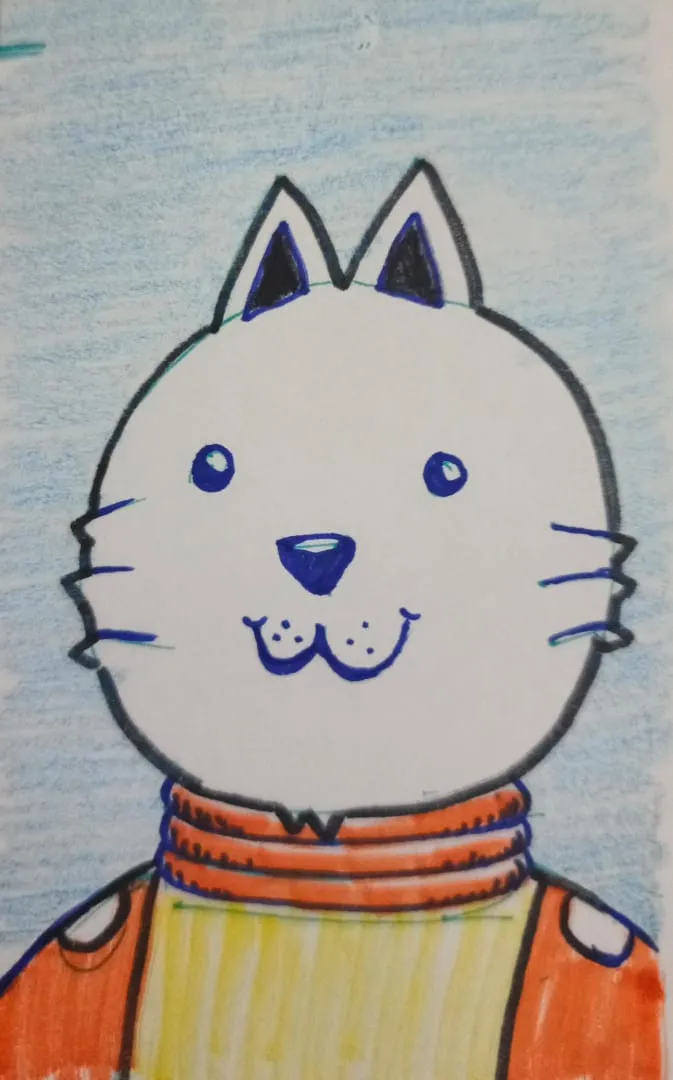
Luego le añadimos un poco de color con marcadores, y el fondo del cielo con un creyón azul claro. Y así ya tenemos listo nuestro frame inicial.
FRAME 2
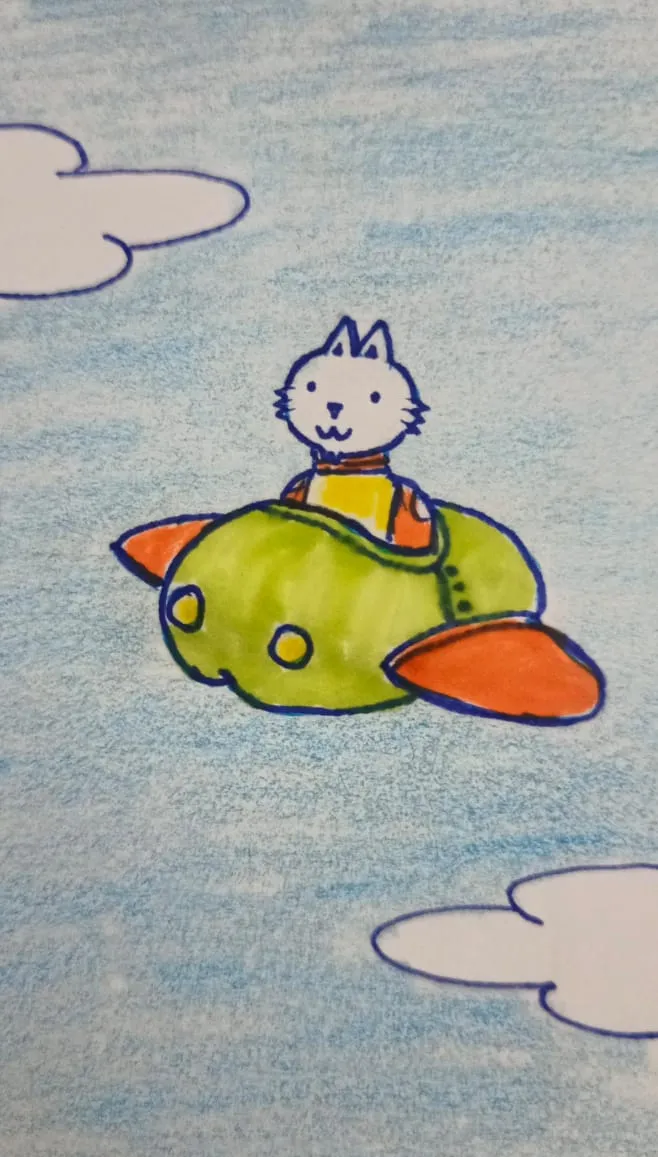
Ahora toca el gatico más alejado en su vehículo aéreo. Vamos con el sketch.

Vamos ahora igualmente, marcadores de colores y oscuros para el gato y la nave y el creyón azul para el cielo.
FRAME 3
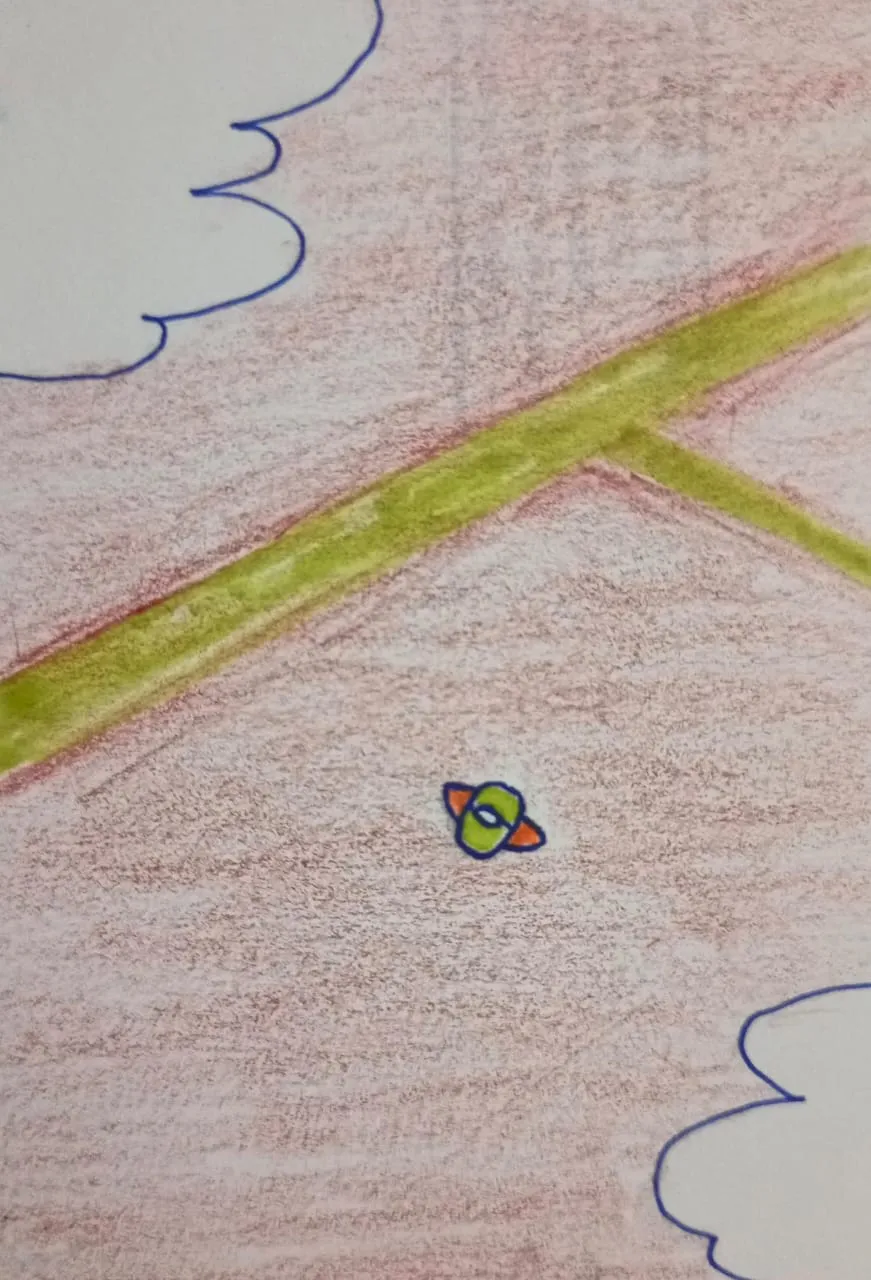
Vamos con el tercer cuadro, vamos hacer que la cámara se mueva hacia arriba y haga una toma aérea sobre la nave y que se vea abajo el terreno que sobrevuela, es un reto para ver como la AI de KLING lo hace.
Lo hemos hecho con los marcadores, la nave se ve desde arriba desde bastante alto, y se ven algunas nubes y abajo terreno y caminos, coloreado todo con markets y creyones.
Viendo los dibujos terminados y luego de tomarles las fotos, de verdad no se como va quedar esto en la animación. Tengo mis severas dudas de como la AI va interpretar las imágenes, en especial la última vista aérea, supongo tendré que ser bastante minucioso al escribir el prompt, ya que la imagen es bastante simple y si se quiere abstracta.
Me parece que, la animación puede quedar con un stylacho interesante, o puede ser un desastre total, de esos donde las AIs suelen perderse o crear una transformación incoherente. Pero bueno, para eso son los experimentos, veamos que pasa.
KLING
Vamos ahora llevar las imágenes a KLING para ver como quedará esto. Repito, tengo mis serias dudas, jeje, mas que todo por el color de las imágenes y la forma, que no es lo típico que se le da a las AIs para que generen vídeo. Pero aquí estamos friendssssss. Subimos el dibujo 1 y el dibujo 2, que serán respectivamente el frame de inicio y el frame final, en un primer vídeo de 5 segundos.
ERROR!!!
Y lo que temíamos ocurrió. El vídeo que se generó no tuvo buena coherencia, produjo una aberración, y no tengo dudas ahora a que se debe a las irregularidades en la imagen, pintada con creyones, crea una distorsión muy fea entre ambas imágenes, y la AI no supo como empatarlas.
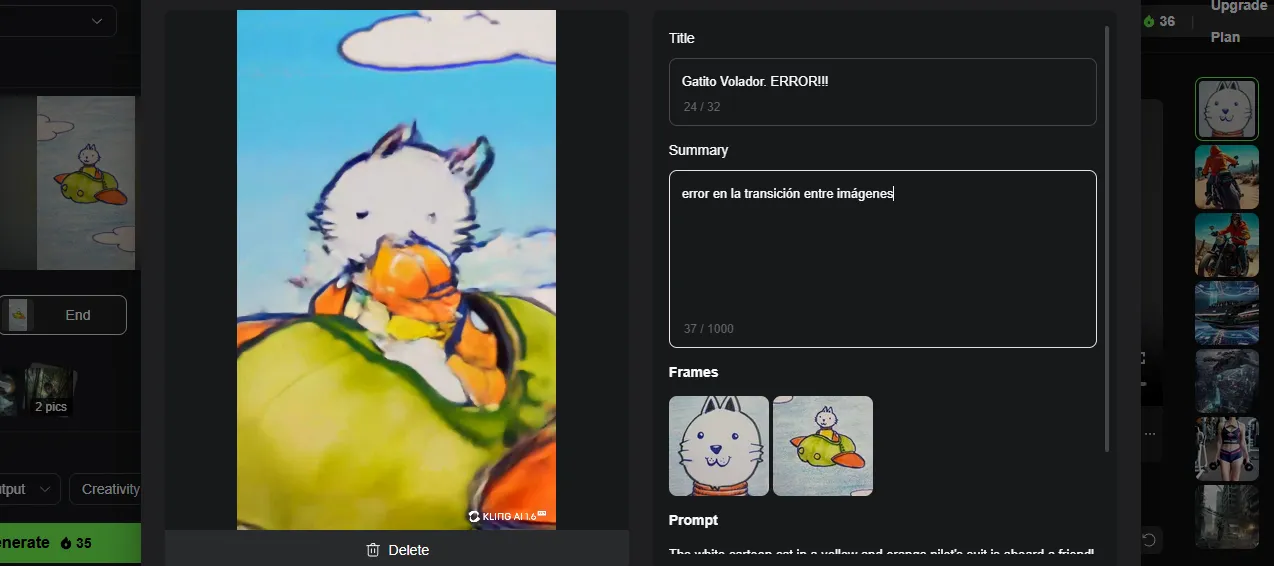
Subí el resultado a X (twitter) para que puedan ver el error, ya que la publicación en KLING iba a tardar, y probablemente no lo publicarían por la falla.
https://x.com/mostrorobot/status/1922722770800062525
Bueno, vista esta situación, un error surgido entre estos dos dibujos que eran los más parecidos, no quiero imaginar lo que pasará con la otra imagen que es mas abstracta y que tal vez menos las asocie e identifique. Por lo tanto, dejaremos el experimento hasta acá, y así evitar desperdiciar los créditos del mes que me quedan, que apenas son 36 créditos. Es decir, igual no me iba a alcanzar para hacer los tres vídeos que tenía previsto para hacer el loop.
CONCLUSIÓN
El experimento falló, no salió la animación como debería, pero lo positivo, sabemos porqué, las imágenes deben ser bien definidas y claras para que la AI pueda interpretarlas correctamente y en consecuencia generar los vídeos con coherencia.
Espero que les haya gustado el post, y que como yo, he aprendido del experimento. Espero próximamente realizar otro, pero tal vez con los dibujos más definidos, posiblemente creados a partir de otras AIs o realizados directamente con software, vectorizados, etc etc, y así seguramente los resultados serán mejores.
Saludos! los leo en los comentarios, yeahhh!!
NIGHTCAFE STUDIO
Utiliza mi enlace de referidos para sumarte a NightCafe Studio y comenzar a generar imágenes y vídeos sin costo alguno:
https://creator.nightcafe.studio/?ru=mostrorobot
Para encargos de arts, diseños, conceptos, animaciones, edición de vídeos y másssss, puedes contactar a MOSTRO por acá en Telegram:
https://t.me/mostrorobot
https://t.me/mostrorobot
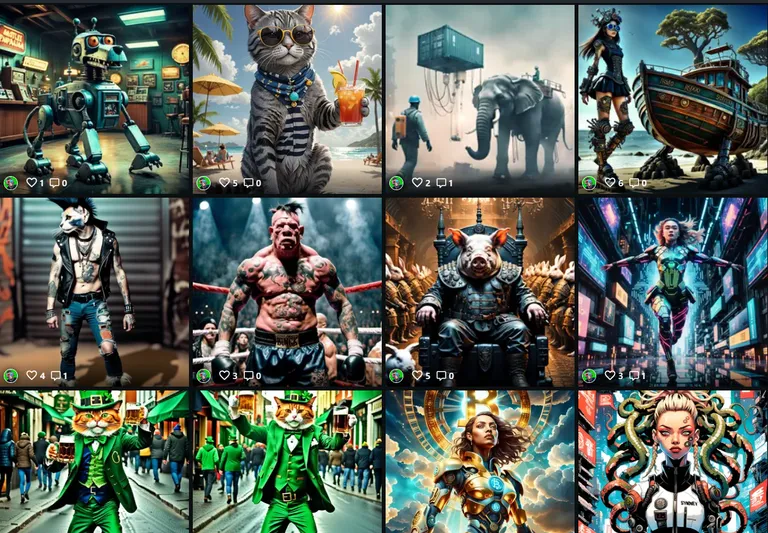
Las imágenes del post fueron realizadas por MOSTROROBOT utilizando herramientas como FLUX, Remixai, Leonardo, Playground, PicFinder, DreamByWombo, NightCafe Studio, Starryai, Copilot, Gemini, Qwen y otros.
Instagram + Telegram + X + NightCafe
ENGLISH VERSION
big hello to all the good people at HIVE, especially the friends in the HIVEARTE community. So much art, so much talent, so much yeahhhh!!! I'd like to thank everyone who stopped by, rated, and commented on my previous post: Art Process, Techniques: Traditional + Digital / Art Process, Techniques: Traditional + Digital. If you haven't seen it, you're still welcome to check it out. Just click and you'll be there. Yesssssss.
Today we continue with our artistic experiments, you know, mixing traditional techniques with new technologies and digital art, which I love. Today I'll try to bring to life a traditional drawing that I'll make, showing the entire process from scratch. And how are we going to bring it to life? Well, by making an animation and giving it movement in a video. With current technology, workflows can now be reduced, and what used to take hours and days to create an animation can now take just a few minutes.
My idea with this is to see how feasible it is, if it's of acceptable quality, and how long it can take. Right now, it's 10:30 am on Wednesday, May 14th, so... let's get to work!
IDEA
The idea we have here is to take advantage of the tool offered by KLING AI, one of the best video generators today. The tool consists of providing the platform with two images. The first image corresponds to the initial frame of the video, and the second to the last. Then, KLING's AI is in charge of creating the animation between these two images, adding a text prompt to help the AI understand the images it must generate between frames.
Here's an example, since I already ran a test last night and the result was good. Not the eighth wonder, but quite satisfactory, and it lit up your mind about what can be done and achieved. That's why I wanted to do this experiment today so you could see the whole process. But let's get back to the example, we're getting off topic, haha.
EXAMPLE
Yesterday, in the QWEN app, I created a couple of images, each showing a rather peculiar character riding a motorcycle. In the first image, he's facing forward in approximately a three-quarter view, while in the second, he's facing backward, all in the same setting.
So, we take those images to the KLING app, and there we do the magic, generating a 5-second video between the two images. And to make a slightly longer 10-second video, we generate a second 5-second video from the second video. We join these two videos in a video editor—we use the CAPCUT app—and thus end up with a coherent two-second sequence. Here's the result on our YouTube account:
What do you think? Please leave your opinions in the comments below.
Now, let's try something similar with traditional drawings. LET'S GET DOING IT!!!
DRAWING WITH TRADITIONAL TECHNIQUE
We'll use a white sheet of recycled paper as materials—you know, we live in times where nothing can be wasted, okay?—and colored markers.
Just like in the previous post on HIVEARTE, we'll do the sketch with a light blue marker. Normally I'd do it with a graphite pencil, but then it doesn't show up very well in the photos, and the idea is for you to be able to appreciate the process. With the blue, it looks a little better—not much, but better than with the pencil. So, with that said... let's get started!
The idea is to make three drawings so we can then create animations between them and see if we can create a loop. I'm not sure if I can do it because KLING credits for generating these videos are limited. I have a free account right now, so we have to work with what we can.
We'll draw a first frame with a close-up of a pilot kitten's face. Then we'll do a second frame with the same kitten, but further away, piloting a ship or aircraft vehicle. Finally, we'll do a third frame with this vehicle quite far away. Let's see how it goes.
FRAME 1
Let's start by sketching the close-up of the kitten. Since the idea is to make a short video or reel, we'll do it in vertical format.
Now we'll add the details with dark markers: black and purple or dark purple.
Then we add a little color with markers, and the sky background with a light blue crayon. And that's it, our initial frame is ready.
FRAME 2
Now it's the kitty furthest away in its aerial vehicle. Let's get to the sketch.
Now let's go, using colored and dark markers for the cat and the ship, and the blue crayon for the sky.
FRAME 3
Let's move on to the third frame. Let's have the camera move up and take an aerial shot of the ship, revealing the terrain it's flying over below. It's a challenge to see how KLING's AI does it.
We've done it with markers. The ship can be seen from quite high above, and some clouds can be seen, along with terrain and paths below, all colored with markers and crayons.
Looking at the finished drawings and after taking the photos, I really don't know how this will turn out in the animation. I have serious doubts about how the AI will interpret the images, especially the last aerial view. I suppose I'll have to be quite thorough when writing the prompt, since the image is quite simple and, if you will, abstract.
I think the animation could end up with an interesting stylistic effect, or it could be a total disaster, one of those where the AIs tend to get lost or create an incoherent transformation. But hey, that's what experiments are for, let's see what happens.
KLING
Now let's take the images to KLING to see how this will turn out. I repeat, I have serious doubts, hehe, mostly because of the color of the images and the shape, which isn't typical for AIs to generate video. But here we are, friends. We uploaded drawing 1 and drawing 2, which will be the start and end frames respectively, in a first 5-second video.
ERROR!!!
And what we feared happened. The generated video was inconsistent, producing an aberration, and I have no doubt now that it's due to the irregularities in the image. Painted with crayons, it creates a very ugly distortion between the two images, and the AI didn't know how to match them.
I uploaded the result to X (Twitter) so you can see the error, since the KLING post was going to take a while, and they probably wouldn't publish it due to the error.
https://x.com/mostrorobot/status/1922722770800062525
Well, given this situation, an error that arose between these two drawings that were the most similar, I don't want to imagine what will happen with the other image, which is more abstract and perhaps less associated and identifiable. Therefore, we'll leave the experiment here to avoid wasting my remaining credits for the month, which are only 36 credits. That is, I probably wouldn't have had enough to make the three videos I had planned for the loop.
CONCLUSION
The experiment failed; the animation didn't turn out as it should, but on the positive side, we know why: the images must be well-defined and clear so that the AI can interpret them correctly and consequently generate coherent videos.
I hope you liked the post, and that, like me, I've learned from the experiment. I hope to do another one soon, but perhaps with more defined drawings, possibly created from other AIs or made directly with software, vectorized, etc., and then the results will surely be better.
Greetings! I'll read them in the comments, yeahhh!!