
I wanted to write this particular article for quite some time. @gerber changed the popularity boost quite a bit in the last few months. The main impact for most of us was the loss of a lot of citizens, which in turn put many of our cards out of service.
At the time, I used my already working Talend job to compute the best investment to get back to "0 People to hire".
To understand the tech part of this post, reading my last posts is quite useful : dCity card with the highest ROI/APR , part 3: Taxes and Tax Refund .
By the way, I've been silent for some time : I started a new development project with some colleagues and it took all my attention for the last 2 months, and it's not quite finished. Yet, I thought I should continue to entertain myself with my other little projects.
For the lazy readers amongst us here's the best investment to get more "unemployed" citizens :
With my current popularity (2891), a Basic Home gives me 8.7 new citizens. The current price on the market is 476SIM, which means you get 1.8 citizens per 100SIM.
The second best option is the Park, with 1.7 unemployed citizen per 100SIM. The Basic Home is a much better option considering it also give you a 1SIM Income. The park citizen impact is also only due to the popularity increase.
Population, Workers and Popularity explained
Before going to the details of the Talend job improvement, it's worthwile to explain the basic concepts here.
Population :
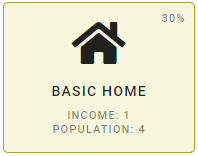
Some cards give you "population". The basic home on the previous screenshot gives you "4 population".
The sum of all the "population" on your card is the "Base Population" you see on the left of your dCity.
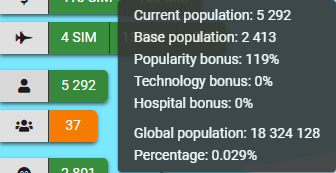
Yet, I have a current population of 5293. You can see the "current population" as the workforce your city attracts from other cities and villages. The more popular you are, the more people come work in your city. My "popularity bonus" is 119% so, my current population is :
base_population * (1 + 1.19)
Workers :
That's the easy part : many cards need "workers" to work correctly.
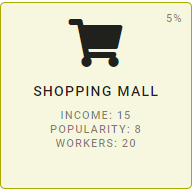
If you don't have enough workers, the card won't provide any benefit. If I don't have the 20 workers, I will have neither the 15 income nor the 8 popularity that the shopping mall provides.

So you should always have 0 People to hire!
Popularity :
The last important indicator is the popularity. Many cards give you popularity:

Popularity increases population (population boost) and defines how likely you are to receive Homeless, Immigrants and Student.
The popularity boost is defined as follow :
popularity ^ 0.6
My popularity is 2891, and 2891^0.6 = 119.
So you can compute your population this way :
current_population = base_population * ( 1 + ((popularity^0.6)/100) )
Wrapping it up :
A card may influence your current population by 2 means :
- A change in popularity
- A change in base population
A card my influence your employed/unemployed balance by 3 means :
- A change in popularity
- A change in base population
- A change in workers needed
The computation:
You don't need much :
- base population
- base popularity
- card population (and tech boost if any)
- card popularity (and tech boost if any)
- card workers (and tech boost if any)
This will allow you to compute a population increase :
(row20.base_population +  Var.population + Var.population_boost)
* (1+ Math.pow( row20.actual_popularity + Var.popularity  + Var.popularity_boost, 0.60)/100 )
- (  row20.base_population *(1+ (Math.pow(row20.actual_popularity, 0.60  ))/100 ))
First line is the "base population" after buying the card.
Second is your "popularity" after buying the card.
This gives you the total population.
Last line is your current population.
That's the population delta.
Then compute the unemployed delta :
Var.population_delta - Var.workers - Var.workers_boost
I've decided to normalize those 2 values to a 100SIM cost for comparison purpose :
Var.price == 0 ? 0 : Var.population_delta / (Var.price /100)
Var.price == 0 ? 0 : (Var.population_delta - Var.workers - Var.workers_boost ) / (Var.price /100)
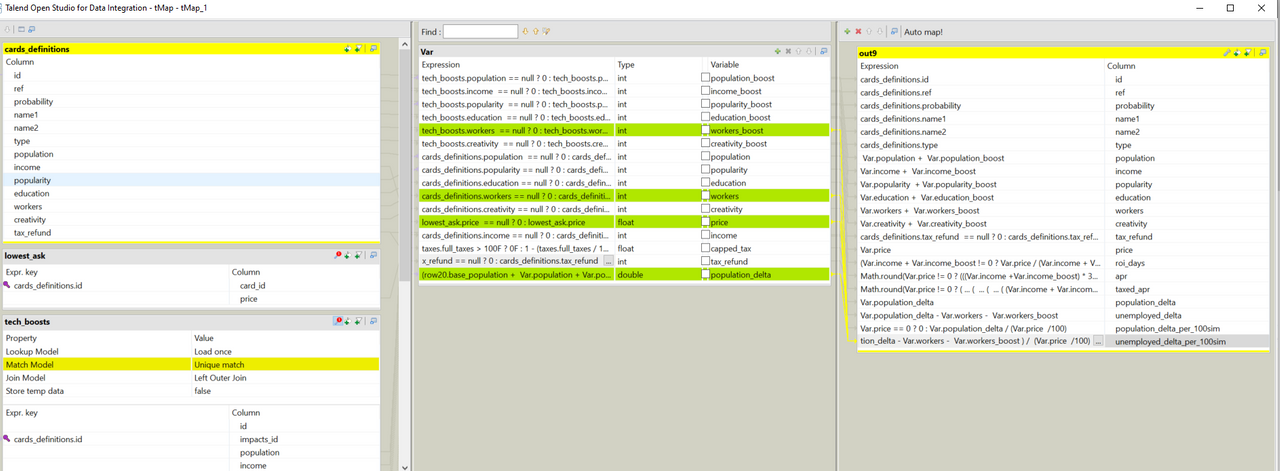
The tMap is the perfect place for those "complex" calculations.
As I explained in the previous articles, the Var section in the middle allows you to make intermediate computations. The declaration order is important as you can use the result of anothe Var, as long as it's been declared on top.
Conclusion :
This job already give me a lot of informations, and it's very easy to improve upon.
I saw this post earlier : Completion of the 2nd edition cards & list of improvements and I'll adapt my job accordingly, giving you the best cards for education and creativity.