Previous Designs: 3D Modelling
Hi Hivers!
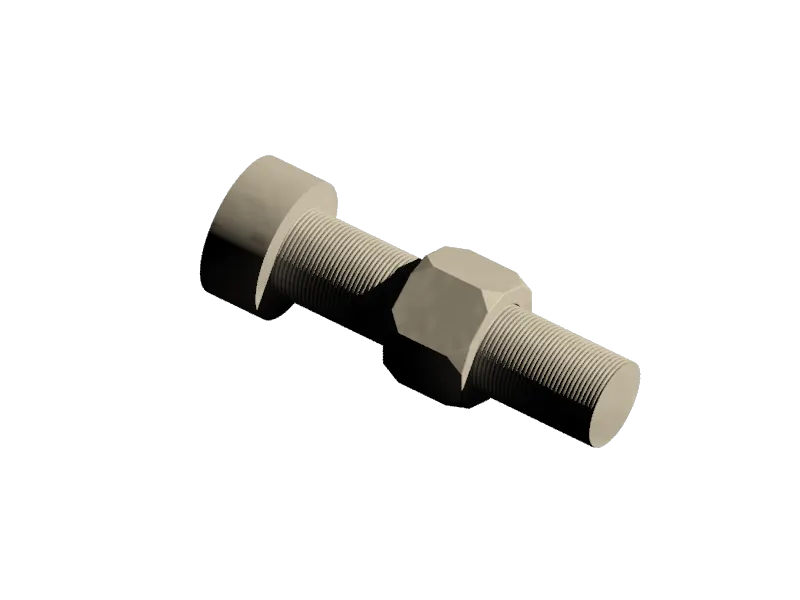
As what I have said, I will deliver to you the bolt design for the previous subject(Nut) I created earlier, because this two must be in pair together. And as an addition, I included the Nut subject for this design. I inserted the bolt to the threaded hole of the nut.
Also, I have decided not to include any video process for this subject and for the coming designs I'll be making. But, Ill be more keen in discussing step by step process of the design.
Tools I used for this subject:
Polygon, Extrude, Helix, Sweep, Subtract and some Basics
Process:
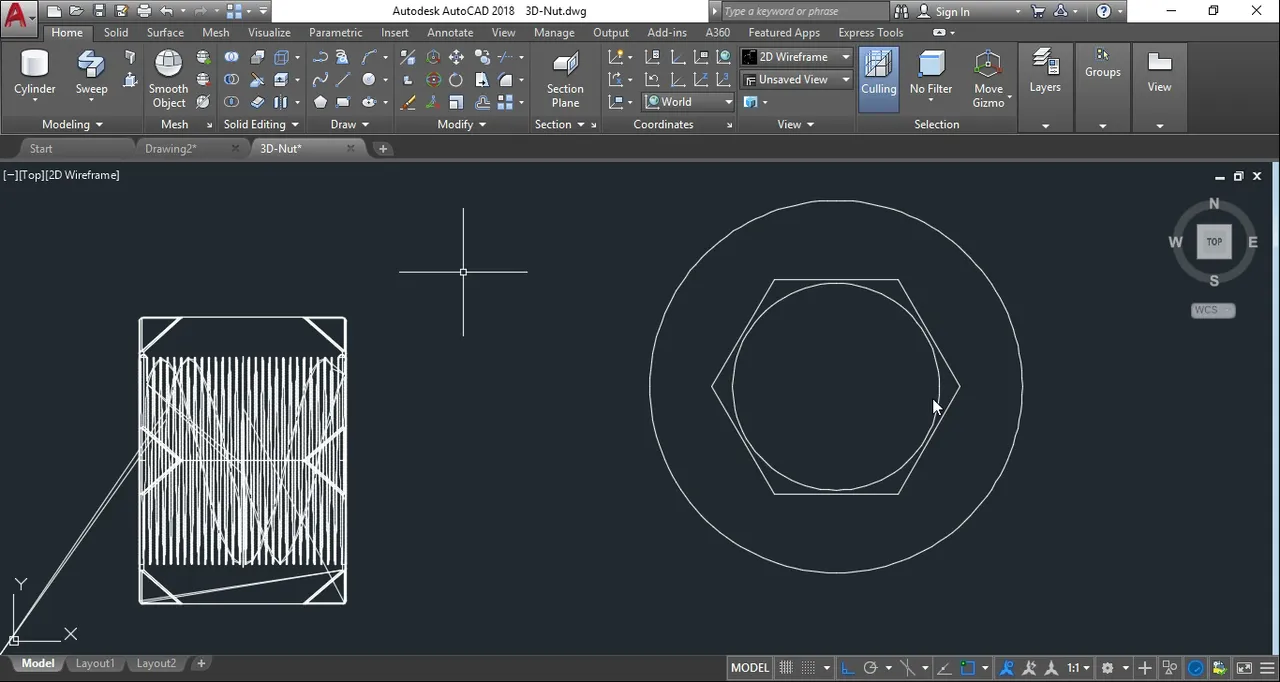
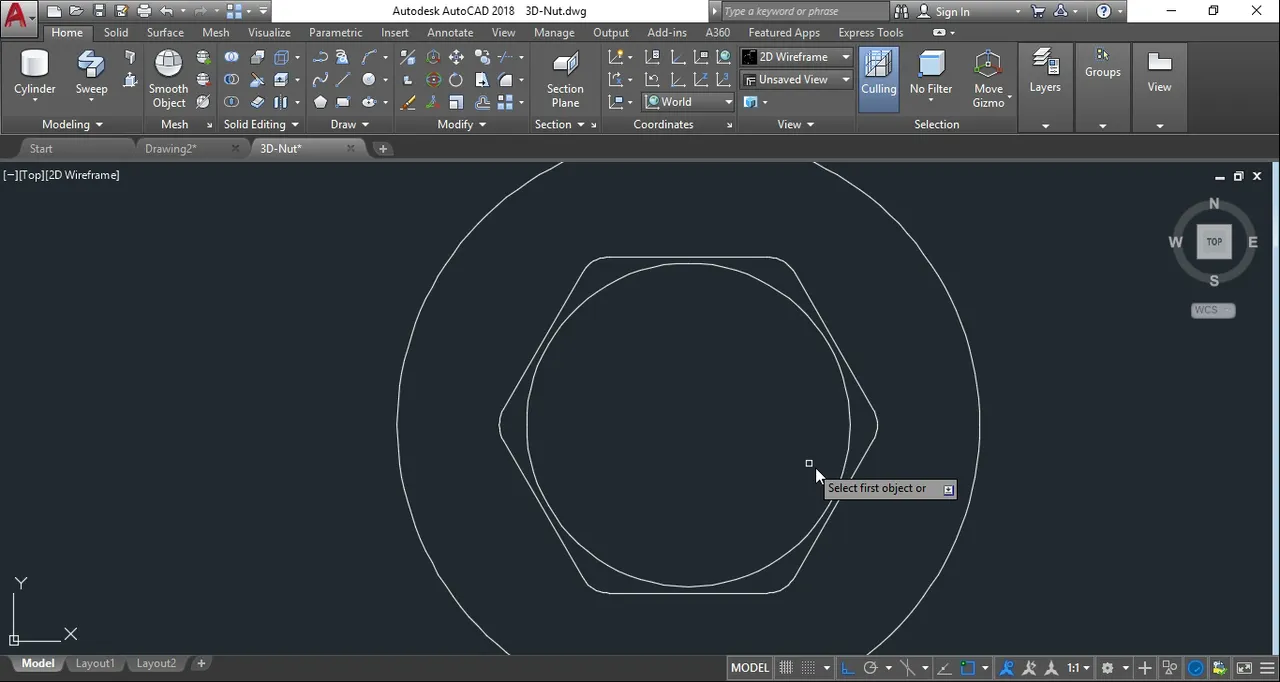
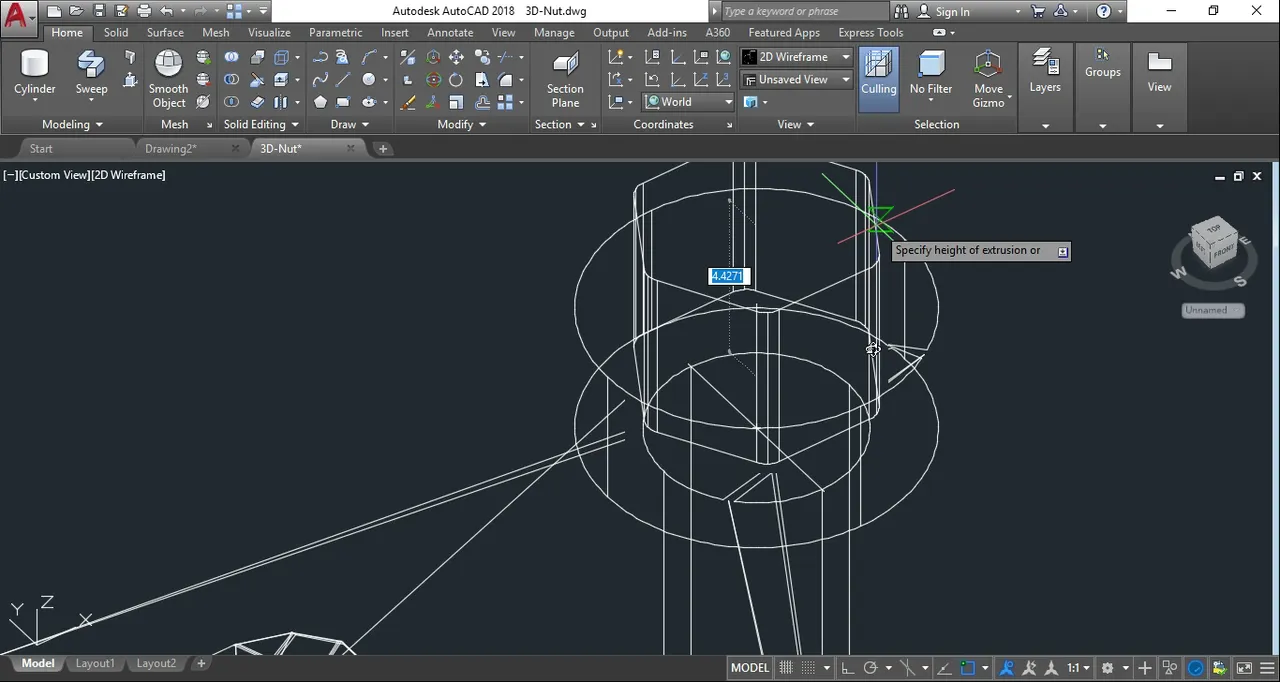
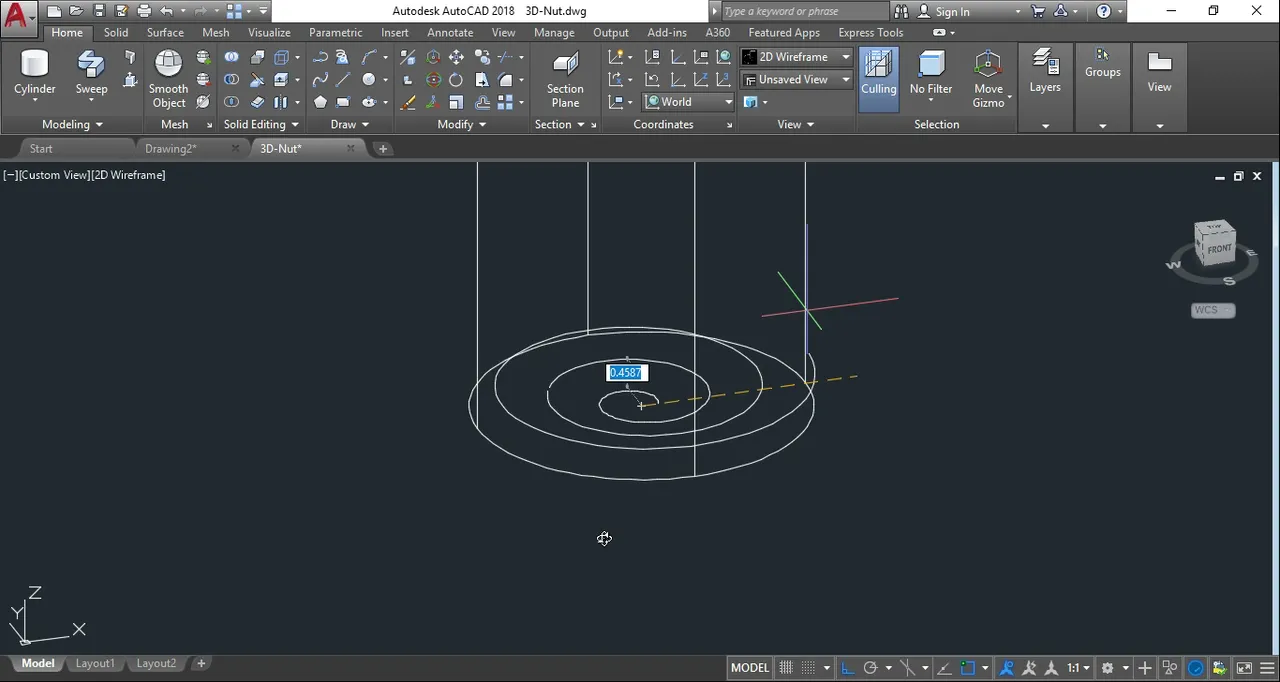
Create the top view of the bolt by making concentric circles and hexagon. Fillet the edges of the hexagon shape to have smoother look of the subject. Adjust the desired sizes of the circles. The head and the body to tail of the subject must be proportionate.
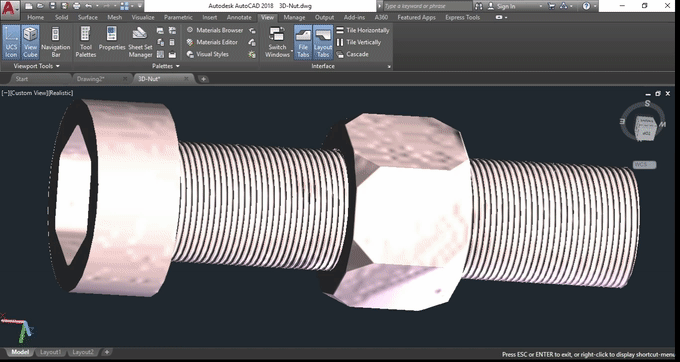
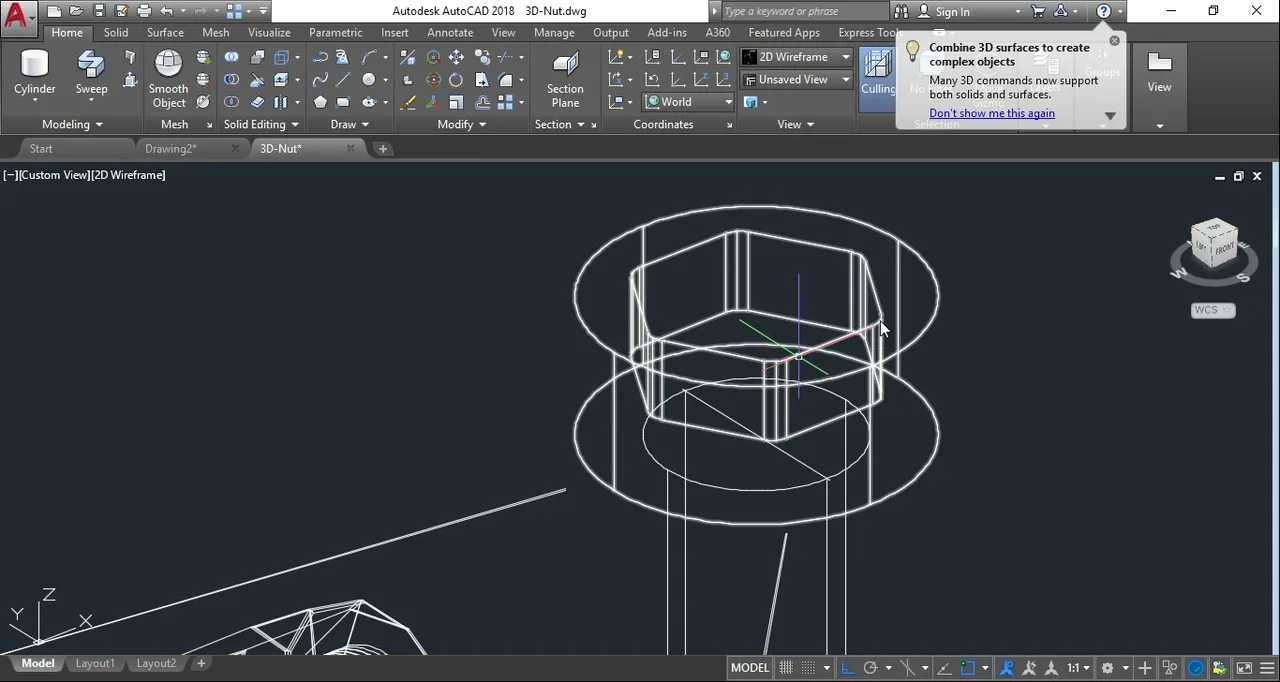
Extrude(cylindrical form) the shapes you created. Smaller circle will be the body and tail while the larger circle will be the head. The hexagon shape should have the same height with the larger cylinder. Then subtract the hexagon to the head. You can use union tool to unite the body and head of the bolt.

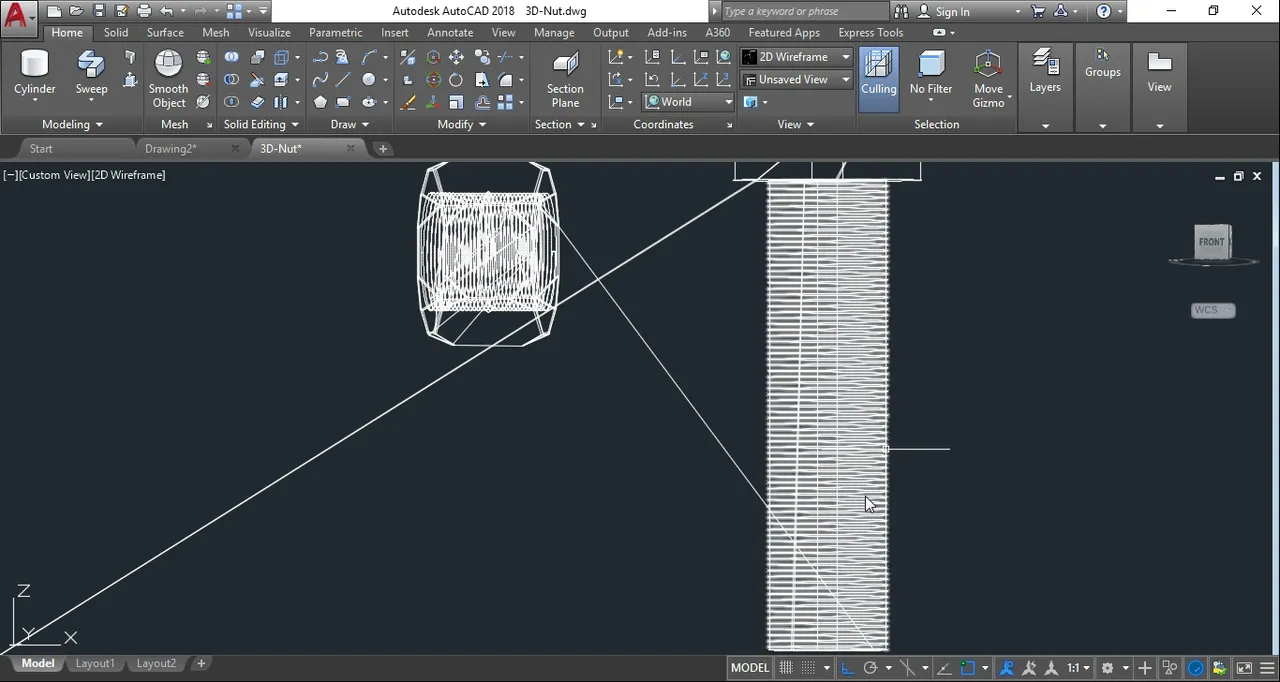
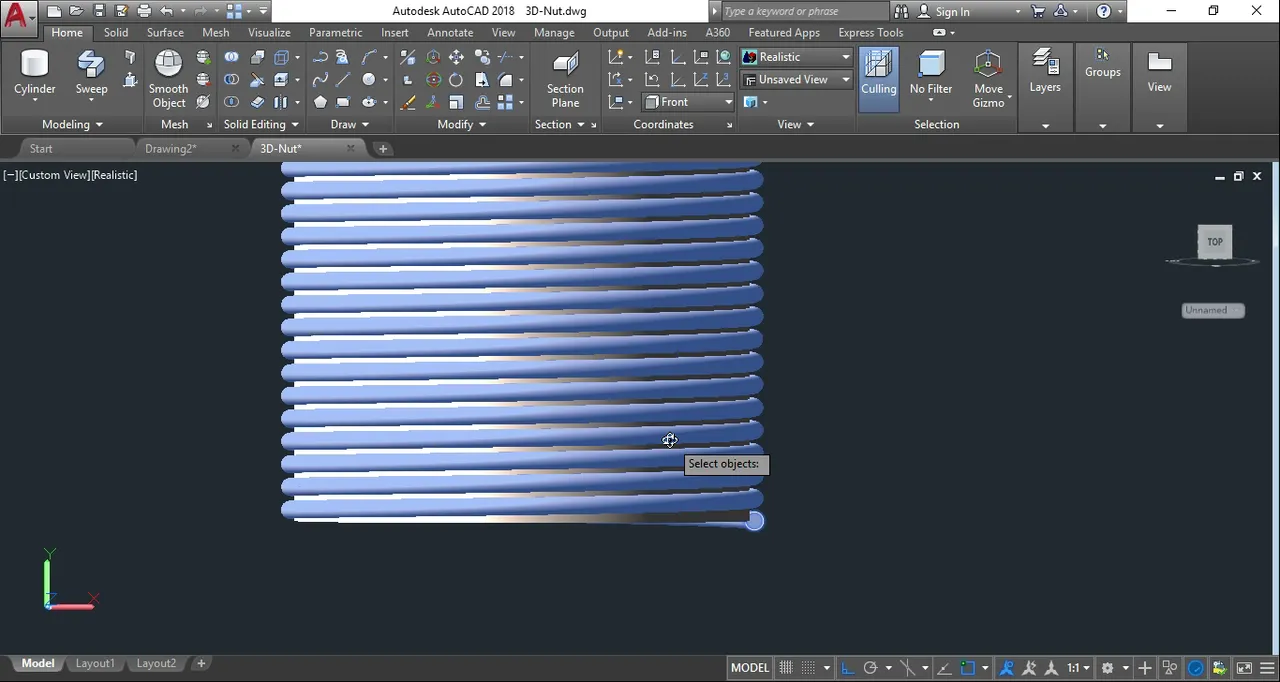
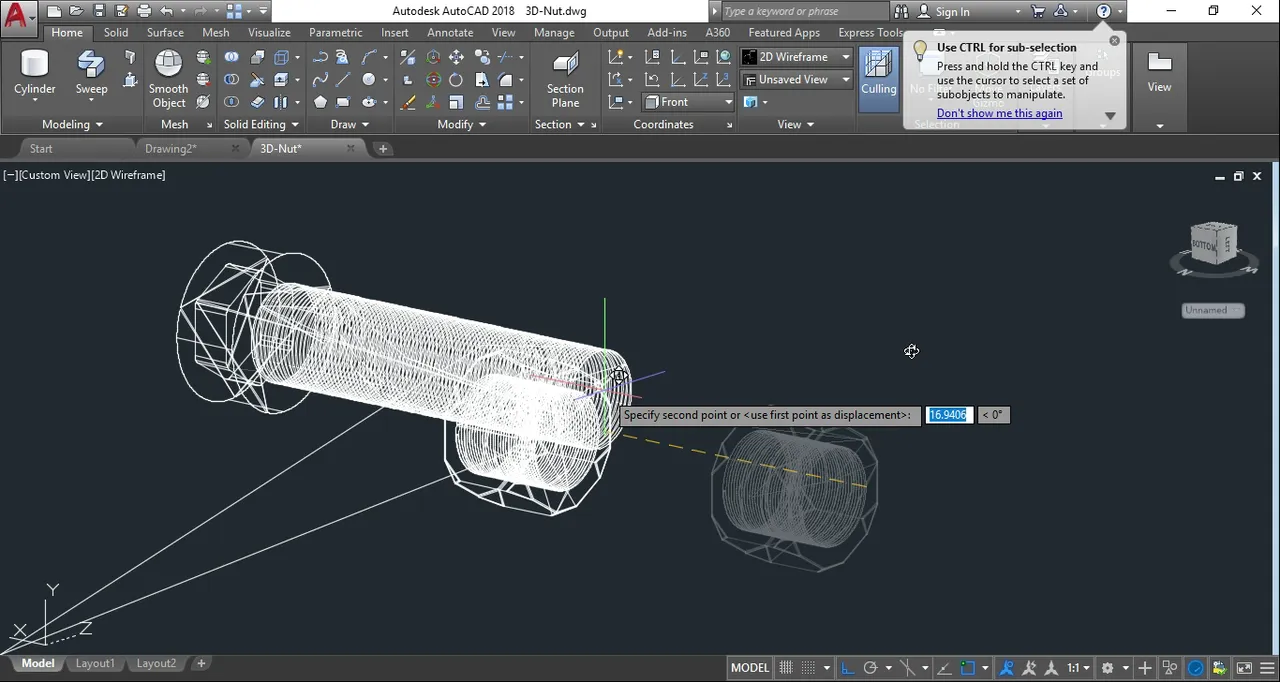
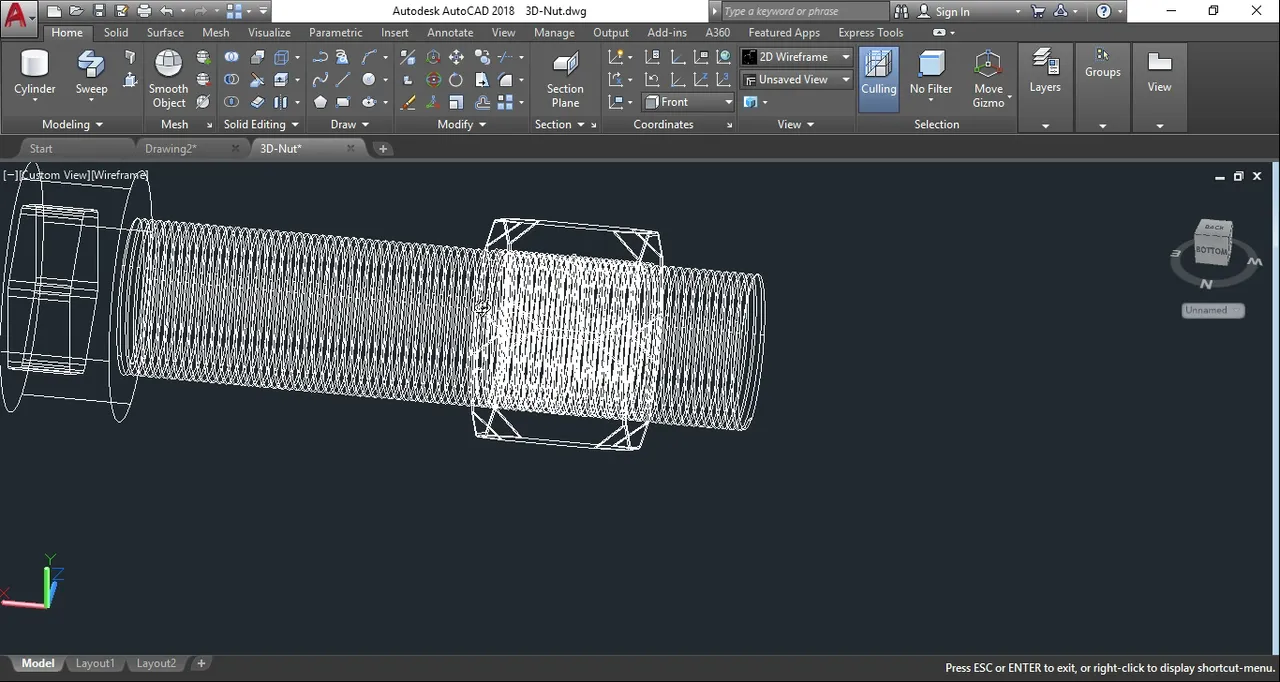
Create the groove/threaded part of the bolt's body using the helix tool and a circle swept along the helical line. Use sweep tool for that. The height of the helical line should be the same with the body's height. The same also with the top and bottom radius of helix to the radius of the body. Adjust also the number of turns, should be same gap with the nut.
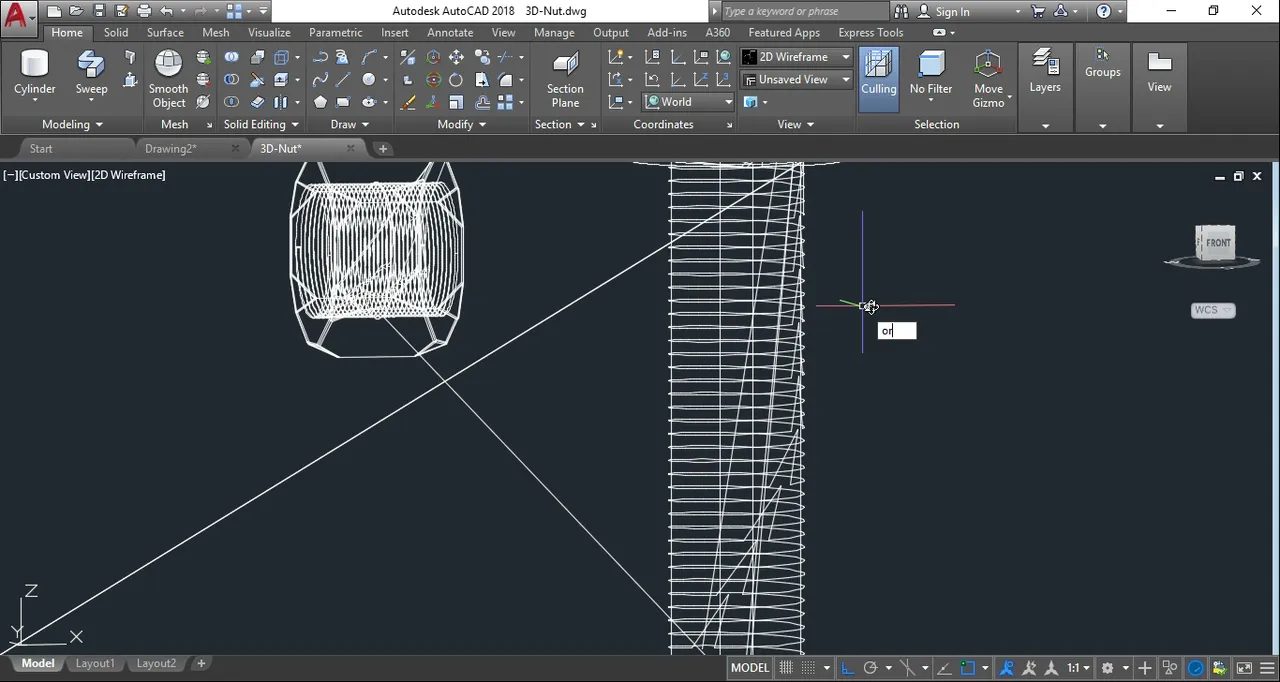
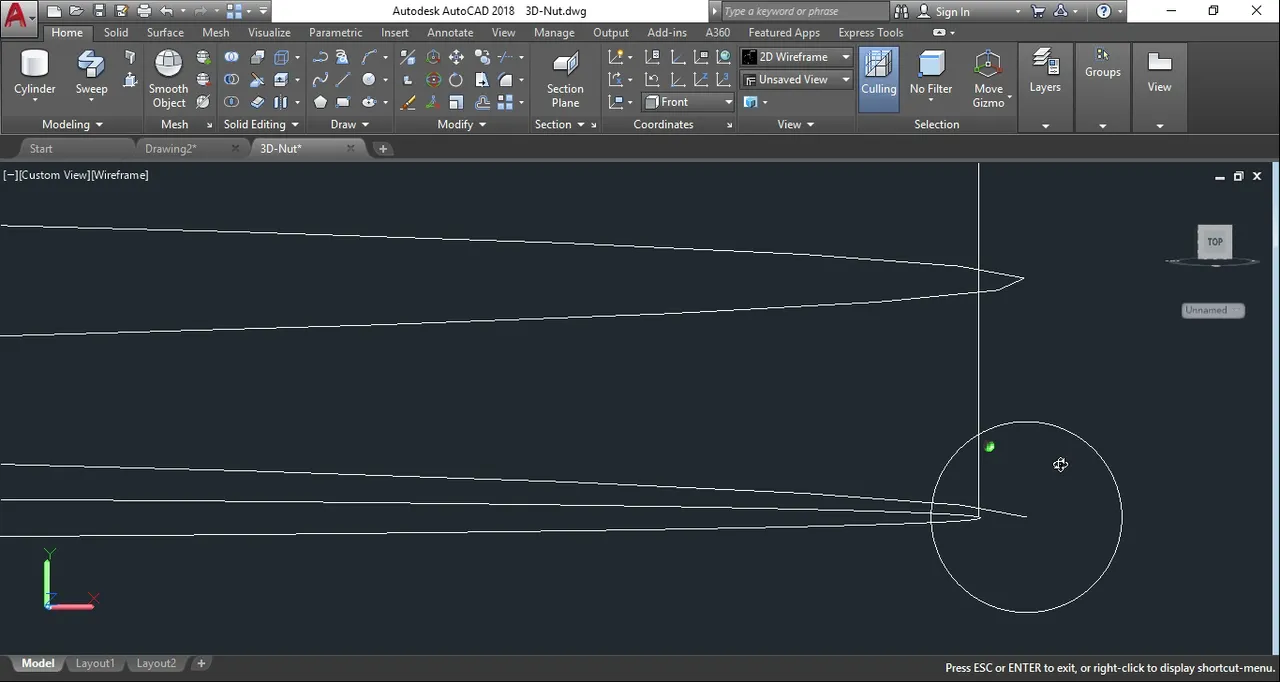

Subtract the helical solid form to the body of the bolt. Now, rotate the subject and insert it to the nut figure. Adjust the nut, your desired location of the nut to the bolt.
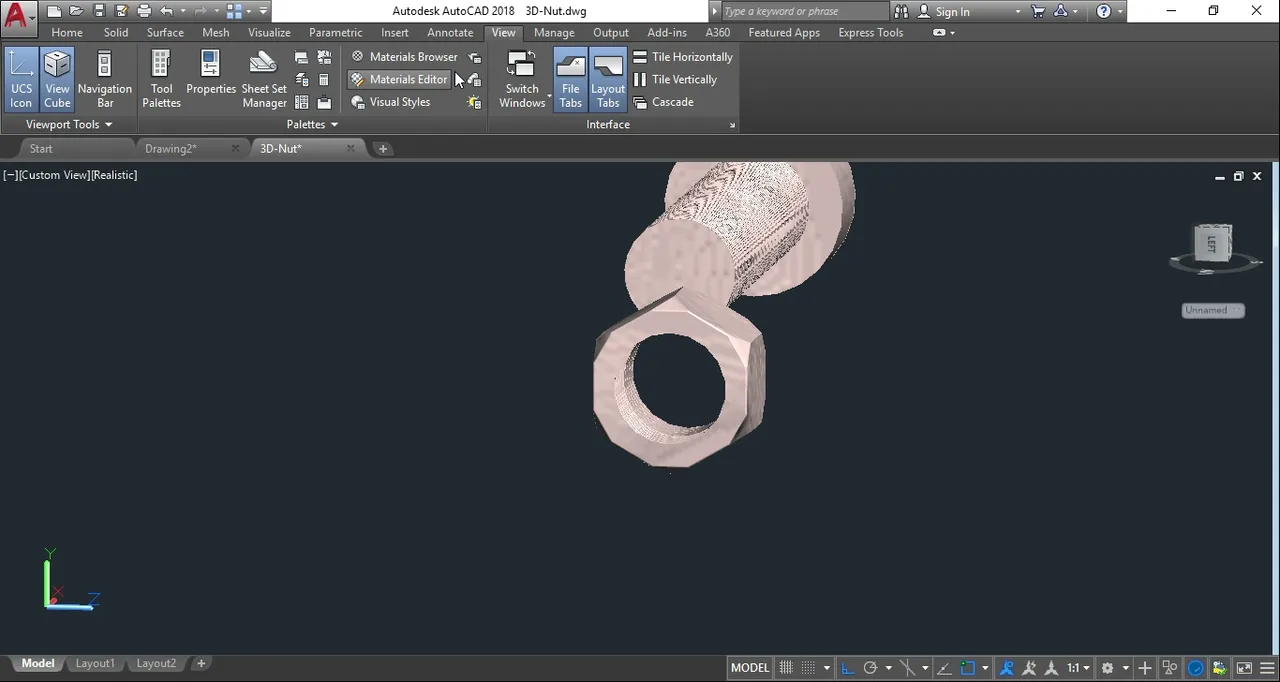
Add materials and you're done!
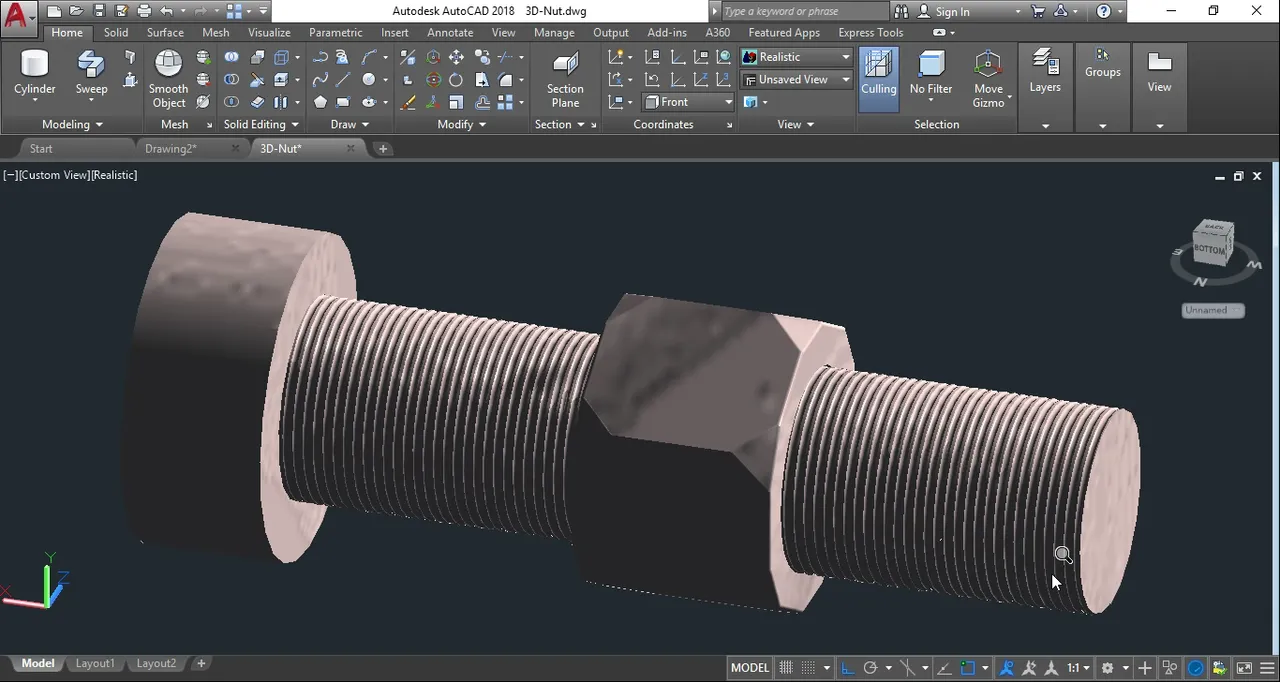
Rendered PNG(free to use):
Stay tuned for more 3D Designs.
"best of time"