Greetings,
Dear friends of the vegan world today I hope you are very well I come with a great recipe.
A few years ago I did several bakery courses with a venture I had of artisan bakery at that time was not sustainable by the crisis of scarcity that presented the country and that venture was left aside but the knowledge stayed with me.
More than a year ago we occasionally consumed sourdough bread and sometimes I noticed that this bread did not alter my son with autism and I could give him portions from time to time.
I began to investigate and as it is a bread that is made without sugar or any additives other than wheat flour, water and salt, apart from long fermentation times, this process consumes part of the gluten and the few sugars produced by the fermentation.
In view of this and the bread that is taking this bread in the market I started to create my sourdough to start making breads of this type and offer for sale to earn extra income and be able to consume at home without health concerns of our home.
Creating the sourdough is a time consuming process that takes at least 7 days for the sourdough to develop activity.
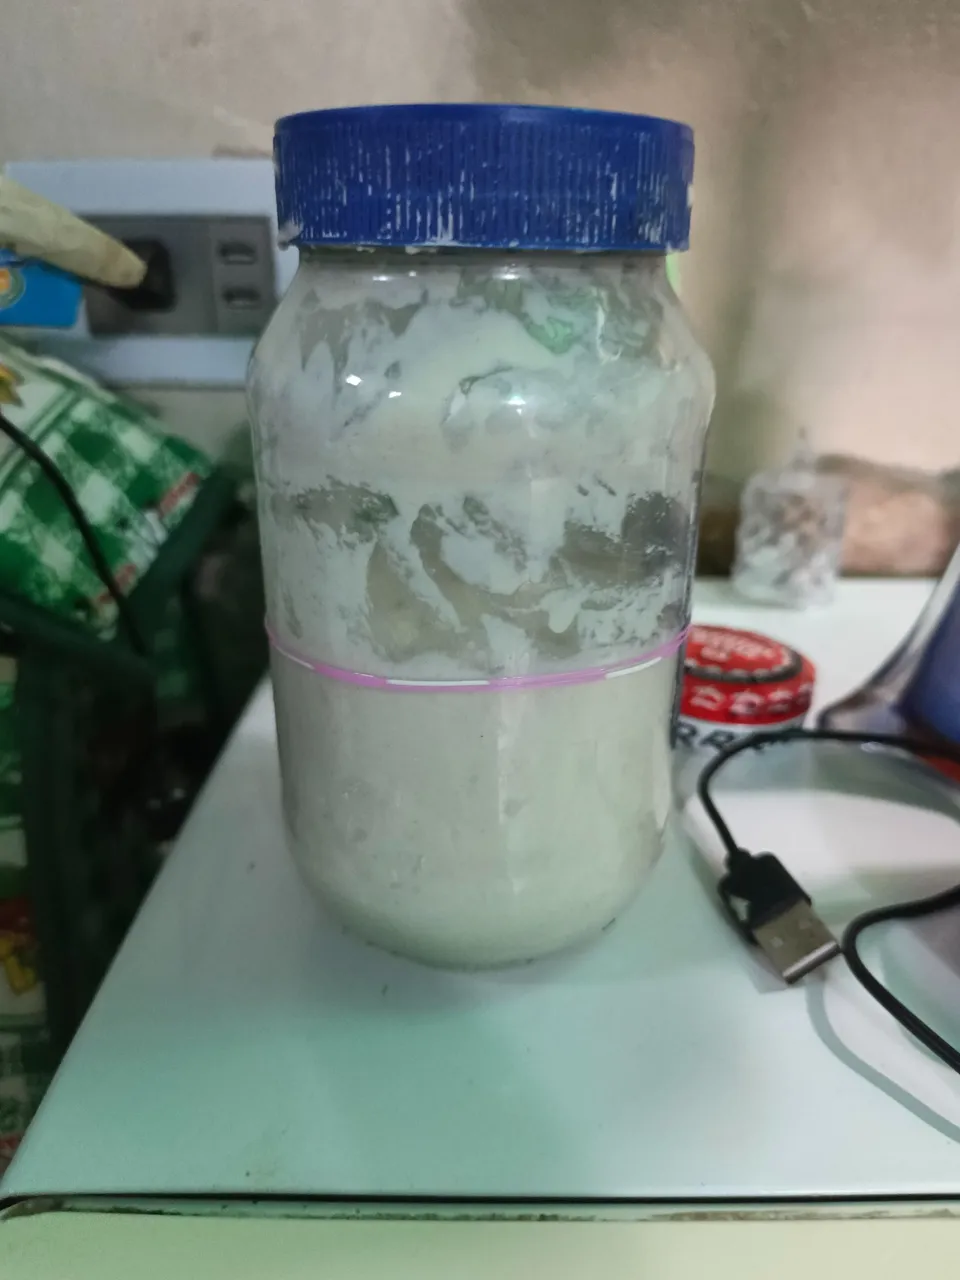
The process is simple, you take a glass container with a lid, wash it well and in it we are going to add equal parts of wheat flour and water, I started with 2 spoonfuls so as not to waste so much flour in the process.
On day two we are going to add again two spoonfuls of water and two spoonfuls of flour and we cover it until day 3.
On day three we discard half of the mixture and add the same recipe two tablespoons of flour and two tablespoons of water.
Already on day four we should notice some bubbles in the mixture which is a sign of activity as well as acidic aromas, likewise we should discard half and feed again until day 7 or more where the activity is greater and doubles the size of our mixture.
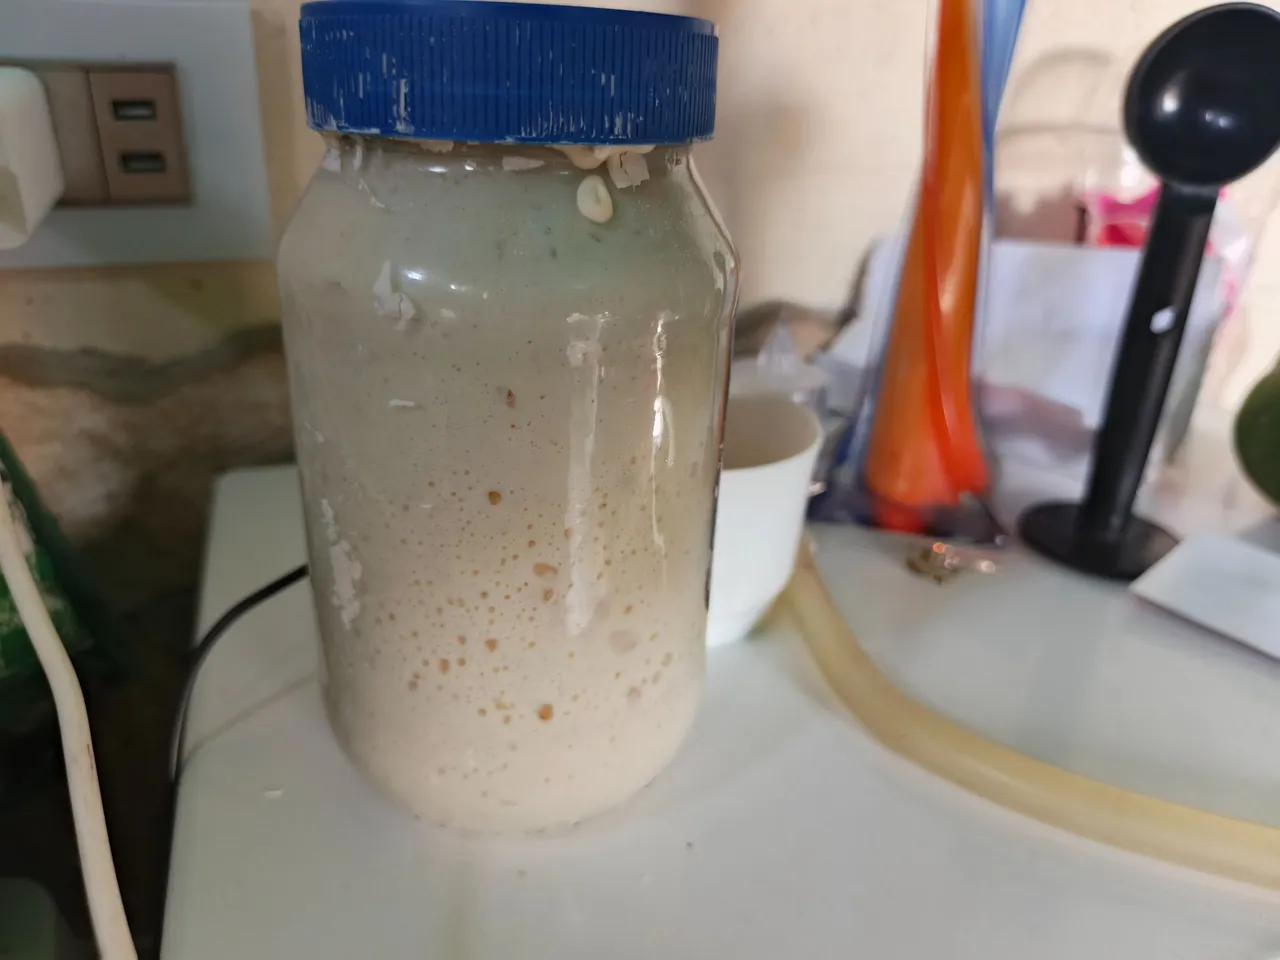
We must not stop repeating the process day after day until it doubles or triples in size, at this point is when our sourdough is active and we can use it to make our breads.
To prepare our sourdough bread we are going to need.
- 500gr of all-purpose flour.
- 300gr of water.
- 100gr of sourdough.
- 12gr of salt.
The procedure is divided in two parts.
The first part is to create the amount of sourdough.
To have 100gr of sourdough we must repeat the process of feeding our sourdough for at least 6 hours before making the bread but this time we discard half of sourdough and when feeding it we put 60gr of flour and 60gr of water, this in order to obtain 120gr of sourdough use 100gr and we have the rest to continue having our active sourdough.
The second process is to make our bread.
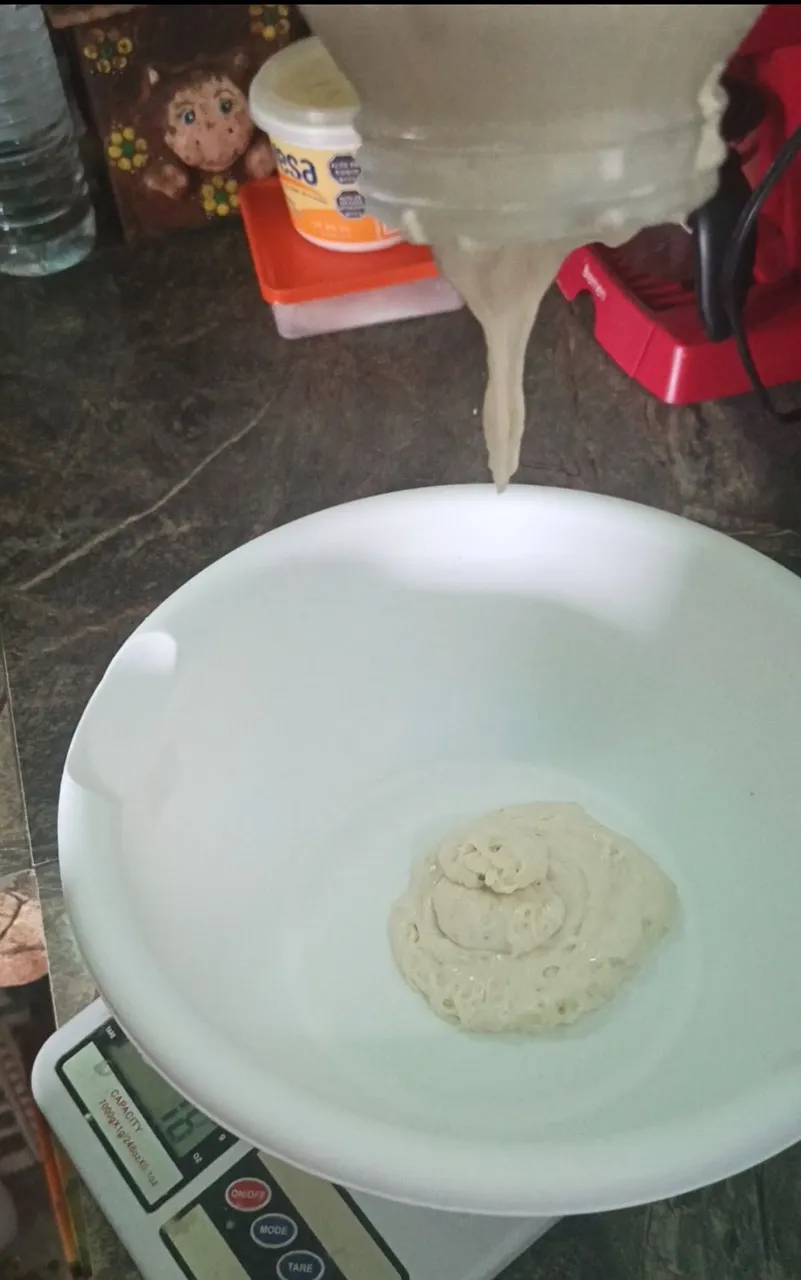
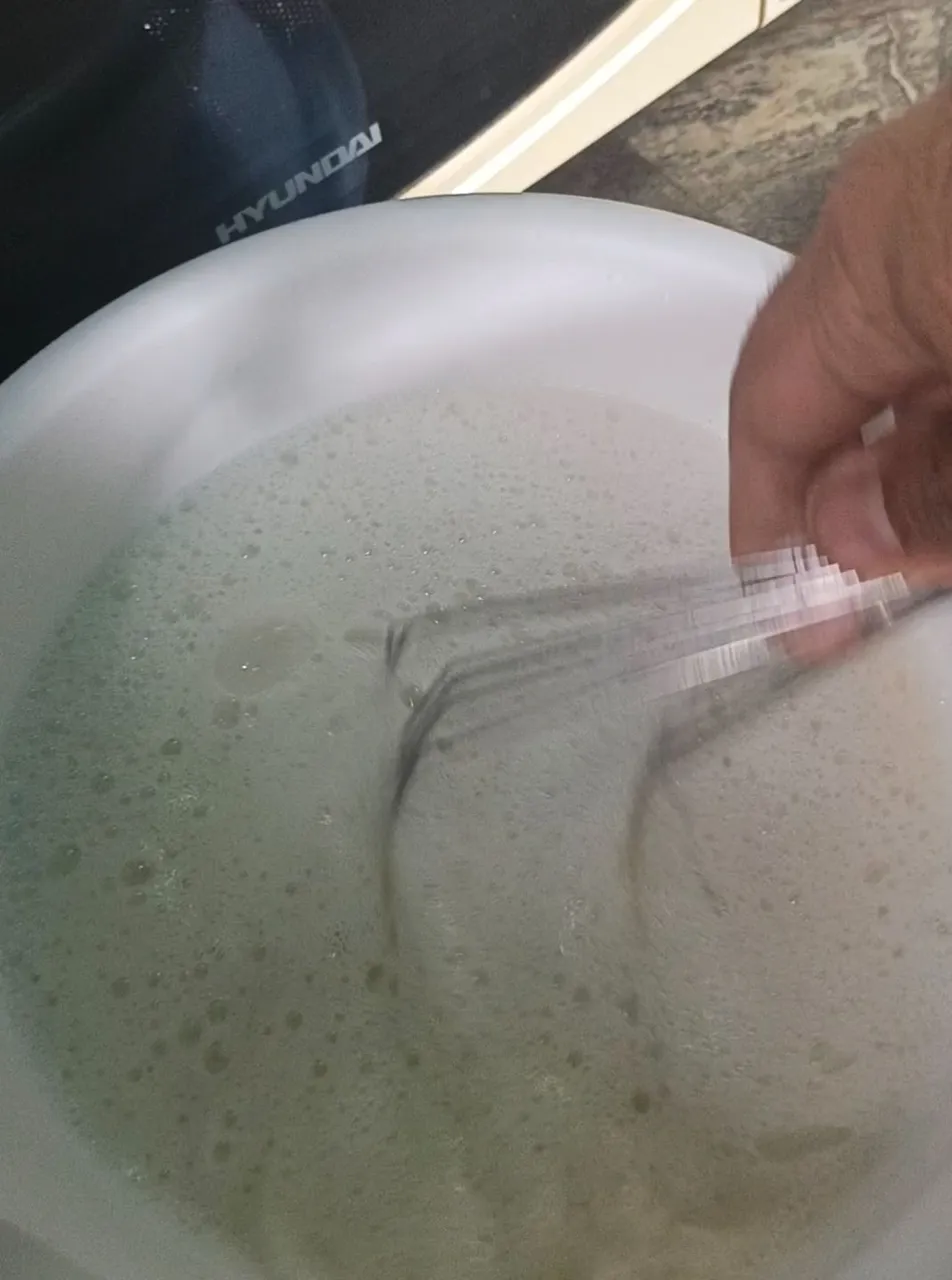
To make the bread we are going to use a comfortable bowl to mix the ingredients, we start by weighing the 100gr of active sourdough and add the 300gr of water.
We dissolve the sourdough in the water until the liquid looks like milk and has many bubbles on the surface.
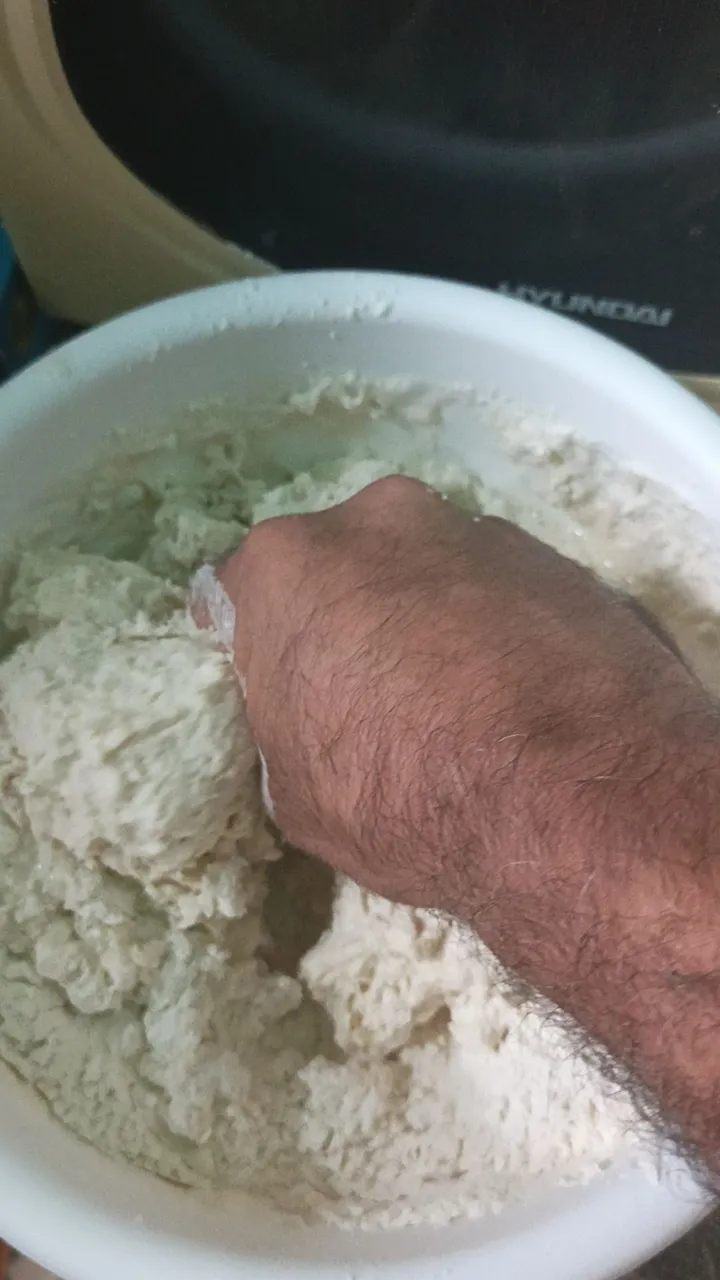
Once the previous step is ready we add the 500gr of flour and the 12gr of salt to proceed to mix everything until it looks like this.
The next step is to be patient, this bread is not kneaded, a process called autolysis is used, which consists of letting it rest for half an hour so that the gluten develops by itself.

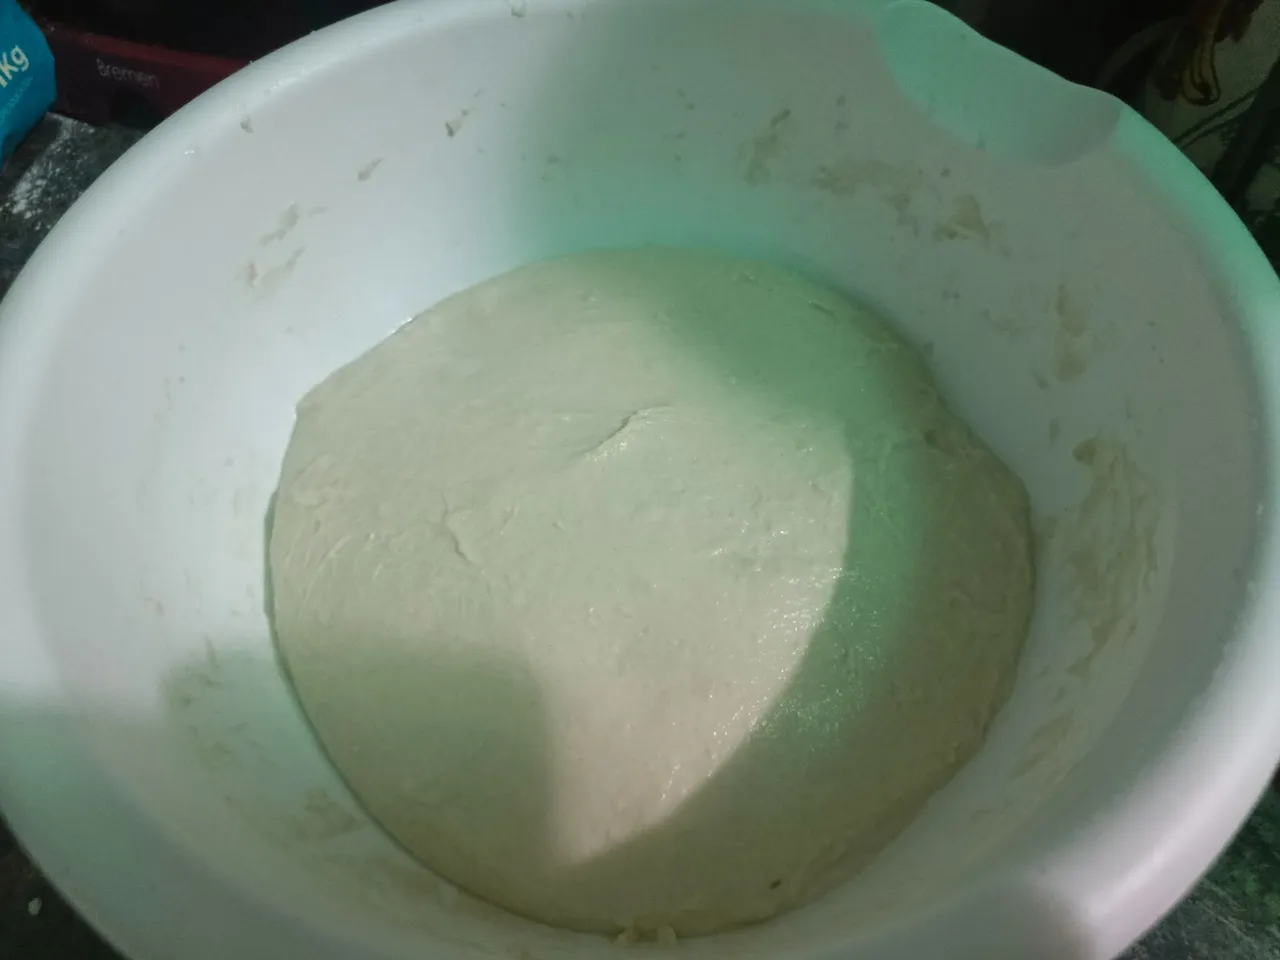
Every half hour we wet our hands and we give several doubles to the dough from the outside to the inside of the bowl every time you do it you will notice how the dough becomes softer and tidier. We repeat this process three times and then let the dough rest for 6 hours and then form our bread.
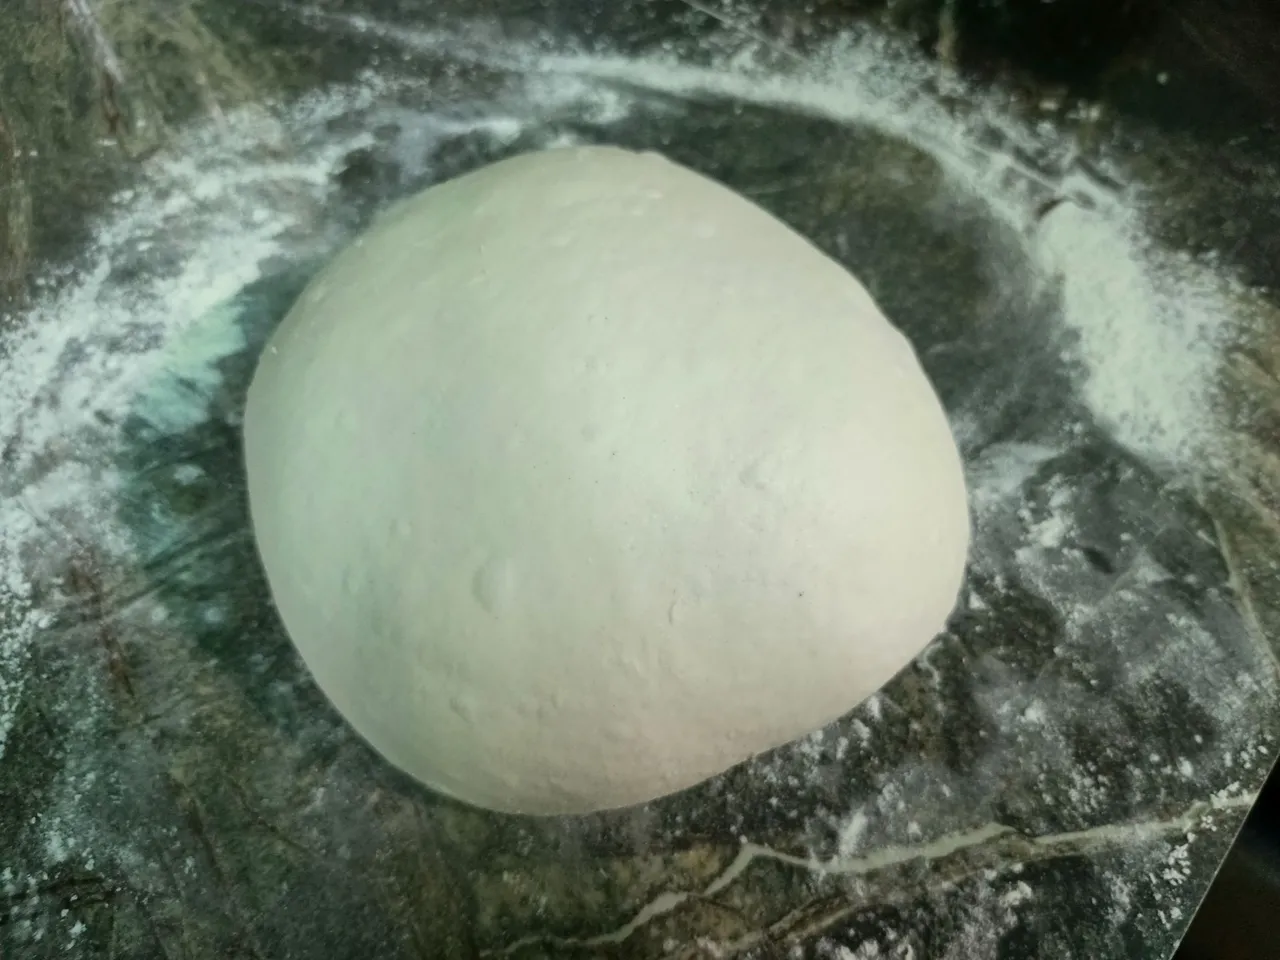
After the 6 hours we spread flour on a table we take our dough out of the bowl we stretch it a little in a rectangular shape and make doubles towards the center and then roll it.
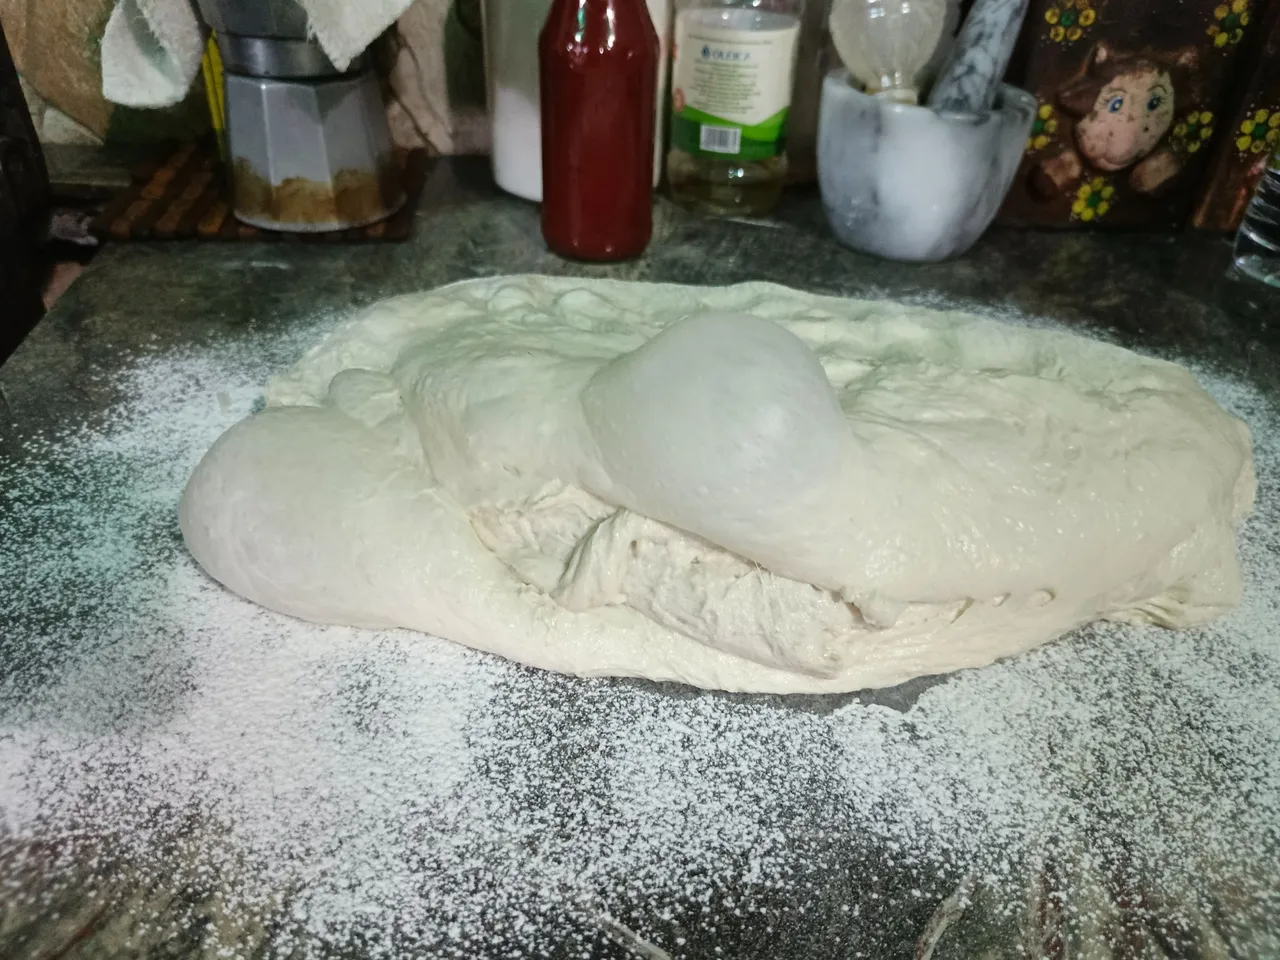
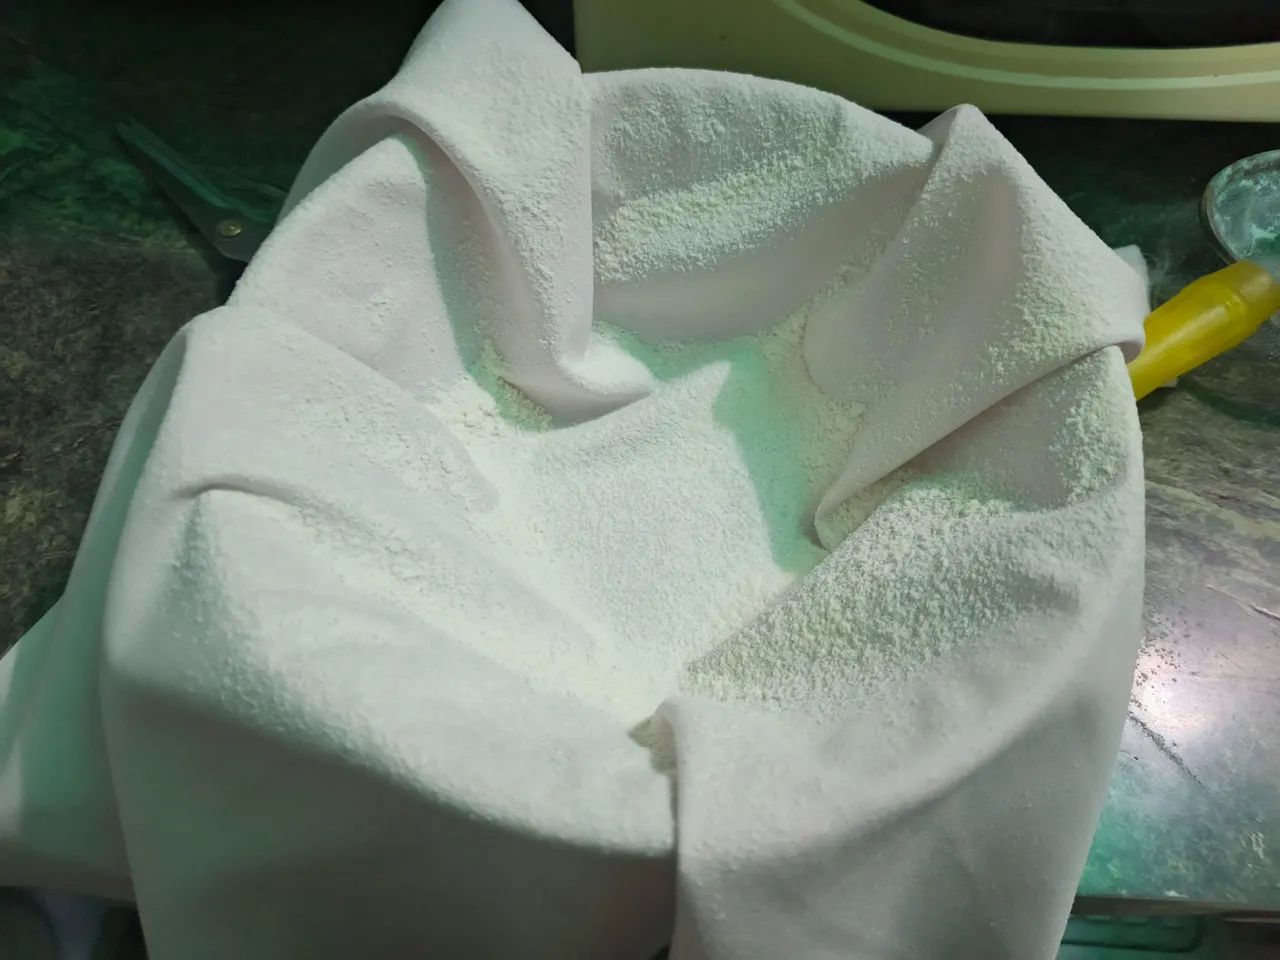
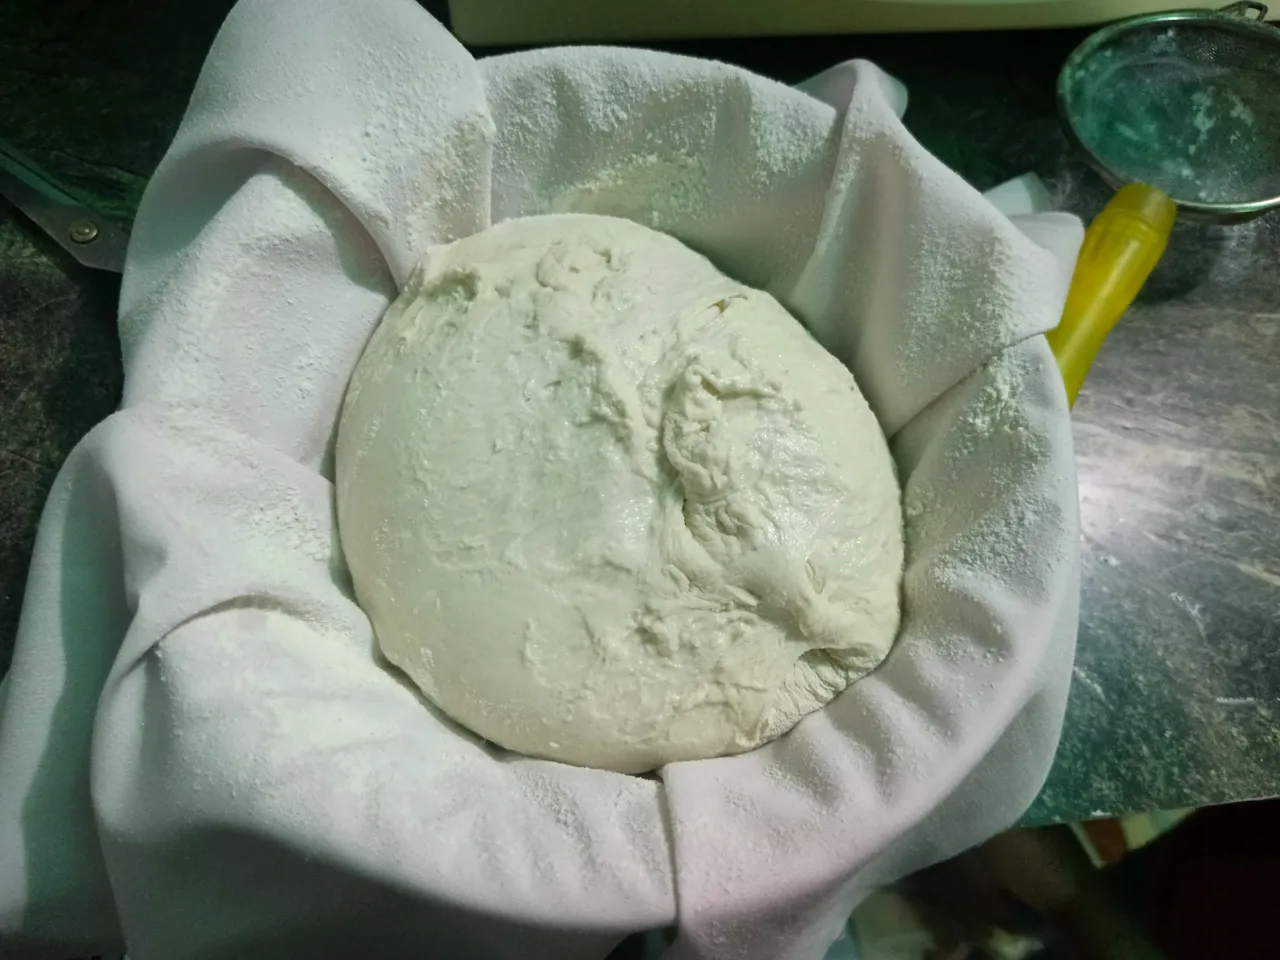
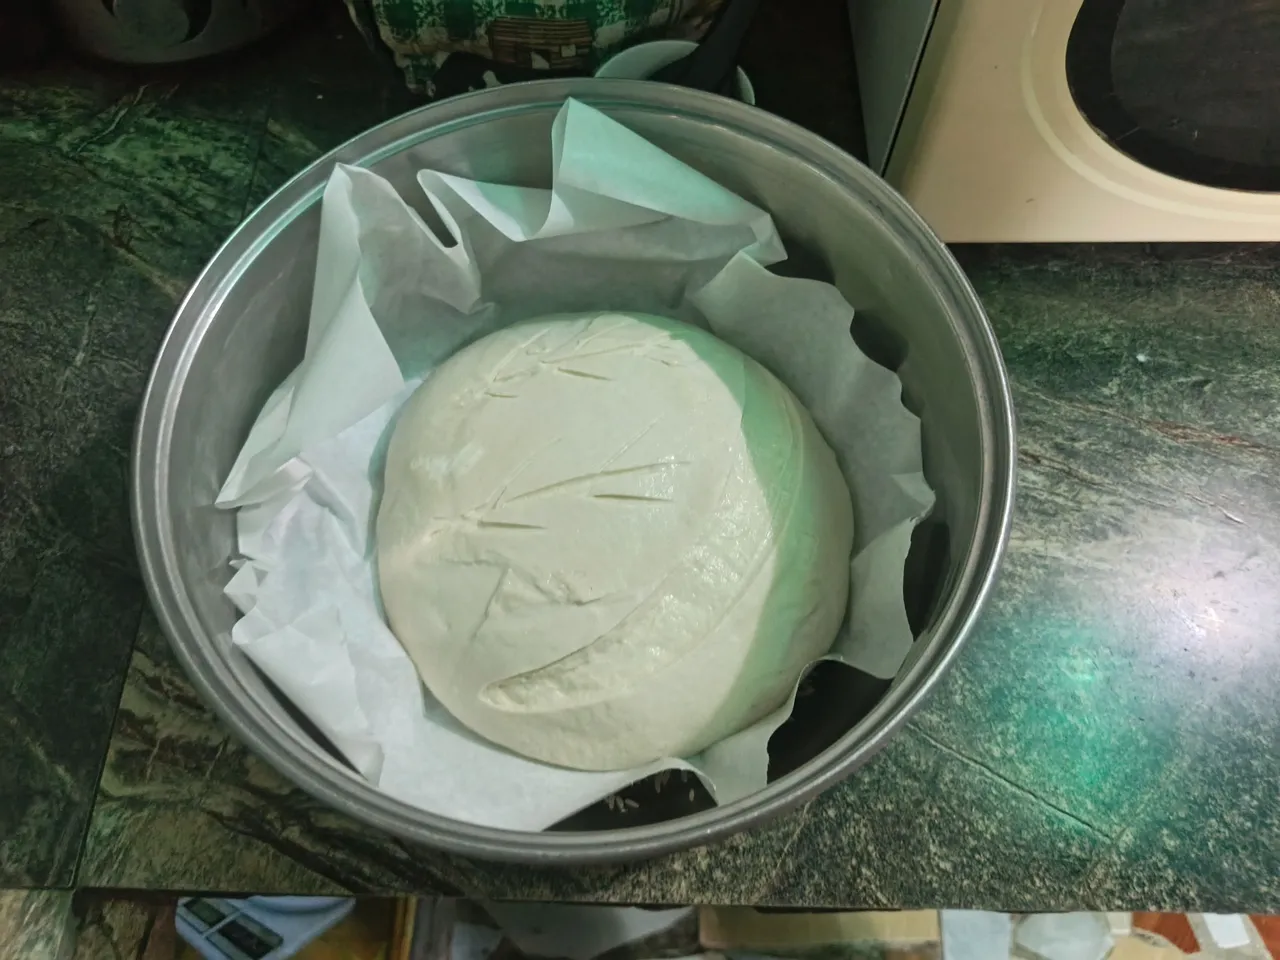
Finally we shape our dough into a ball by rolling it on the counter and squeezing it with our hands, for the final fermentation we need a deep dish if but or a medium pot so that our bread does not lose shape, this container we will cover it with a cotton cloth we put a little flour and we put our dough on the cloth.
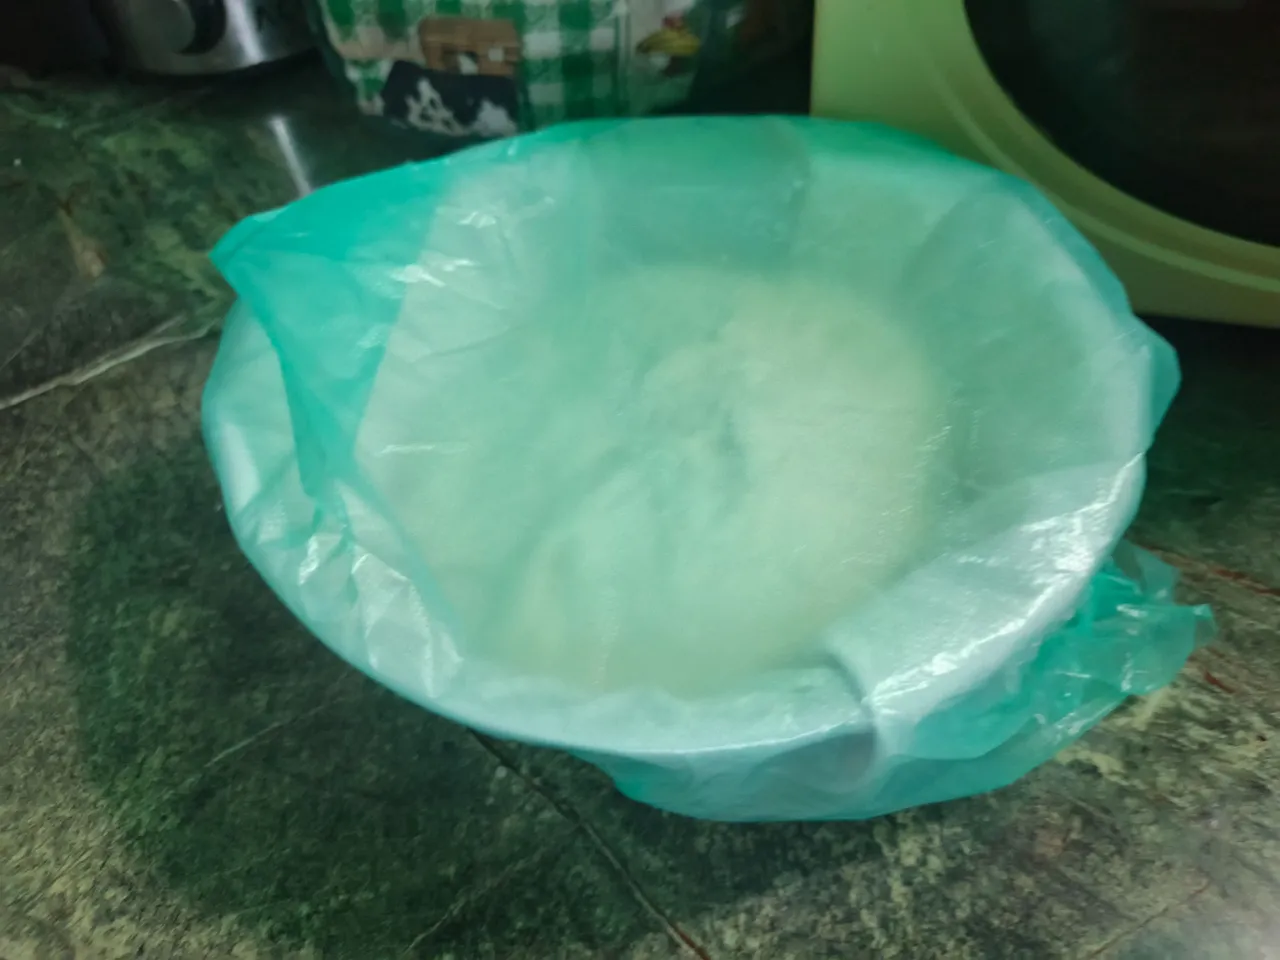
We take our bread in the container and cover it with plastic wrap and take it to the refrigerator for a minimum of 12 hours of fermentation.

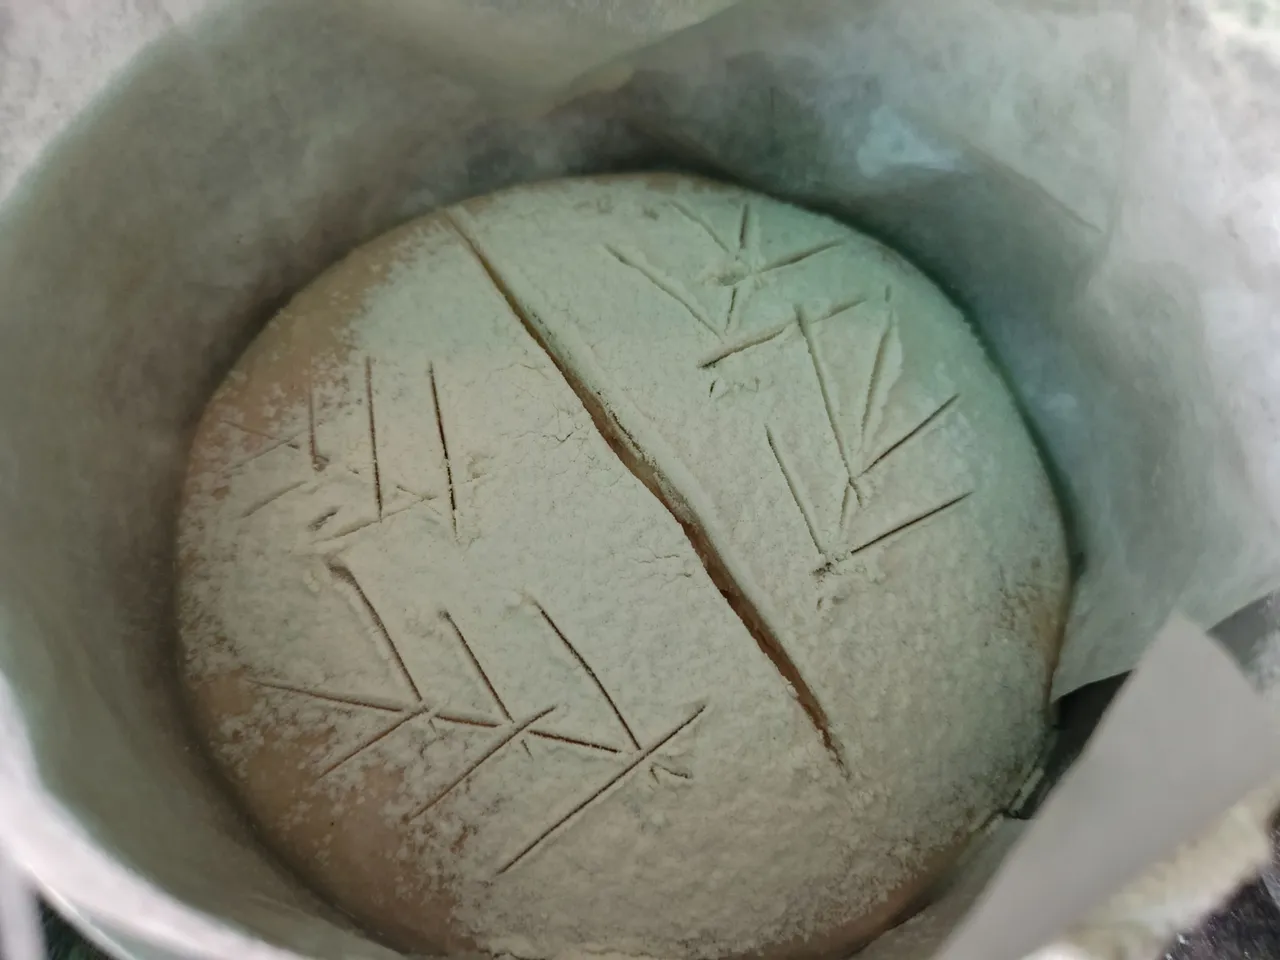
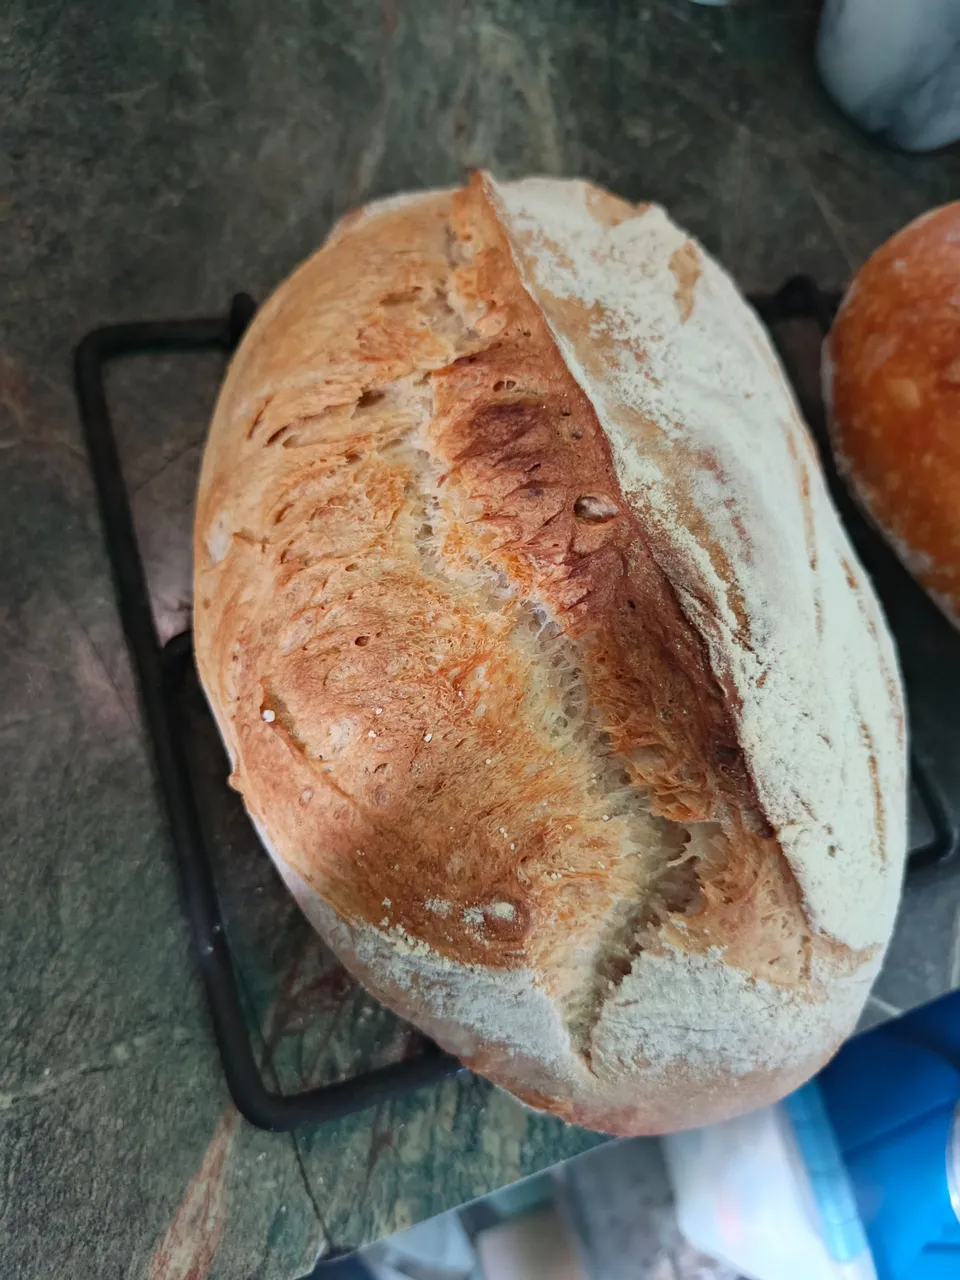
Fulfilled the 12 hours we will take an iron pot that we can put in the oven, we will take a baking paper and unmold our bread on this paper, we will notice that the surface that was in contact with the cloth will be a little hard, here before putting in the pot where we are going to bake with a blade we make a cut down the center to break the layer and bake take the form of decoration.
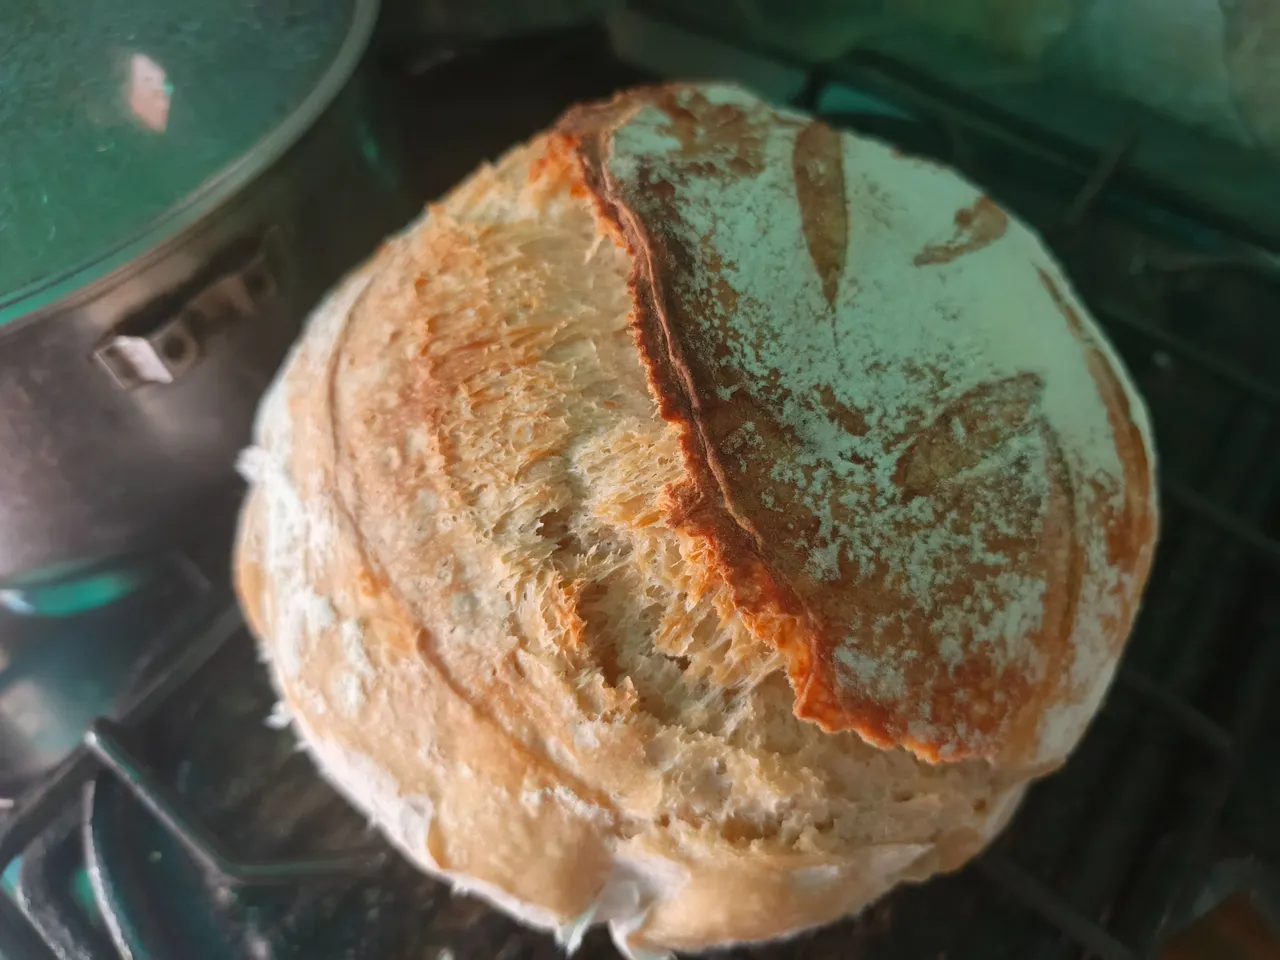
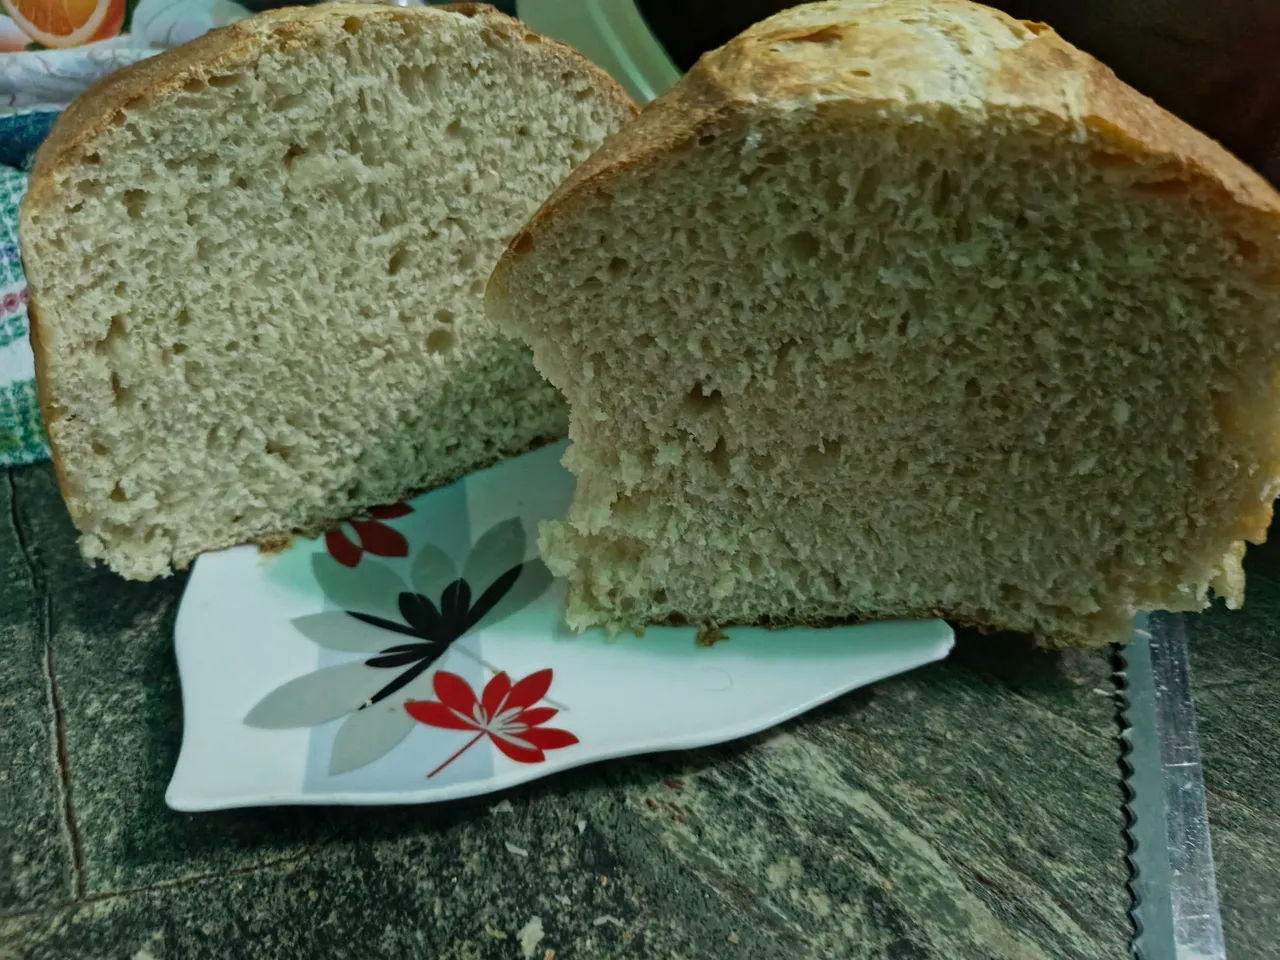
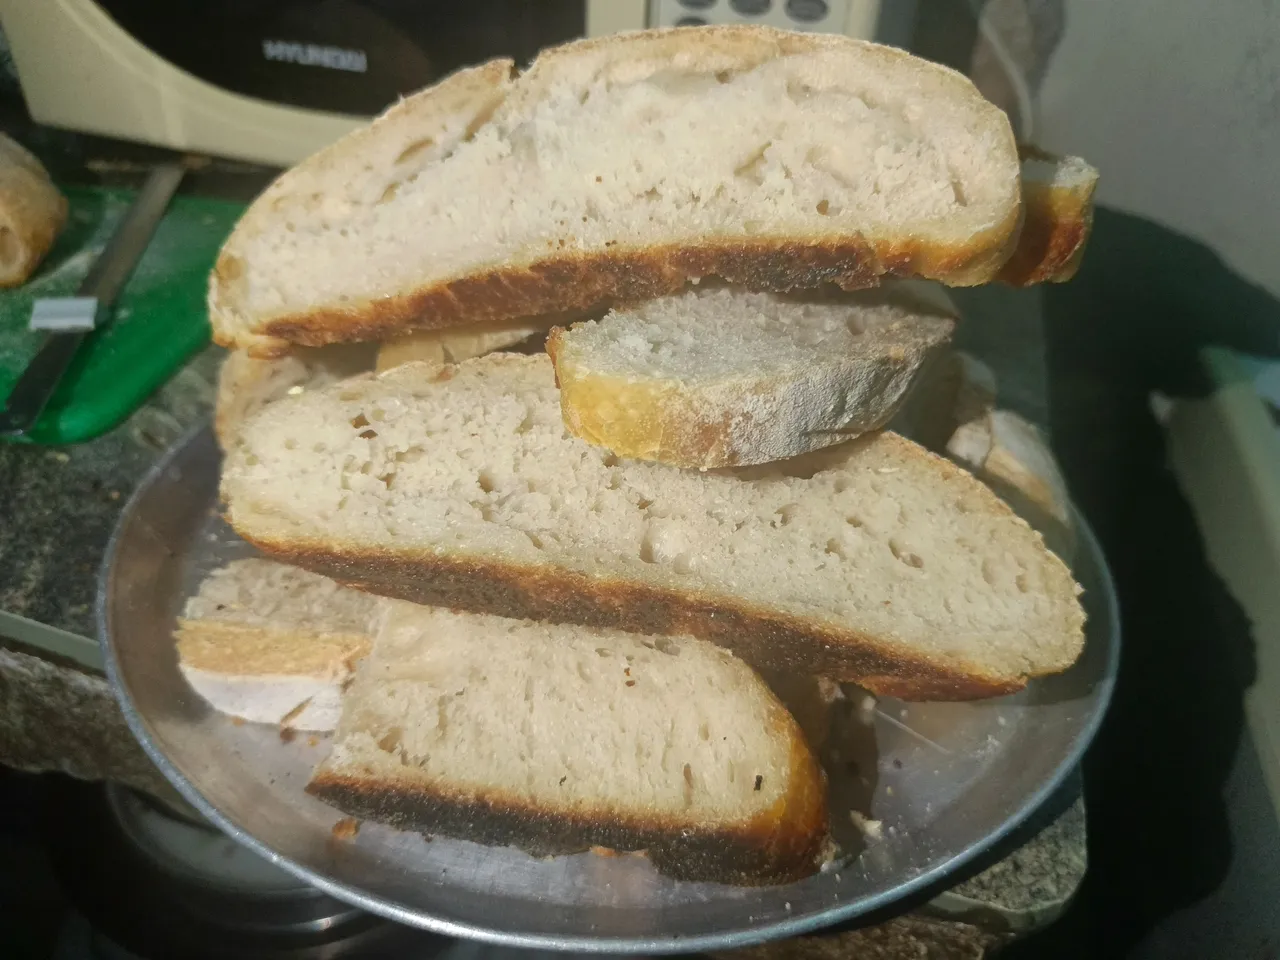
For baking we will preheat our oven to 250 ° C put a small pot with water to generate steam and this will help us to form a good crust on our bread, we put the pot with the bread in the oven for about 45 minutes or until the surface is golden brown, remove our bread from the oven after the pot remove the baking paper and let cool for at least an hour to cut and eat our rich sourdough bread.

Now our long process and the long wait to get these results and enjoy our delicious and healthy bread is ready.
I hope you like my publication and that you can follow the steps if you are interested in the process I can also invite you to follow my account in tiktok where you can see the videos of the process and more products.
If you have any questions I will be waiting for you in the comments box and I will help you.
SPANISH
Saludos,
Queridos amigos del mundo vegano hoy espero que estén muy bien les vengo con una receta genial.
Hace unos cuantos años hice varios cursos de panadería con un emprendimiento que tenía de panadería artesanal en ese momento no fue sostenible por la crisis de escasez que presentaba el país y ese emprendimiento quedó a un lado pero los conocimientos quedaron conmigo.
Hace más de un año en ocasiones consumimos pan de masa madre y en ocasiones note que ese pan no alteraba a mi hijo con autismo y le podía dar porciones de vez en cuando.
Empecé a investigar y como es un pan que se elabora sin azúcar ni ningún añadido más que la harina de trigo agua y sal aparte de largos tiempos de fermentación, en este proceso se consume parte del gluten y las pocas azúcares que produce la fermentación.
En vista de esto y el sigue que está tomando ese pan en el mercado inicié a crear mi masa madre para comenzar a elaborar panes de este tipo y ofrecer a la venta para obtener un ingreso extra y poder consumir en casa sin preocupaciones de salud de nuestro hogar.
El crear la masa madre es un proceso de tiempo toma como mínimo 7 días para que la masa madre desarrolle actividad.
El proceso es sencillo, tomas un envase de vidrio con tapa lo lavas bien y en el vamos a agregar partes iguales de harina de trigo y agua, yo inicié con 2 chucaradas para no gastar tanta harina en el proceso.
El día dos vamos a agregar nuevamente dos cucharadas de agua y dos de harina y tapamos hasta el día 3.
El día tres descartamos la mitad de la mezcla y agregamos la misma receta dos cucharadas de harina y dos de agua.
Ya el día cuatro debemos notar algunas burbujas en la mezcla lo que es muestra de actividad al igual que aromas ácidos, de igual forma debemos descartar la mitad y alimentar nuevamente hasta el día 7 o más donde la actividad es mayor y se duplica el tamaño de nuestra mezcla.
No debemos dejar de repetir el proceso día tras día hasta conseguir que doble o triplique su tamaño, en este punto es cuando nuestra masa madre está activa y ya la podemos utilizar para elaborar nuestros panes.
Para preparar nuestro pan de masa madre vamos a necesitar.
- 500gr de harina todo uso.
- 300gr de agua.
- 100gr de masa madre.
- 12gr de sal.
El procedimiento se divide en dos partes.
La primera parte crear la cantidad de masa madre.
Para tener 100gr de masa madre debemos repetir el proceso de alimentar nuestra masa madre por lo menos 6 horas antes de elaborar el pan pero está vez descartamos la mitad de masa madre y al alimentarla le colocamos 60gr de harina y 60gr de agua, esto con la finalidad de obtener 120gr de masa madre utilizar 100gr y nos queda el resto para seguir teniendo nuestra masa madre activa.
El segundo proceso es hacer nuestro pan.
Para realizar el pan vamos a ocupar un bol cómodo para mezclar los ingredientes, empezamos por pesar los 100gr de masa madre activa y le sumamos los 300gr de agua.
Disolvemos la masa madre en el agua hasta que el liquido parezca leche y tenga muchas burbujas en la superficie.
Una vez listo el paso anterior agregamos los 500gr de harina y los 12gr de sal para proceder a mezclar todo hasta que quede así.
El siguiente paso es el de tener paciencia este pan no se amasa se utiliza un proceso llamado autolisis que consiste en dejar reposar por espacios de media hora para que el gluten se vaya desarrollando solo.
Cada media hora humedecemos nuestras manos y le damos varios dobles a la masa de afuera hacia adentro dentro del bol cada vez que lo hacen van a notar como la masa se hace más suave y prolija. Este proceso lo repetimos tres veces y luego dejamos reposar la masa por 6 horas para luego formar nuestro pan.
Pasadas las 6 horas esparcimos harina en un meson sacamos nuestra masa del bol la estiramos un poco en forma rectangular y hacemos dobles hacia el centro y luego enrollamos.
Por último damos forma de bola a nuestra masa rodandola en el mesón y apretando con nuestras manos, para la fermentación final necesitamos un plato hondo si pero o una olla mediana para que nuestro pan no pierda la forma, este envase lo vamos a cubrir con una tela de algodón le colocamos un poco de harina y metemos nuestra masa sobre la tela.
Tomamos nuestro pan en el envase y lo cubrimos con un plástico y llevamos a la nevera un mínimo de 12 horas de fermentación.
Cumplidas las 12 horas vamos a tomar una olla de hierro que podamos meter al horno, vamos a tomar un papel para hornear y desmoldamos nuestro pan sobre este papel, vamos a notar que la superficie que estuvo en contacto con la tela estará un poco dura, aquí antes de meter en la olla donde vamos a hornear con una hojilla le hacemos un corte por el centro para romper esa capa y al hornear tome la forma de decoración.
Para el horneado vamos a precalentar nuestro horno a 250°C metemos una olla pequeña con agua para generar vapor y que este nos ayude a formar una buena costra en nuestro pan, metemos la olla con el pan al horno por unos 45 minutos o hasta que se vea dorada la superficie, sacamos nuestro pan del horno luego de la olla retiramos el papel para hornear y dejamos enfriar mínimo una hora para poder cortar y comer nuestro rico pan de masa madre.
Ya listo nuestro largo proceso y la gran espera para conseguir estos resultados y poder disfrutar nuestro rico y saludable pan.
Espero que les guste mi publicación y que puedan seguir los pasos si están interesados en el proceso también los puedo invitar a seguir mi cuenta en tiktok dónde podrán ver los videos del proceso y más productos.
Cualquier duda los espero en el buzón de comentarios y les ayudaré.