These door lock actuators going bad is a somewhat common issue on the 2000-2005 Ford F-250/350s and Excursions. They are a bit of a pain to get to but once you find the means to access the components it’s not bad. My main worry was breaking one of the few plastic retaining clips. It takes a good amount of force to take them off and it freaks me out every time.
The other day, Mama Splatts when to unlock the door on the Excursion and every other door unlocked except the driver door. It just made a gear grinding sound. After a couple of attempts to get it to unlock, she had to resort to using the actual key to unlock the doors. How often does that happen nowadays? Using the key to unlock a vehicle door… Anyway I knew exactly what it was since I had done them before. $15 and 2 days later the new actuator showed up at the door. Let’s swap this thing out.

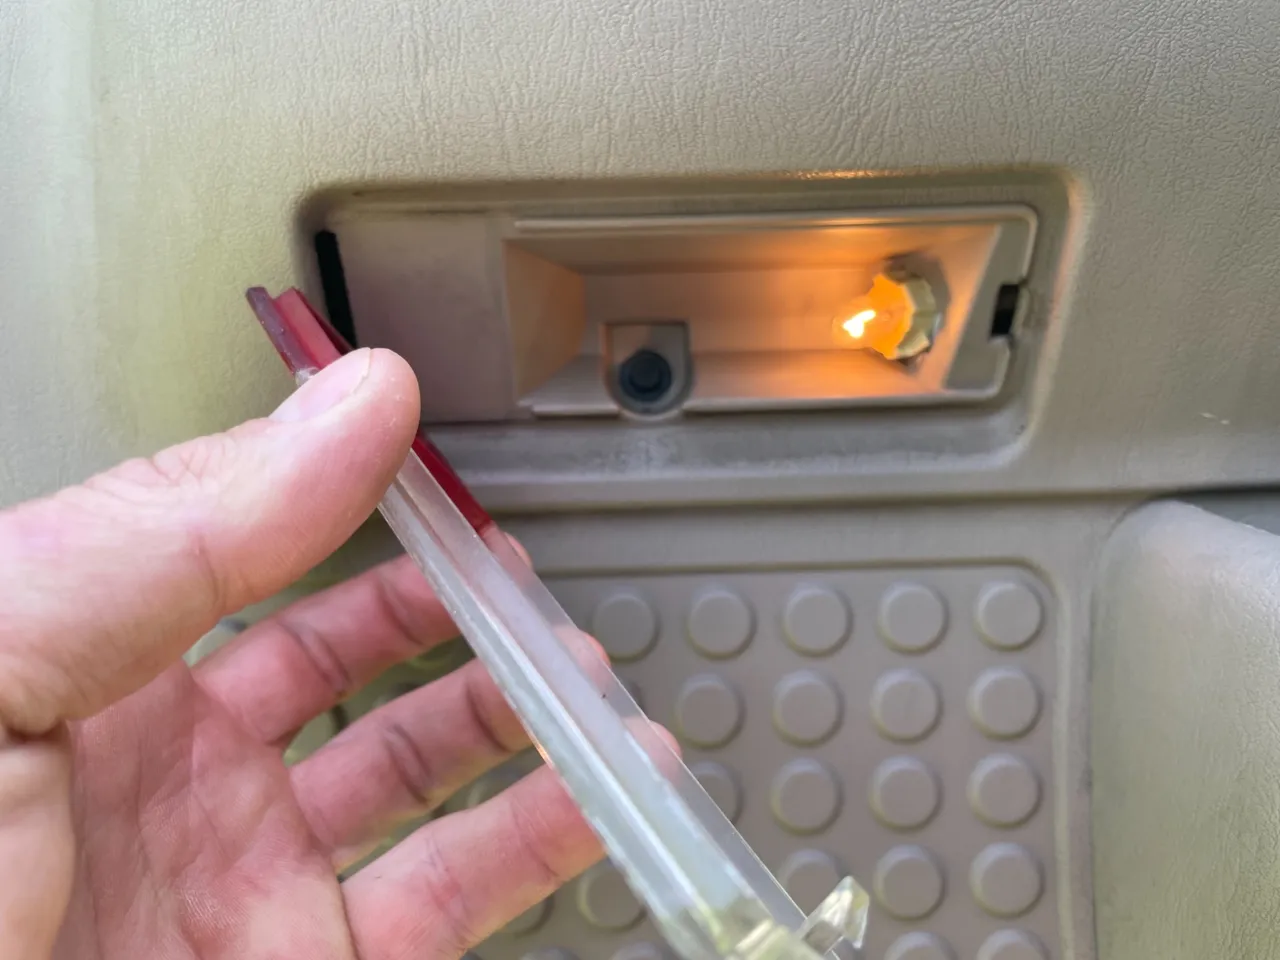
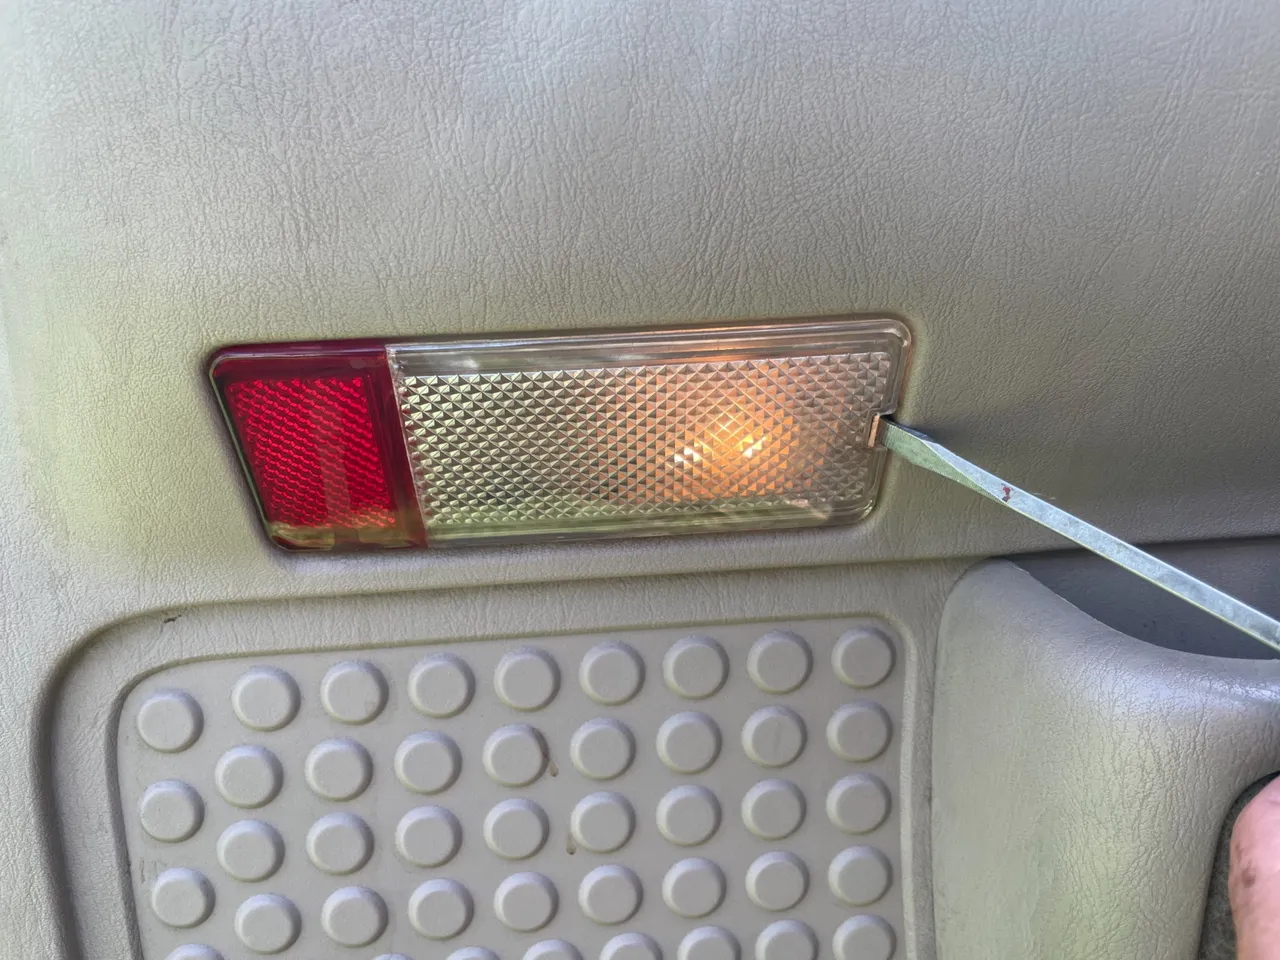
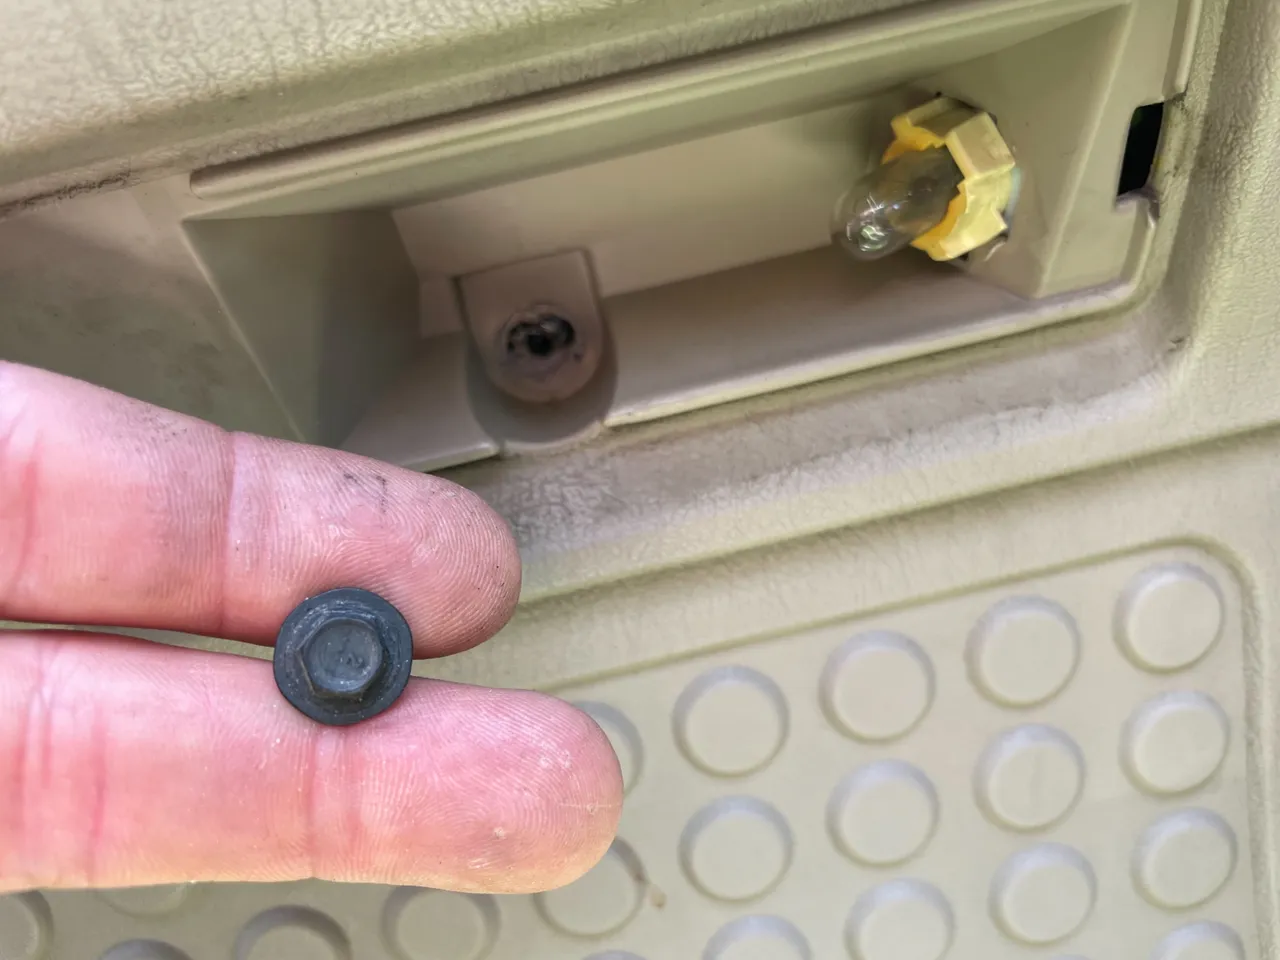
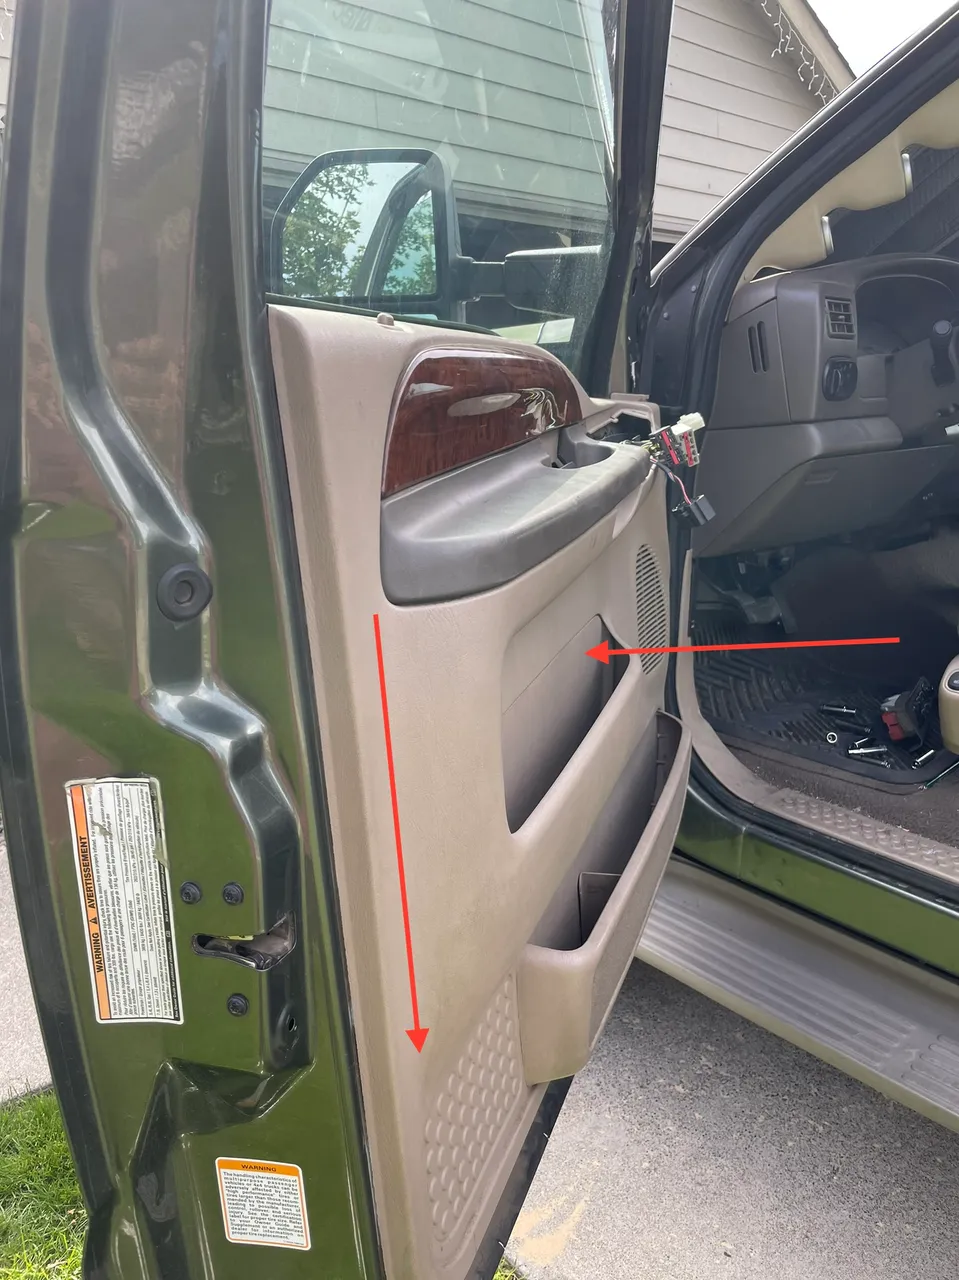
The first thing that needs to come off is the whole interior door panel. There are a couple hidden bolts that you have to gain access too. One is behind the little reflector light on the lower/left of the door. Use a flathead screwdriver and pry it off.

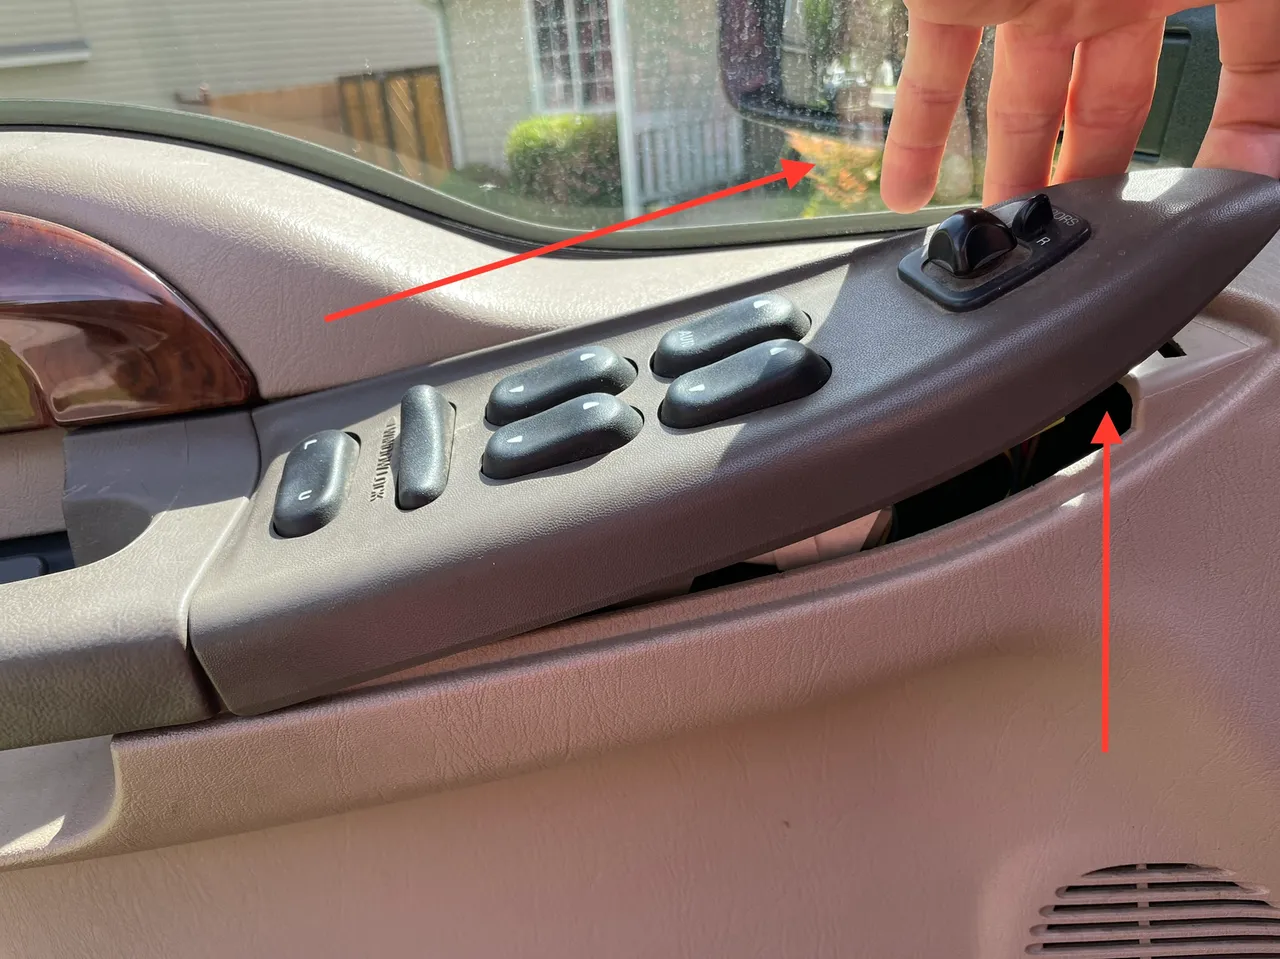
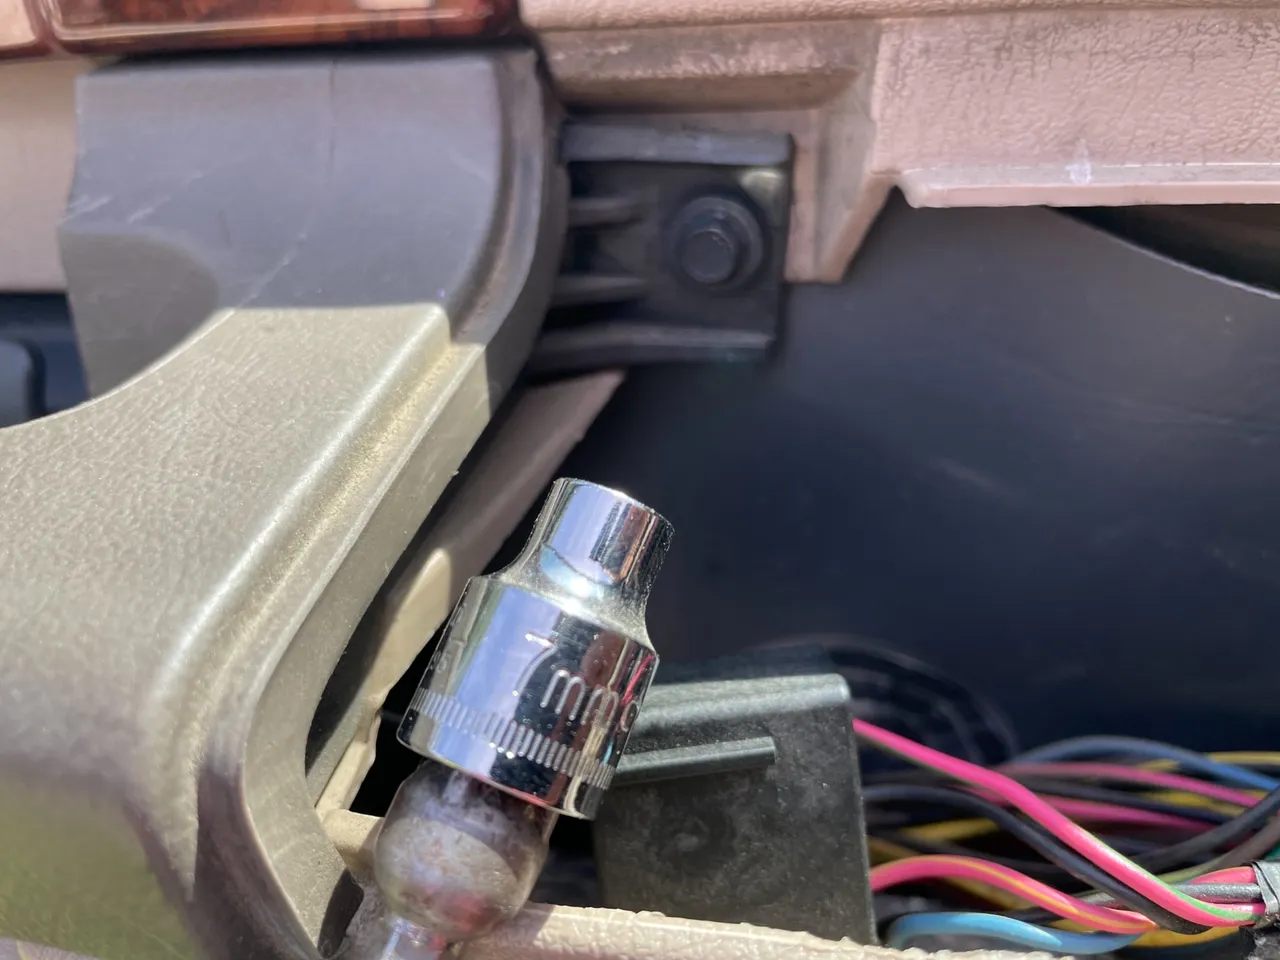
The other bolt is underneath the window/mirror/door lock controls. This can be accessed by prying up on the right right side of the control panel and shifting to the right. There is a lip on the left of it that tucks under the door panel.
Unplug all the connectors…
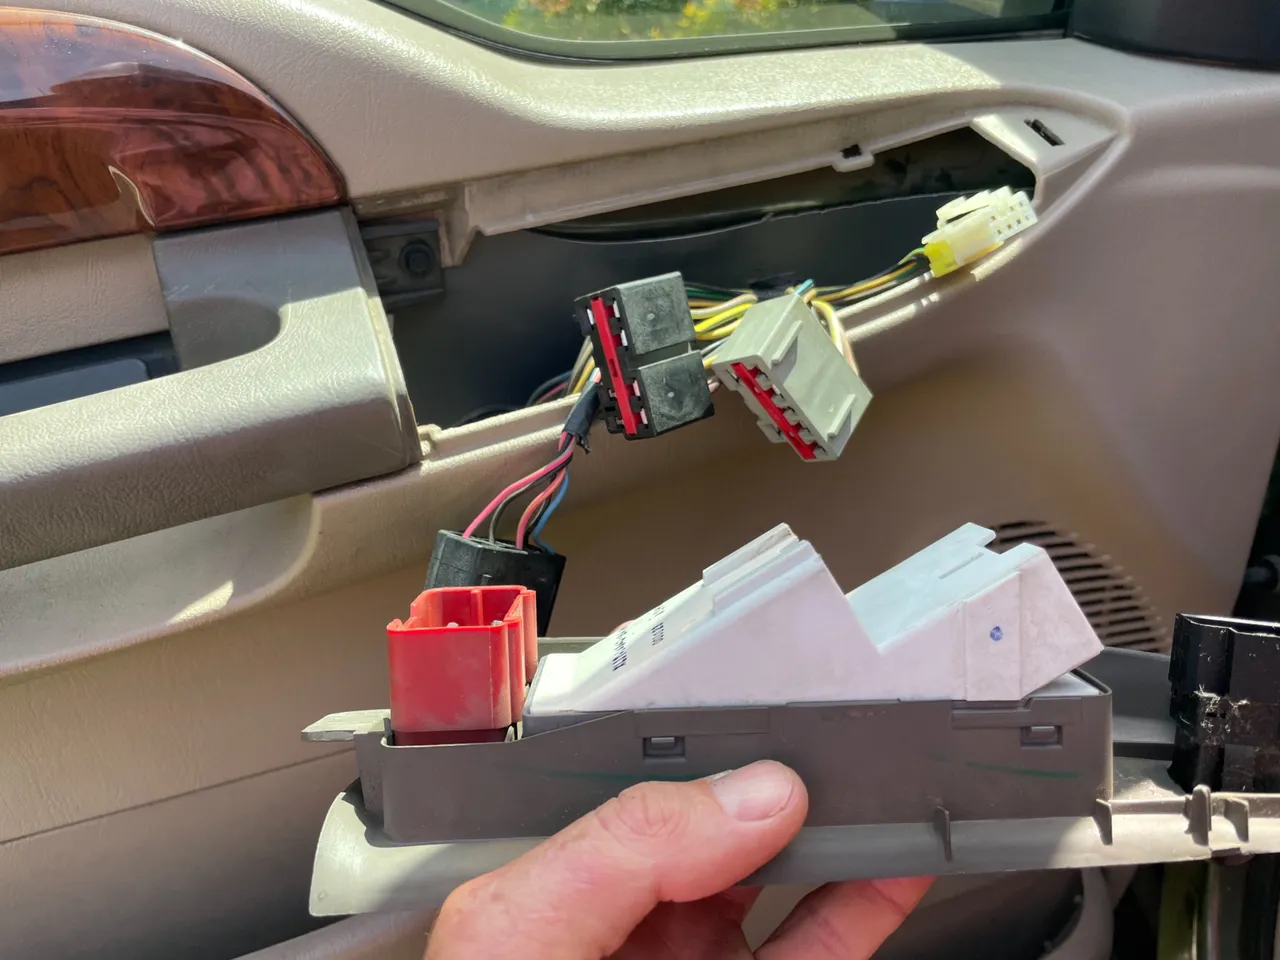
Then remove the 2-7mm bolts that have been exposed
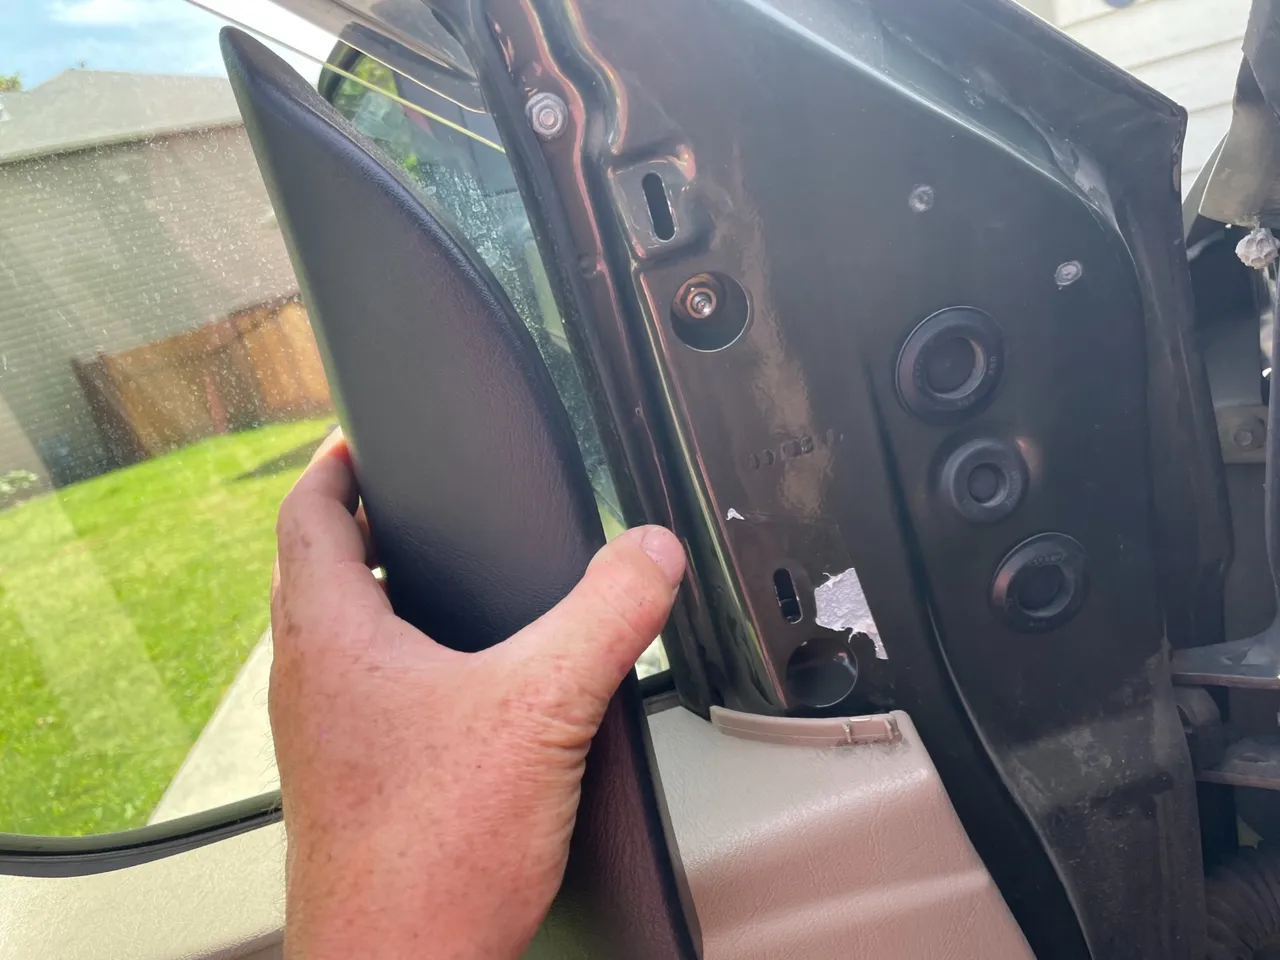
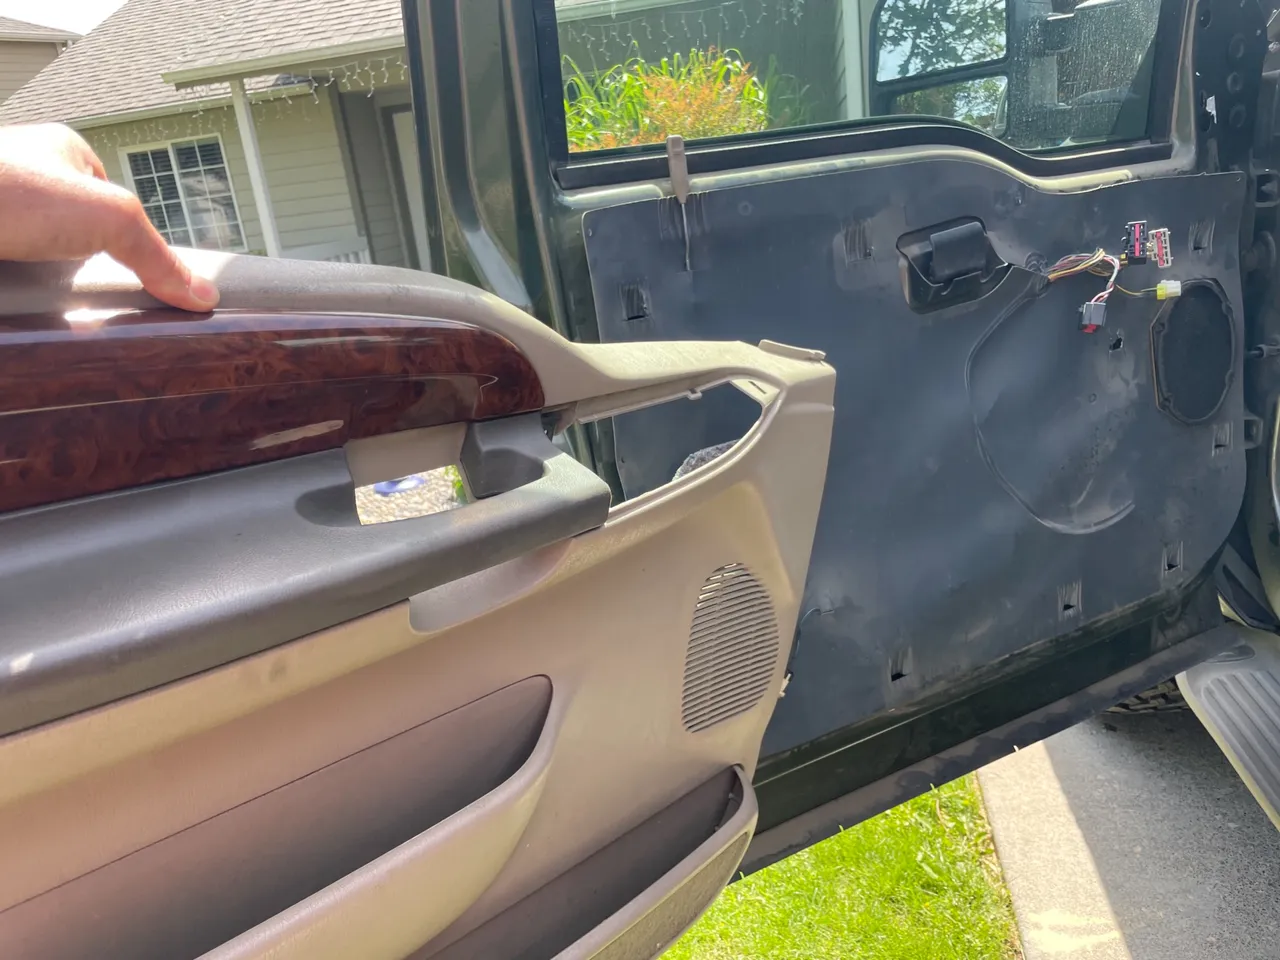
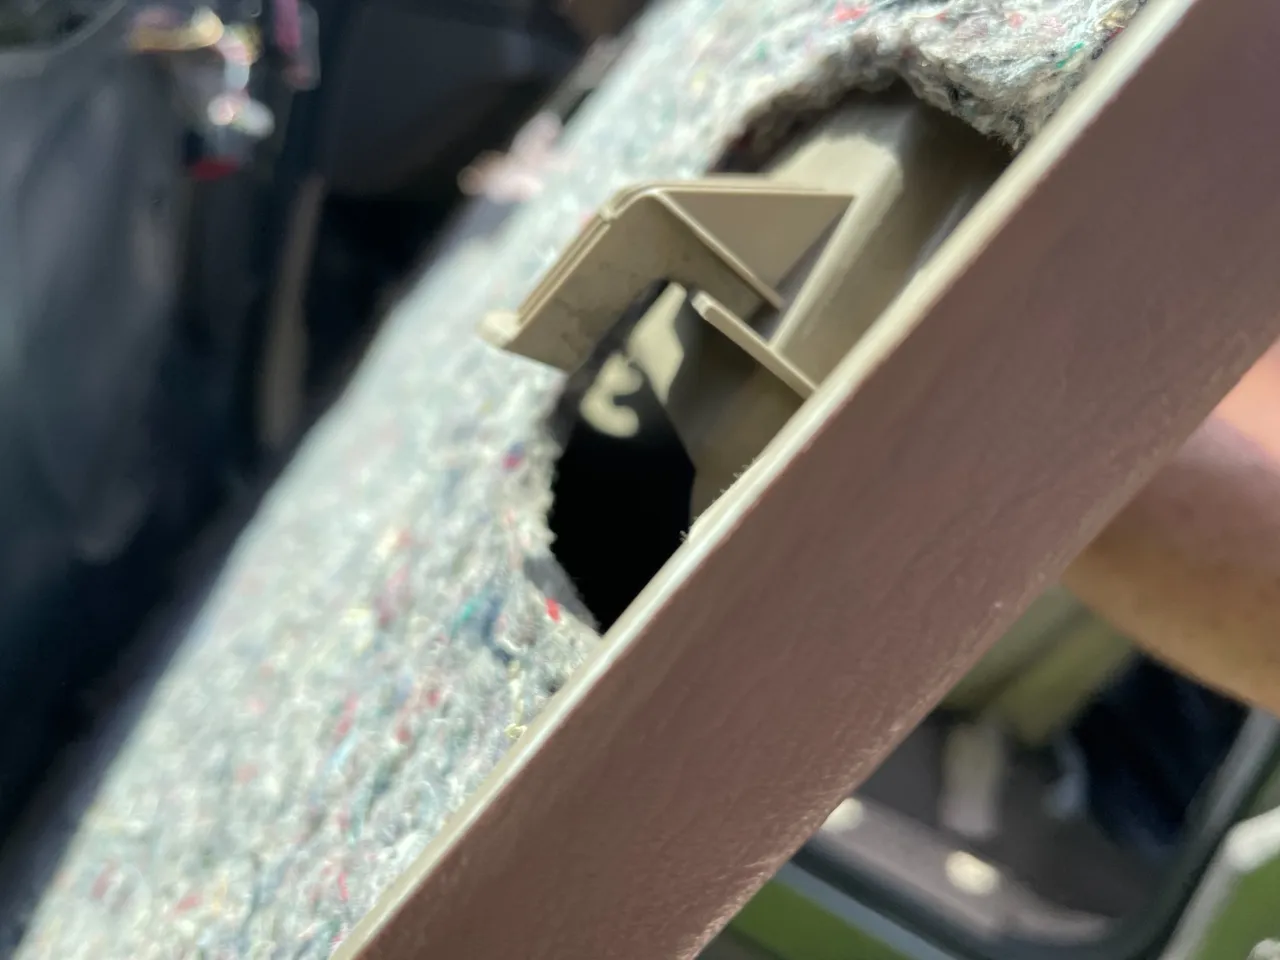
Then remove the triangle piece of trim in the upper/right of the door. These are the ones I am always afraid of breaking. It’s gonna take a bit of force to rip it off of there.
Now lift up from the bottom of the door panel and away from the door. Make sure it doesn’t get caught on the door lock plunger.
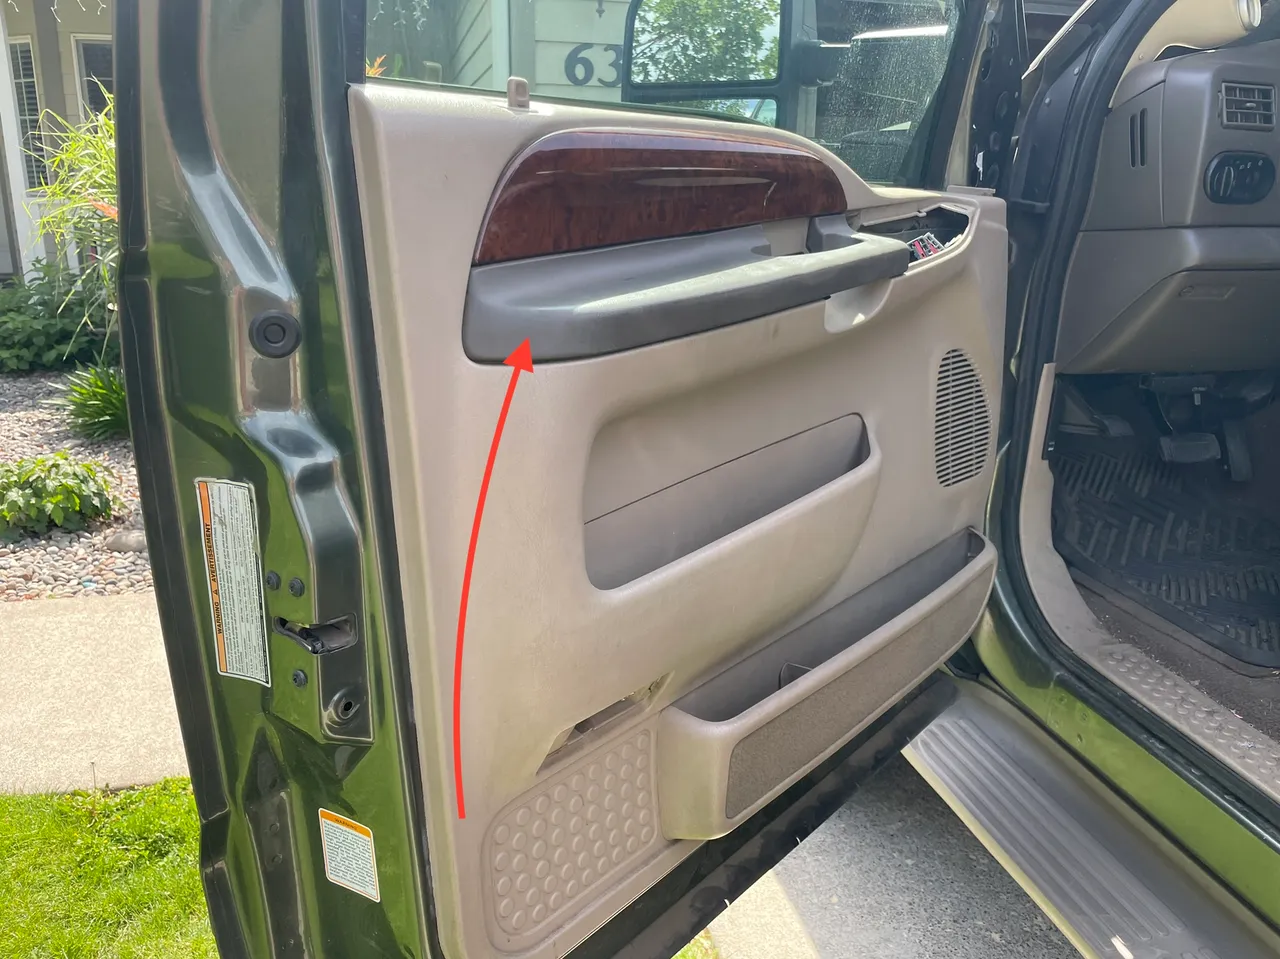
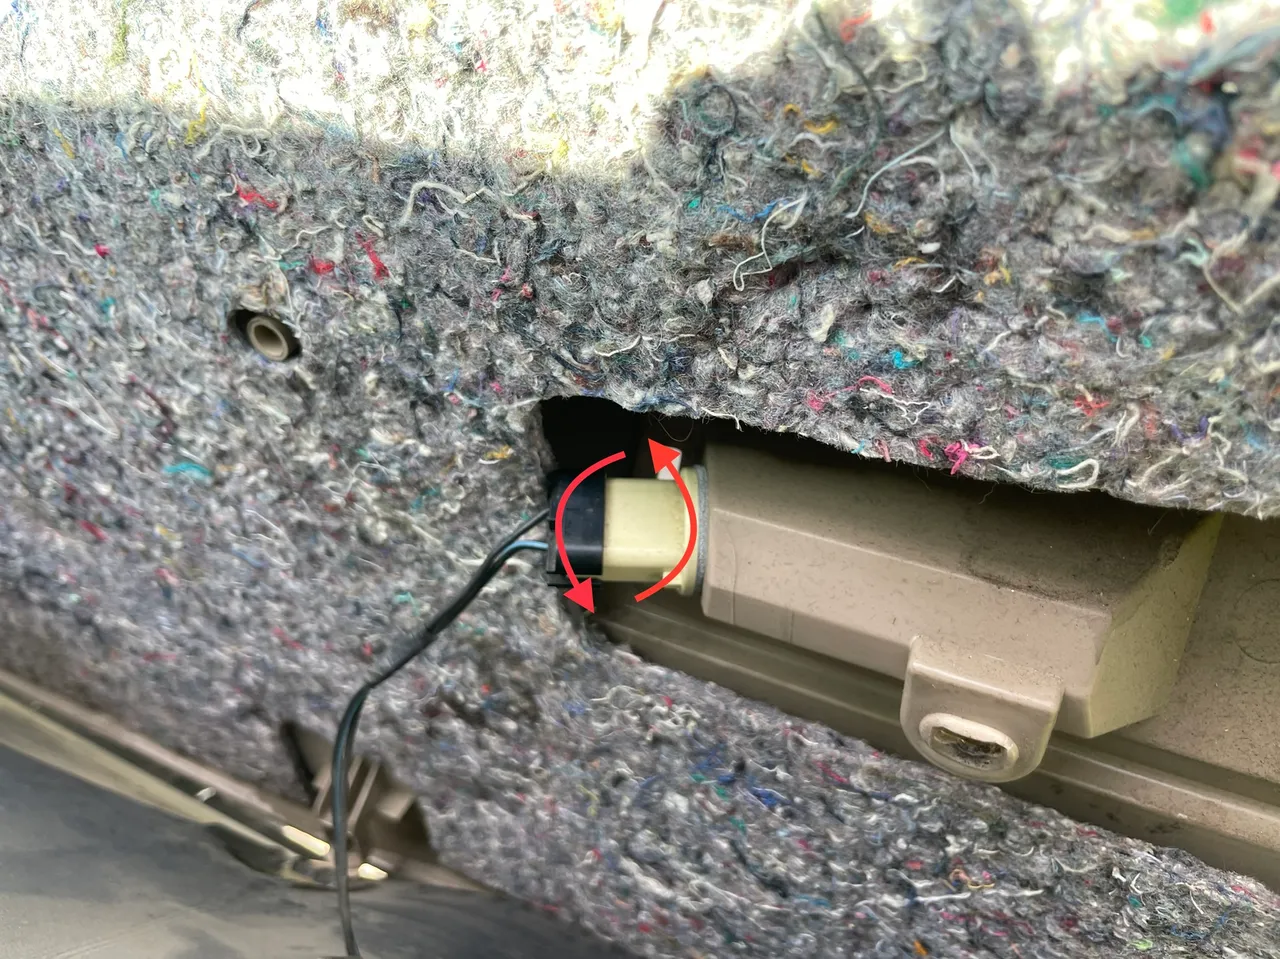
Don’t just go ripping it off. There is a light bulb that needs to be removed by twisting a 1/4 turn to the left. Then you can completely remove the panel
In order to access inside the door you need to peel back the black plastic insulation stuff on the bottom left corner. Using a T-27 torques head socket remove the 3 bolts holding the door latch mechanism to the door

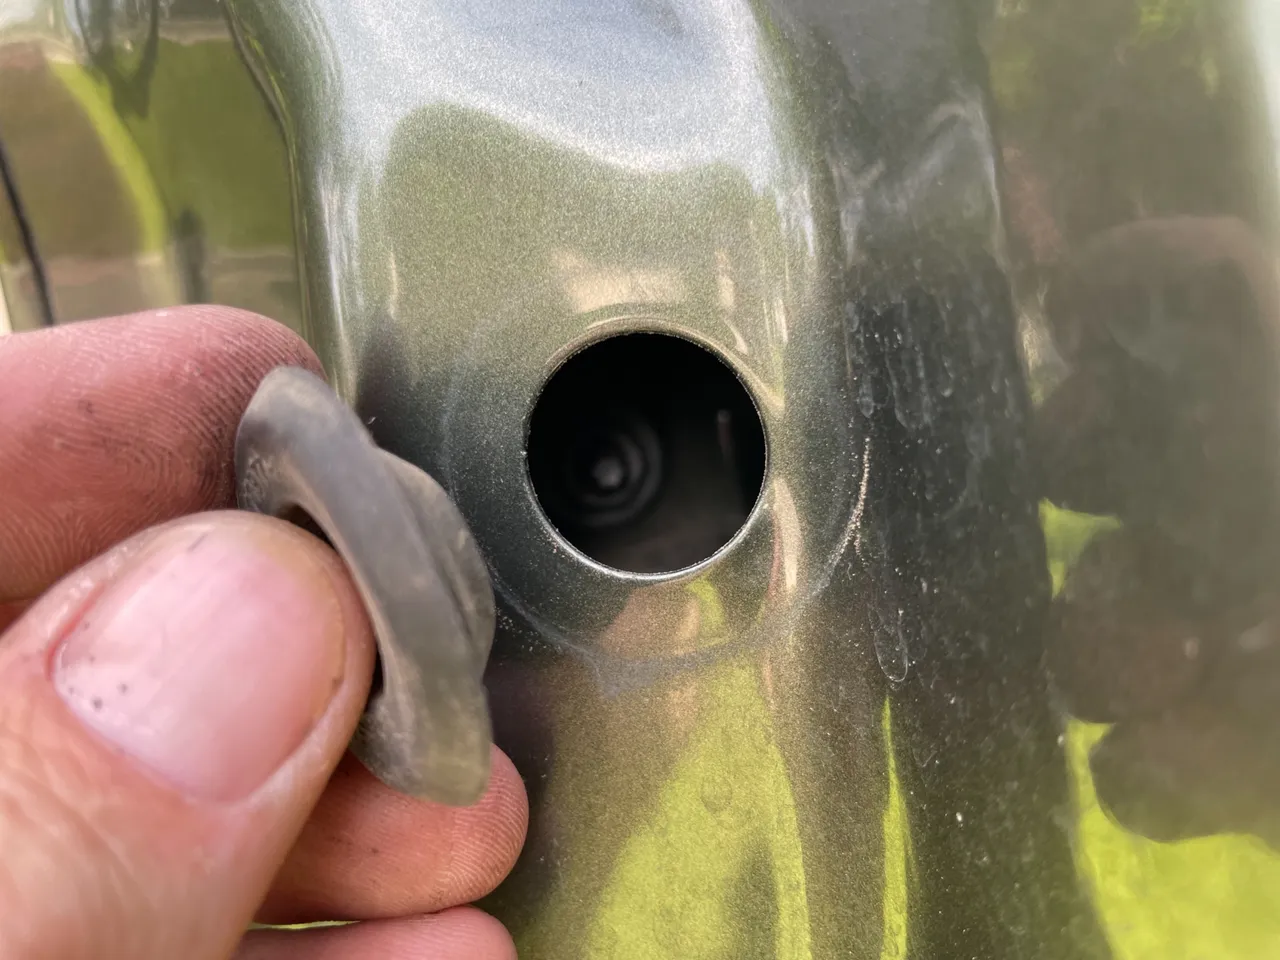
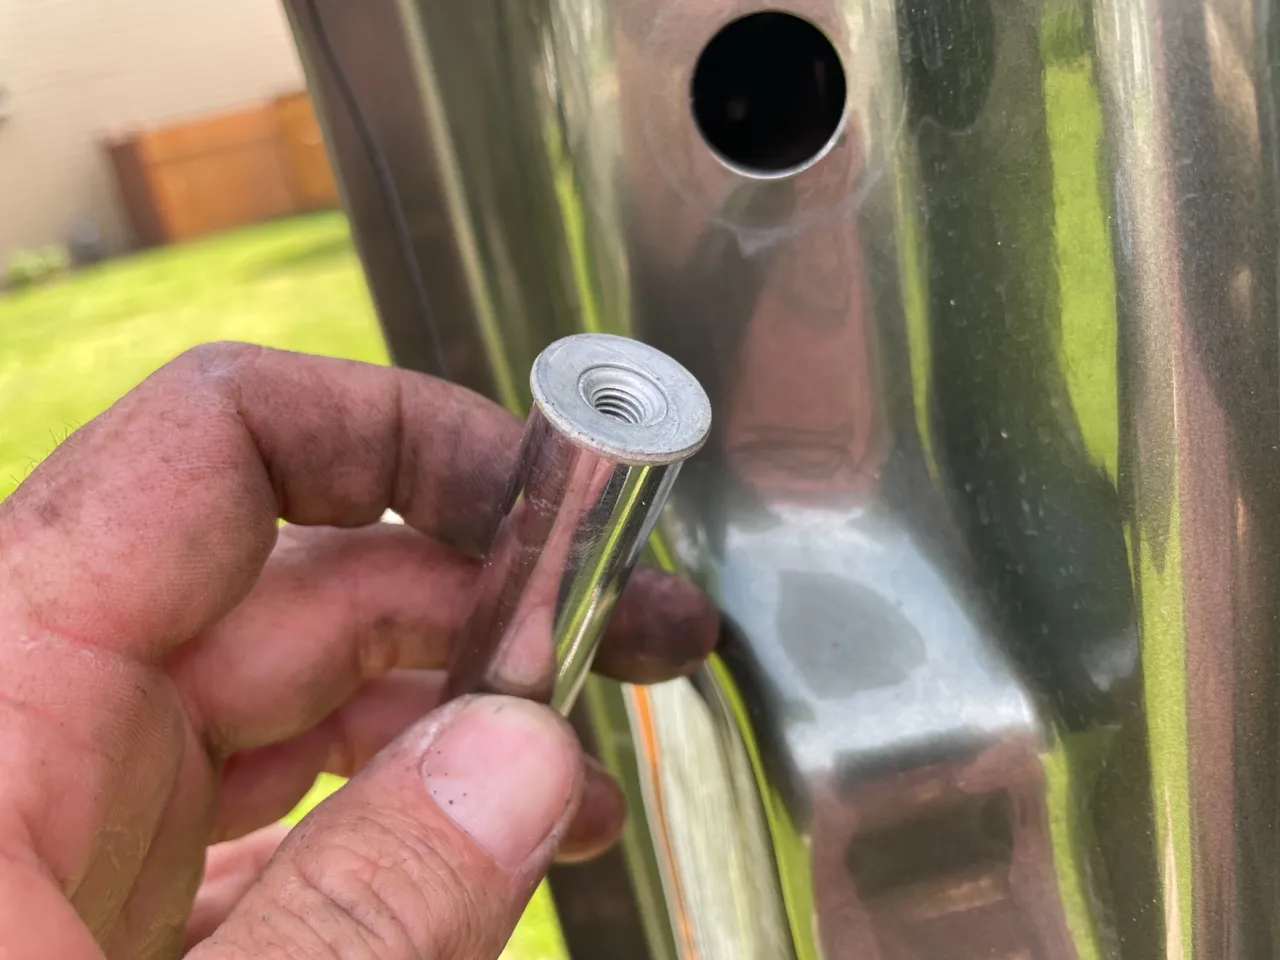
Next is to remove the exterior door handle assembly. There are 2 hidden bolts inside the door that need to be found. One is behind a rubber plug on the left/outer edge of the door
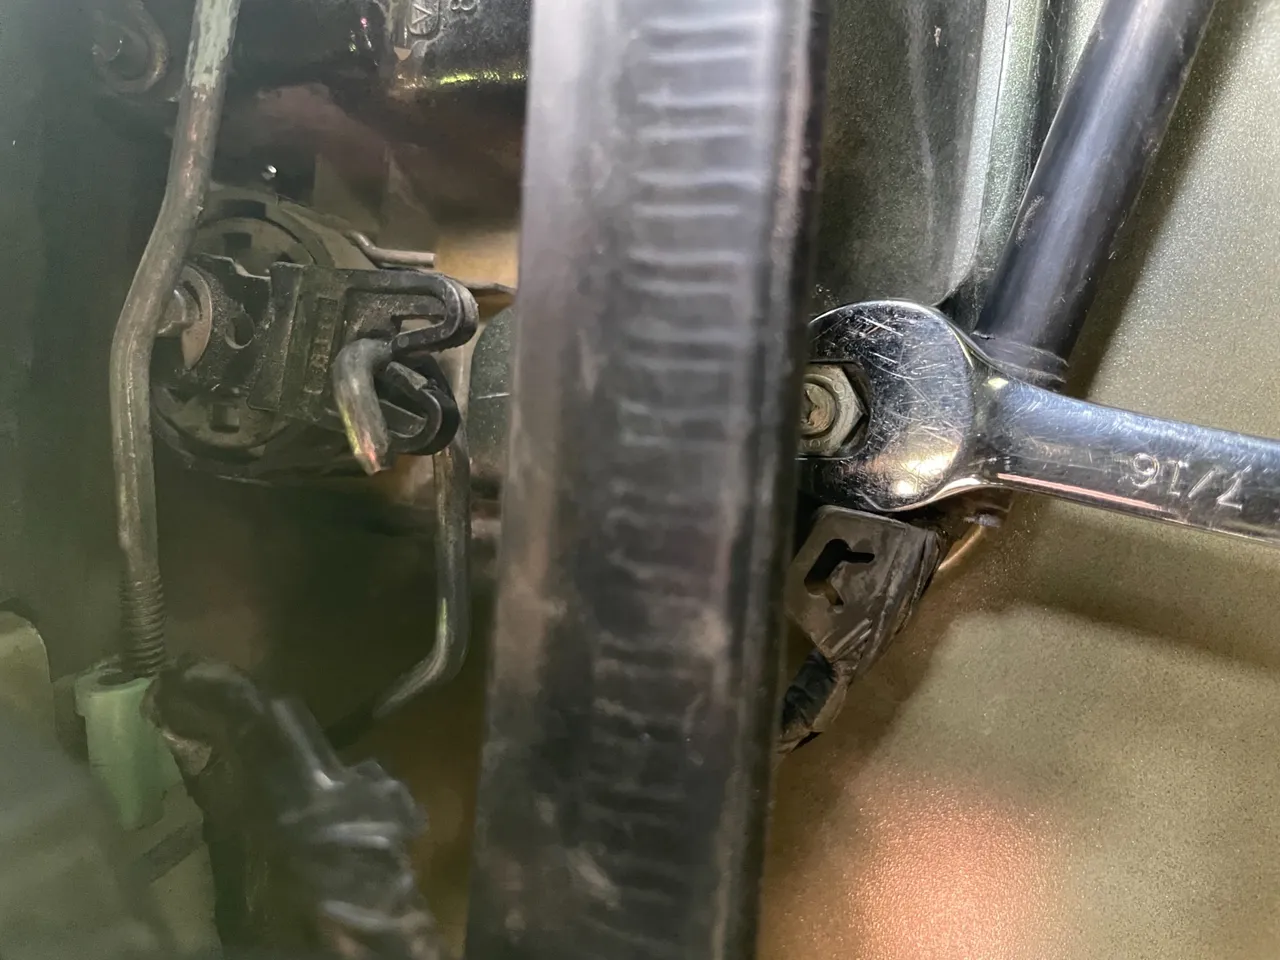
The other is inside the door behind the window track. You will need an open end wrench to get to it. The other you will need a deep well socket or an extension. They are both 7/16
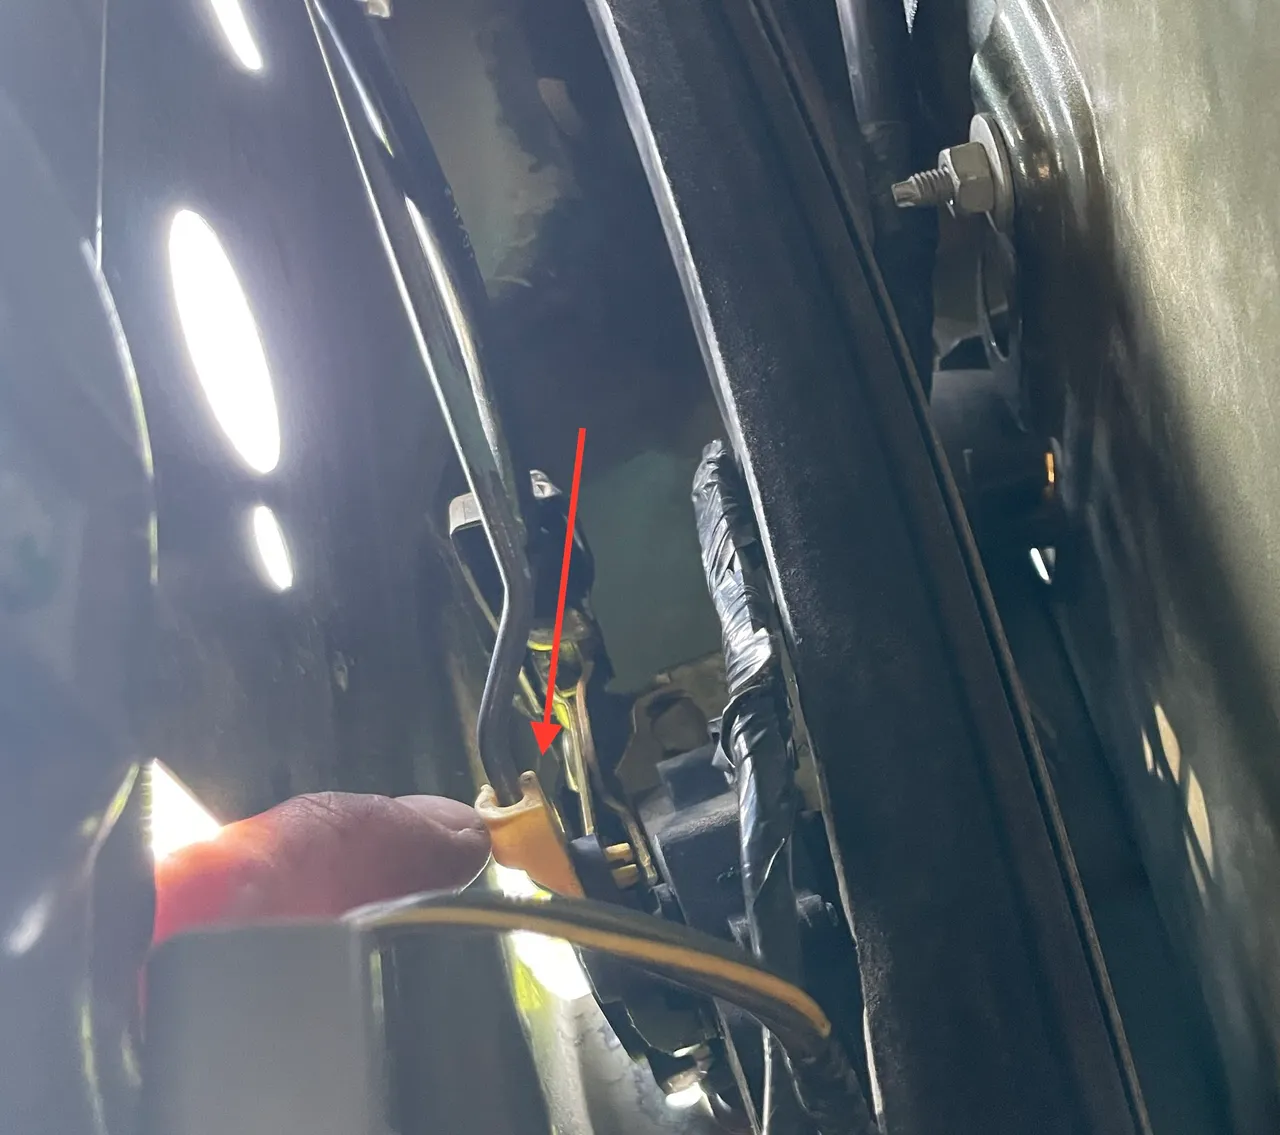
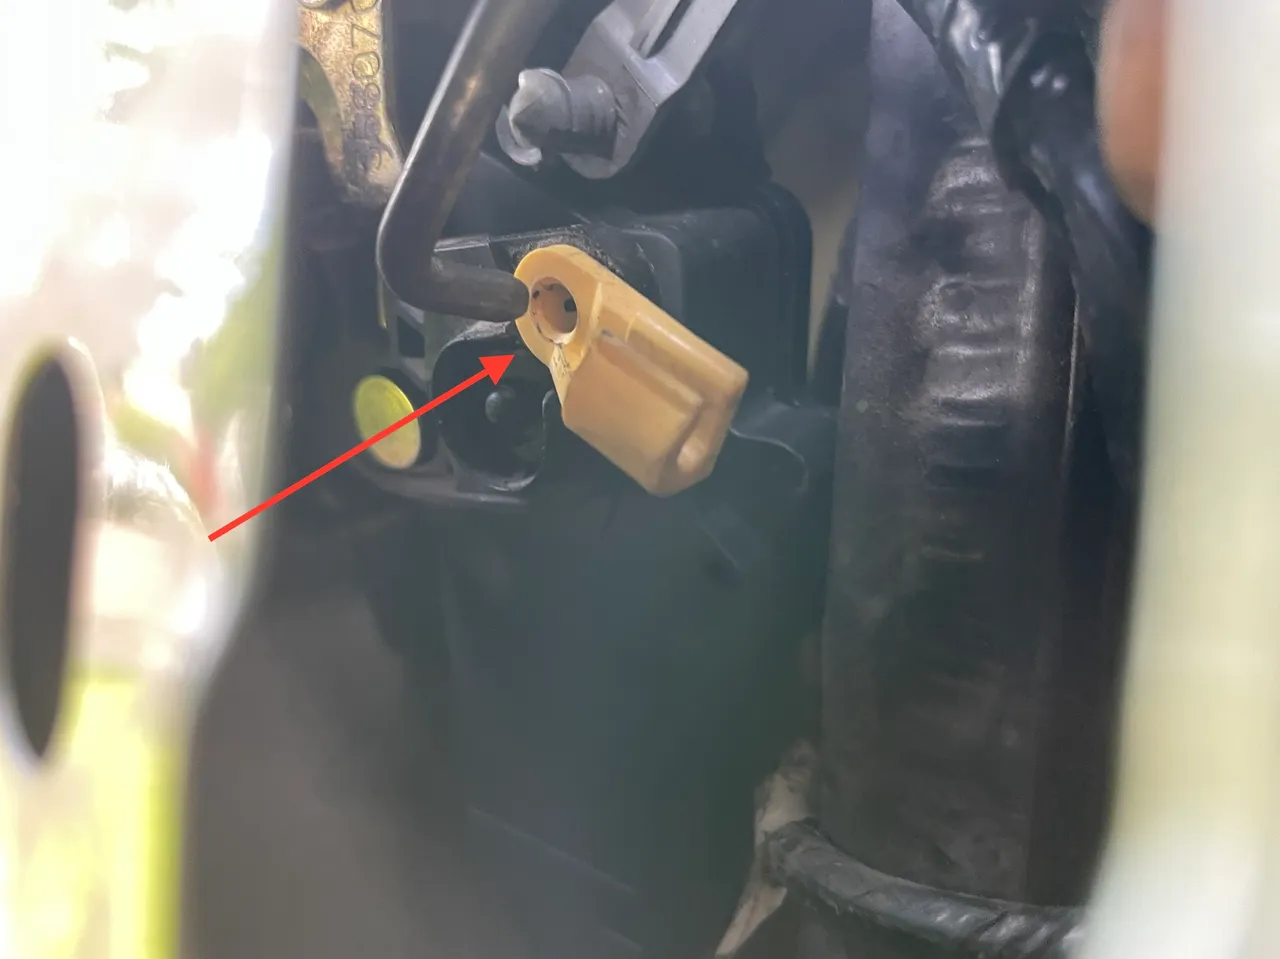
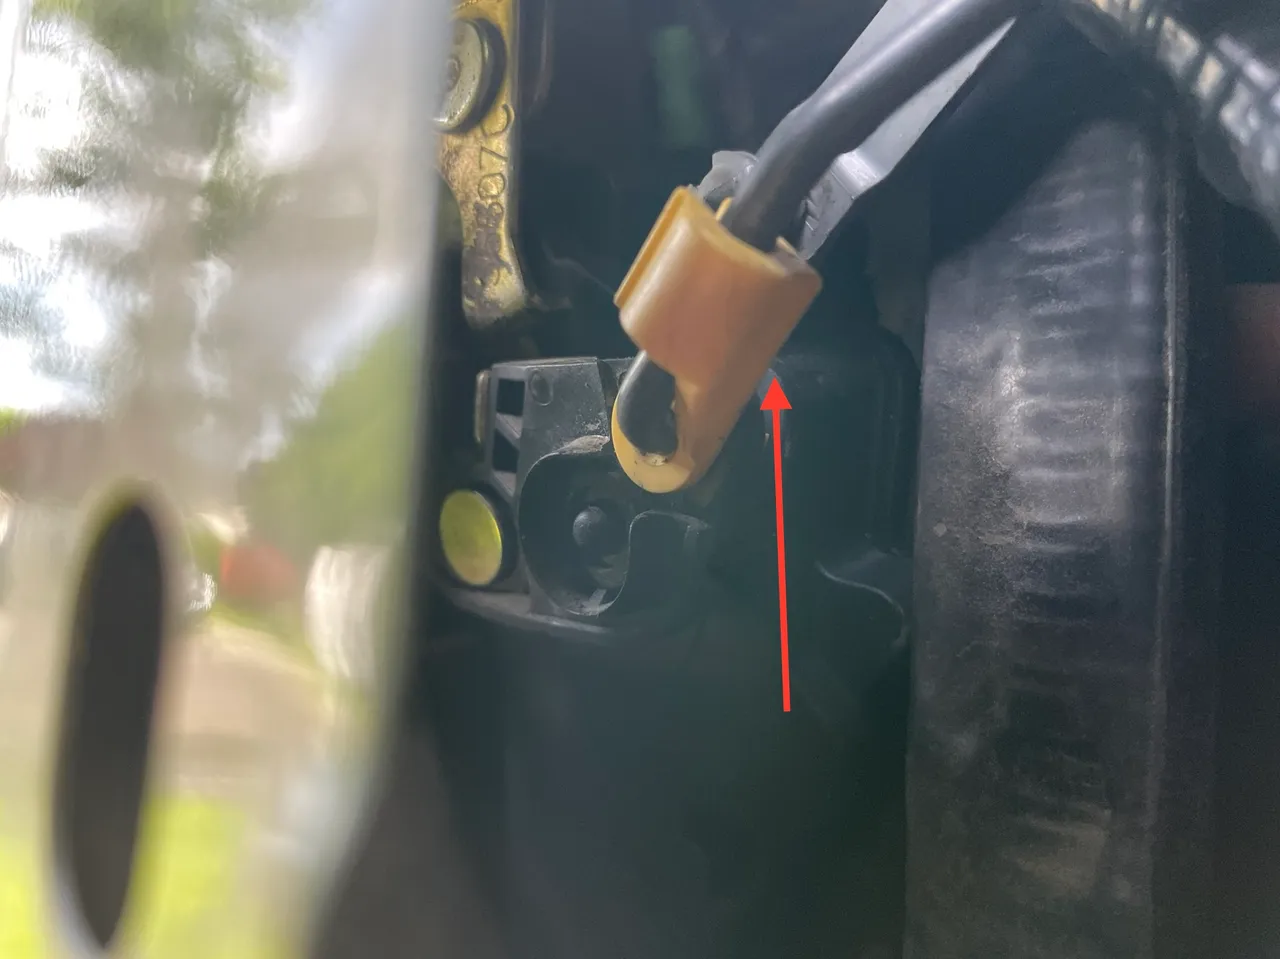
Before you pull the whole door lock mechanism out through the hole left from the exterior door handle, you need to disconnect the rod that connects to the actuator. This rod runs up the door to the little plunger that sticks up out of the door
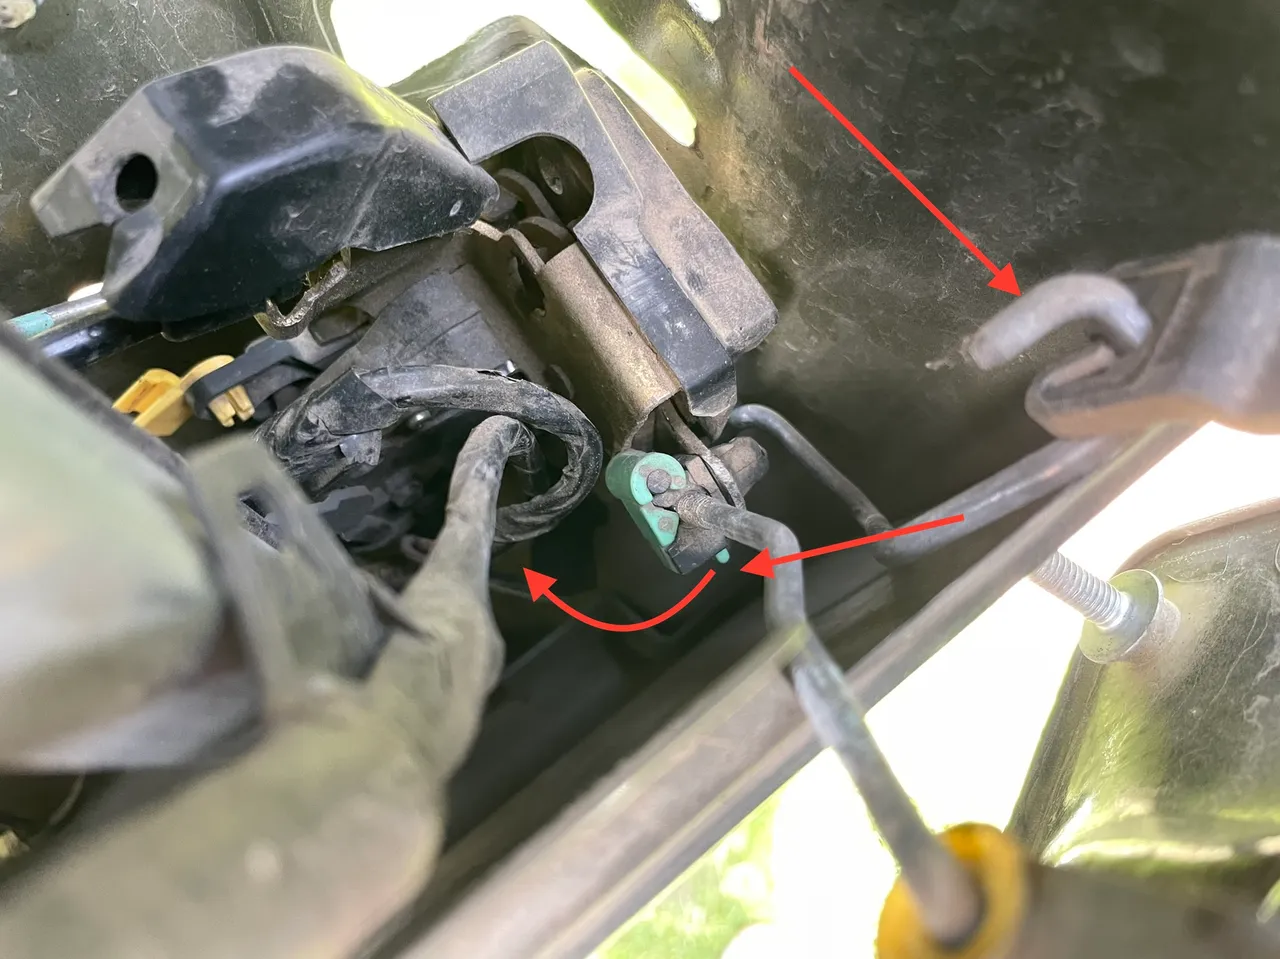
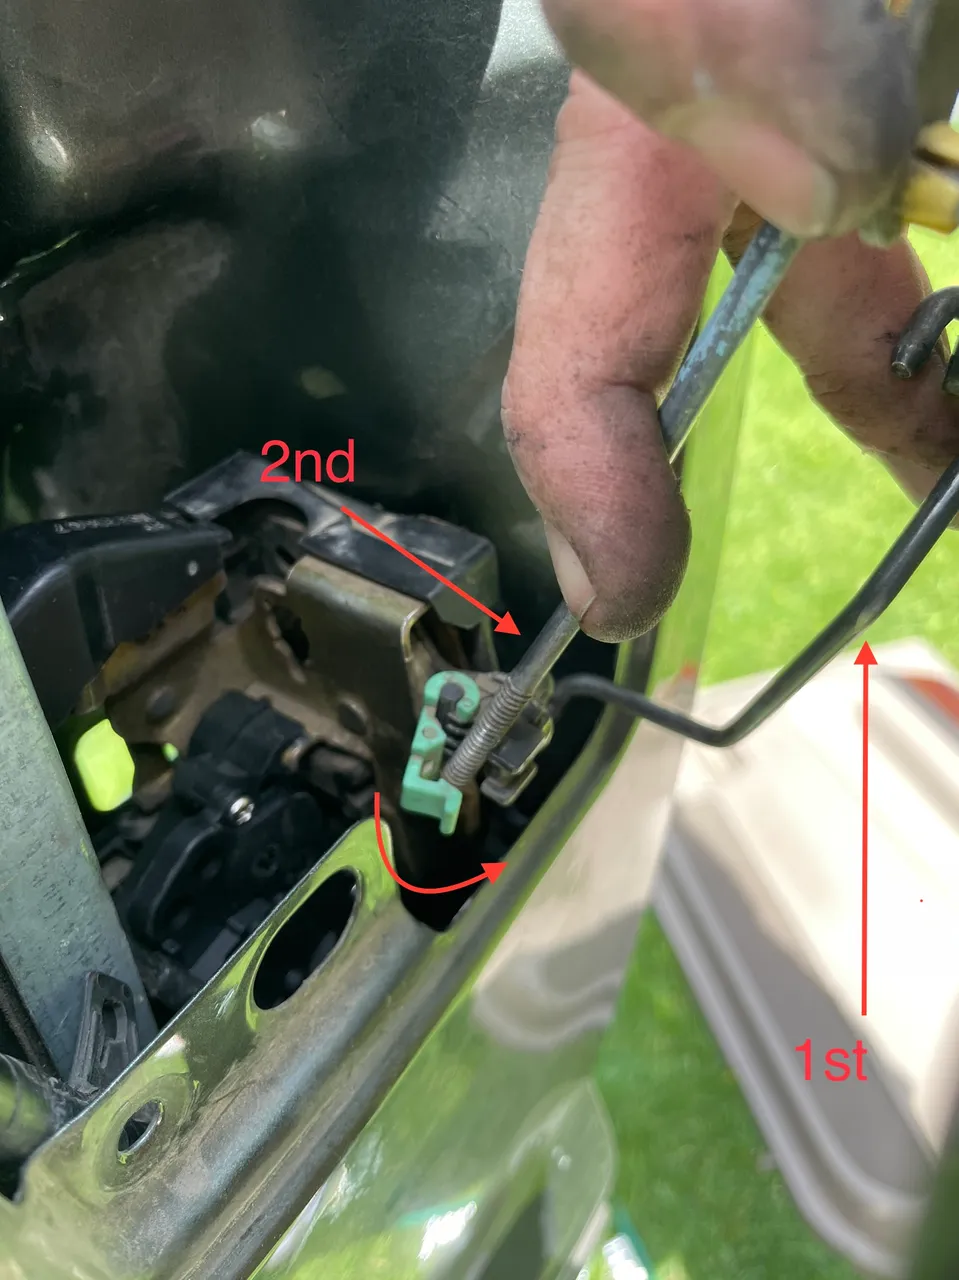
Next the exterior door handle can be pulled out. It’s connected to a couple rods, so those need to be disconnected. Start with the green clip. Then you can maneuver the handle and sort of walk it off the other rod. I used a screwdriver to flip the green clip. I tried with my finger but it was a little tight.
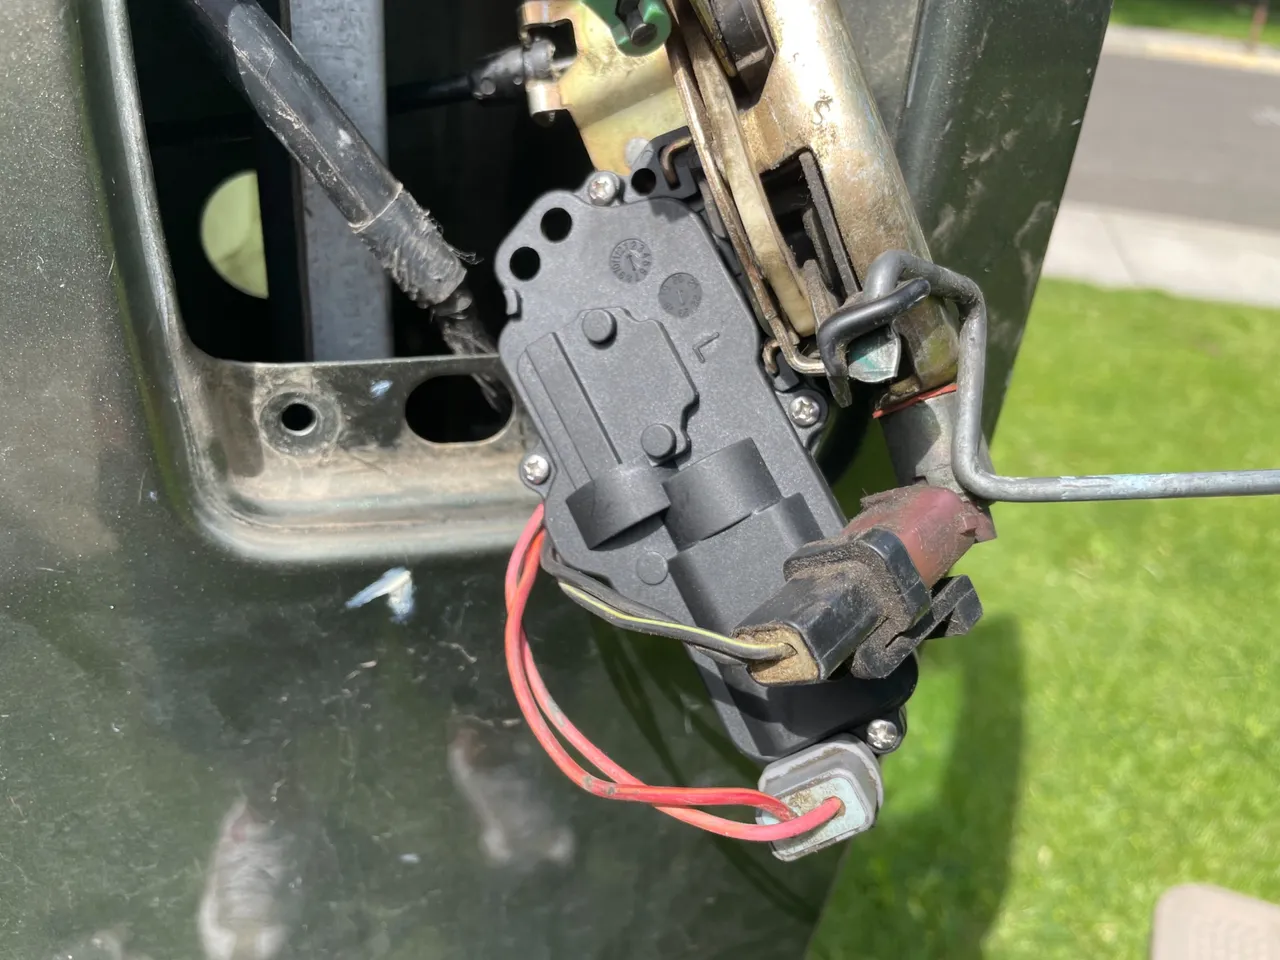
Wiggle the door mechanism out of the hole left from the exterior door handle. There is a wire loom that is connected with a push button that may need to be disconnected in order to get it all the way out. Then unplug the 2 electrical plugs.
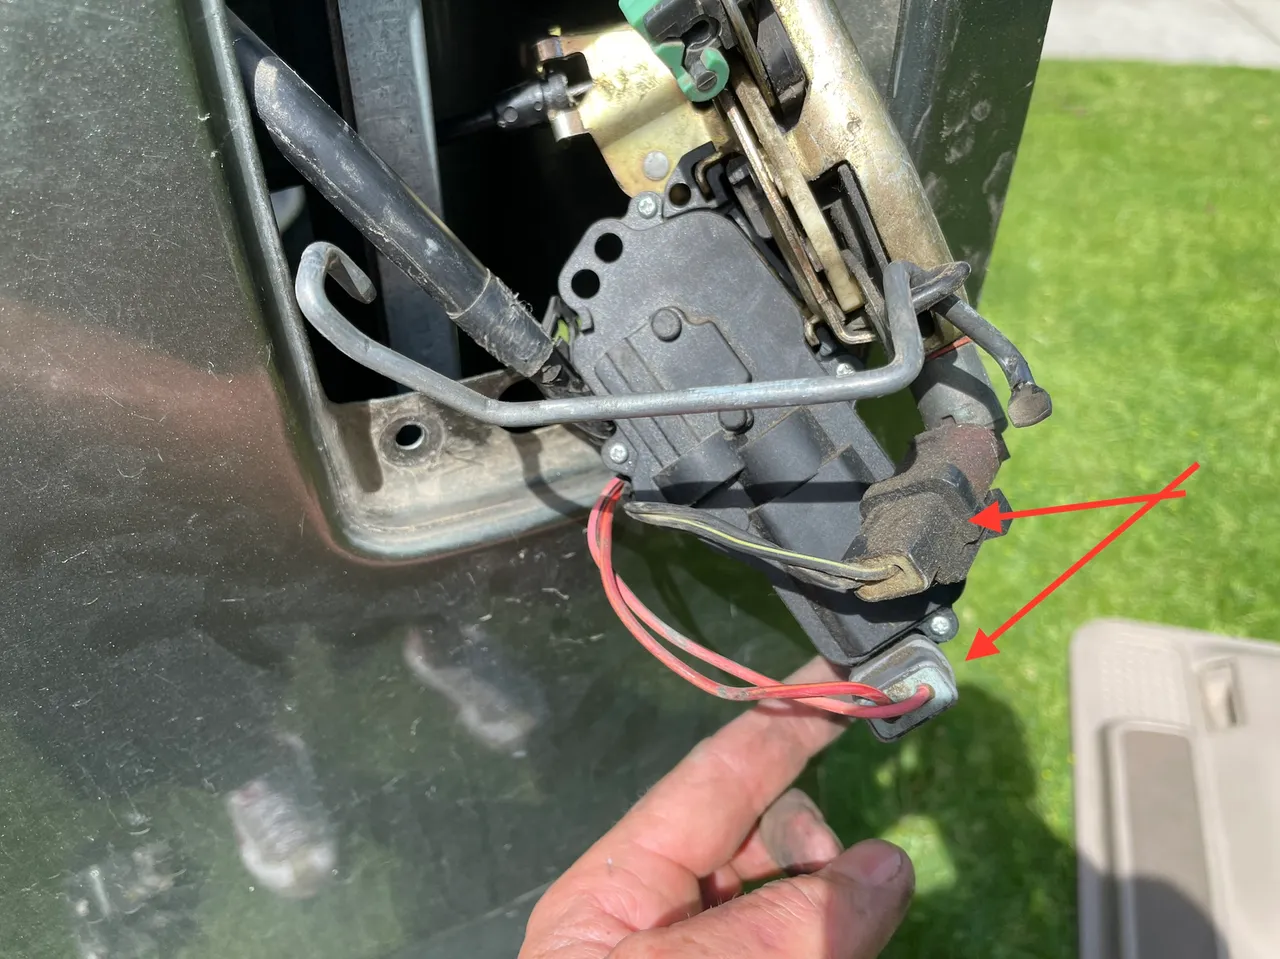
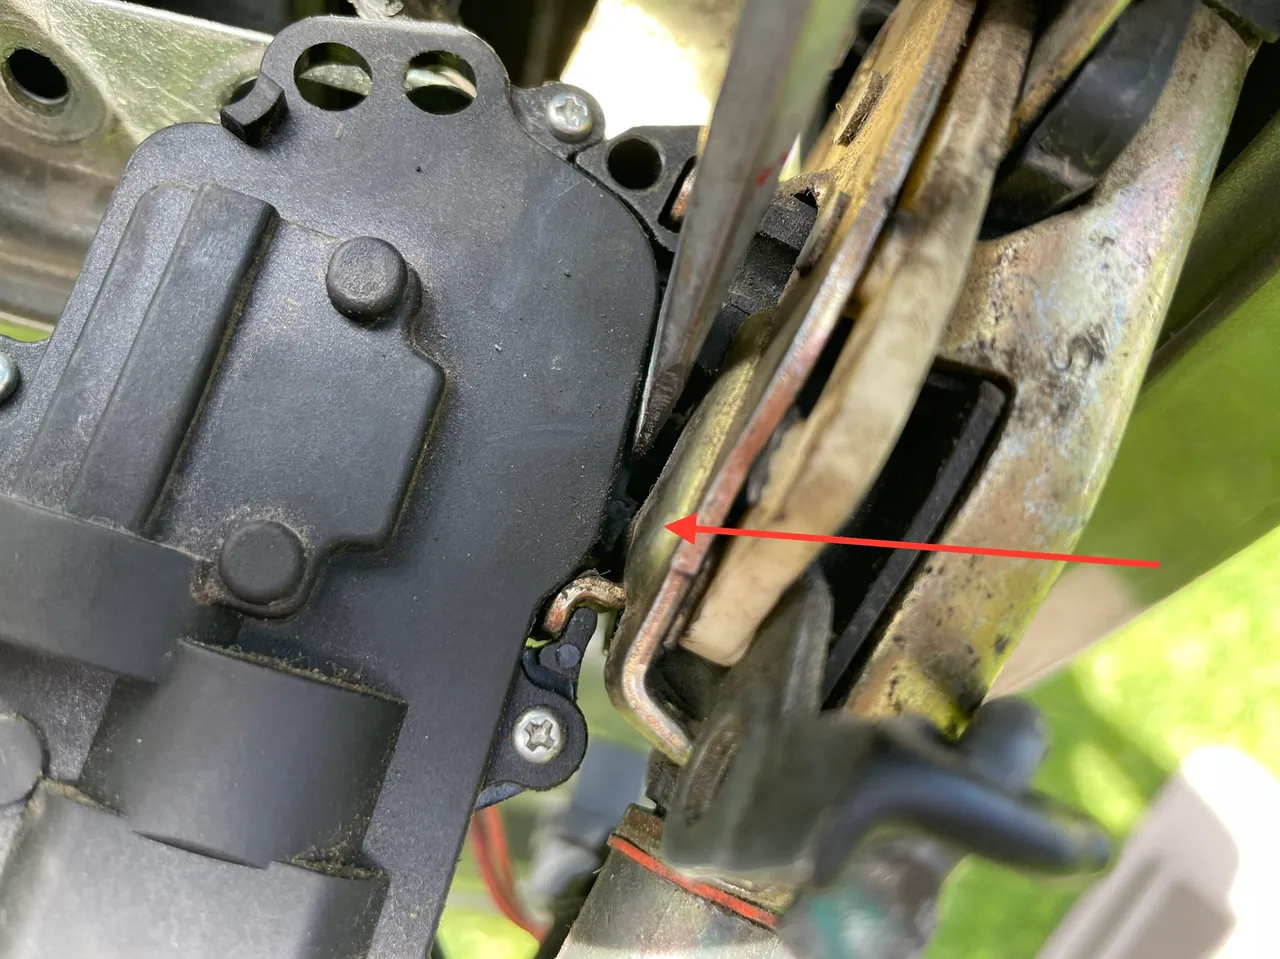
Now the actuator can be slid off of the door latch by compressing a wedge style clip with a screwdriver.
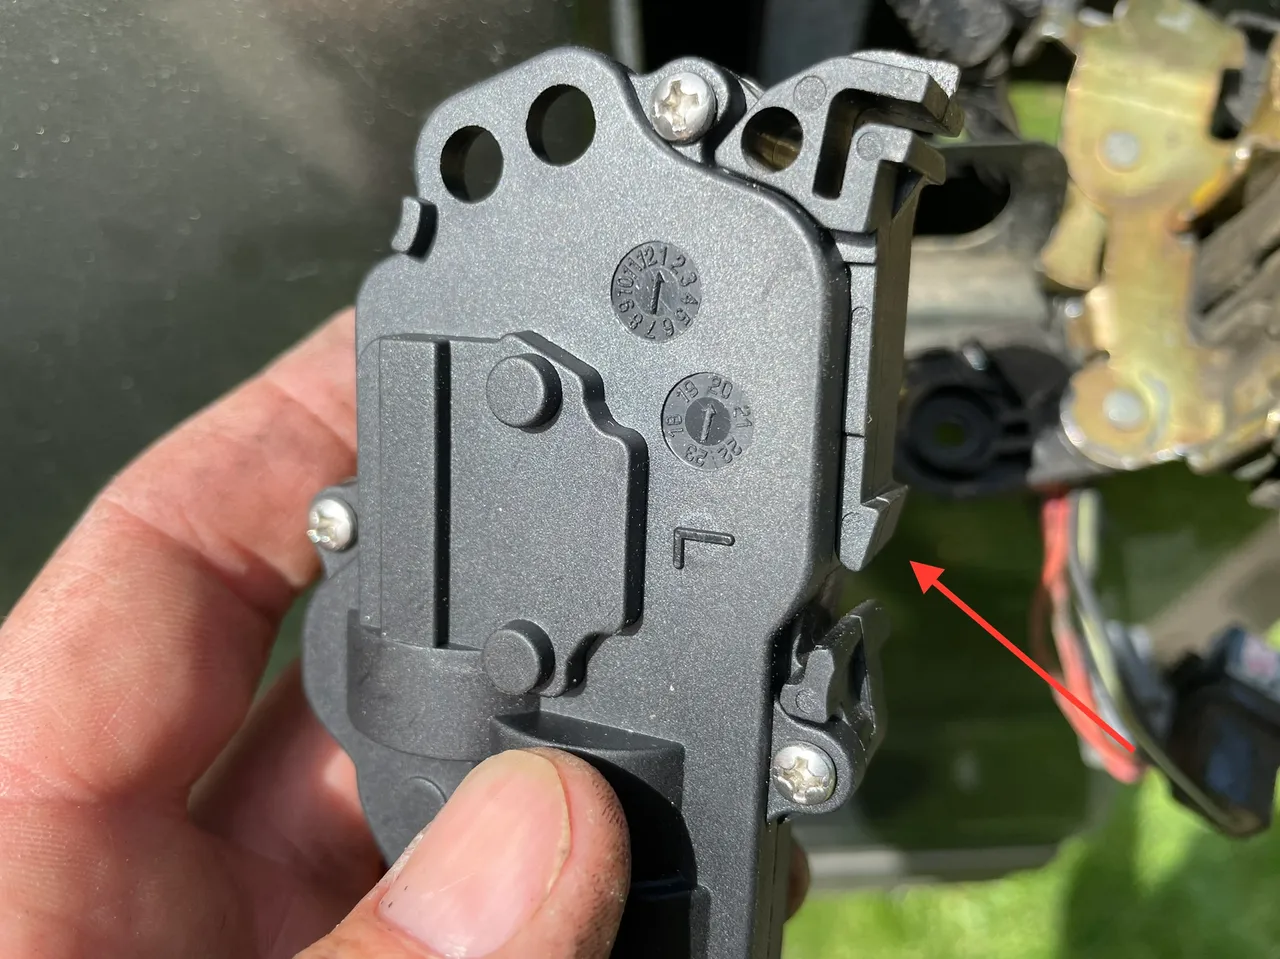
Now that the old one is removed you can slip the new one on making sure to line up the push pin in the back. You should hear it snap into place. Then try and slide it off to make sure it is all the way in. Plug in the electrical connectors..
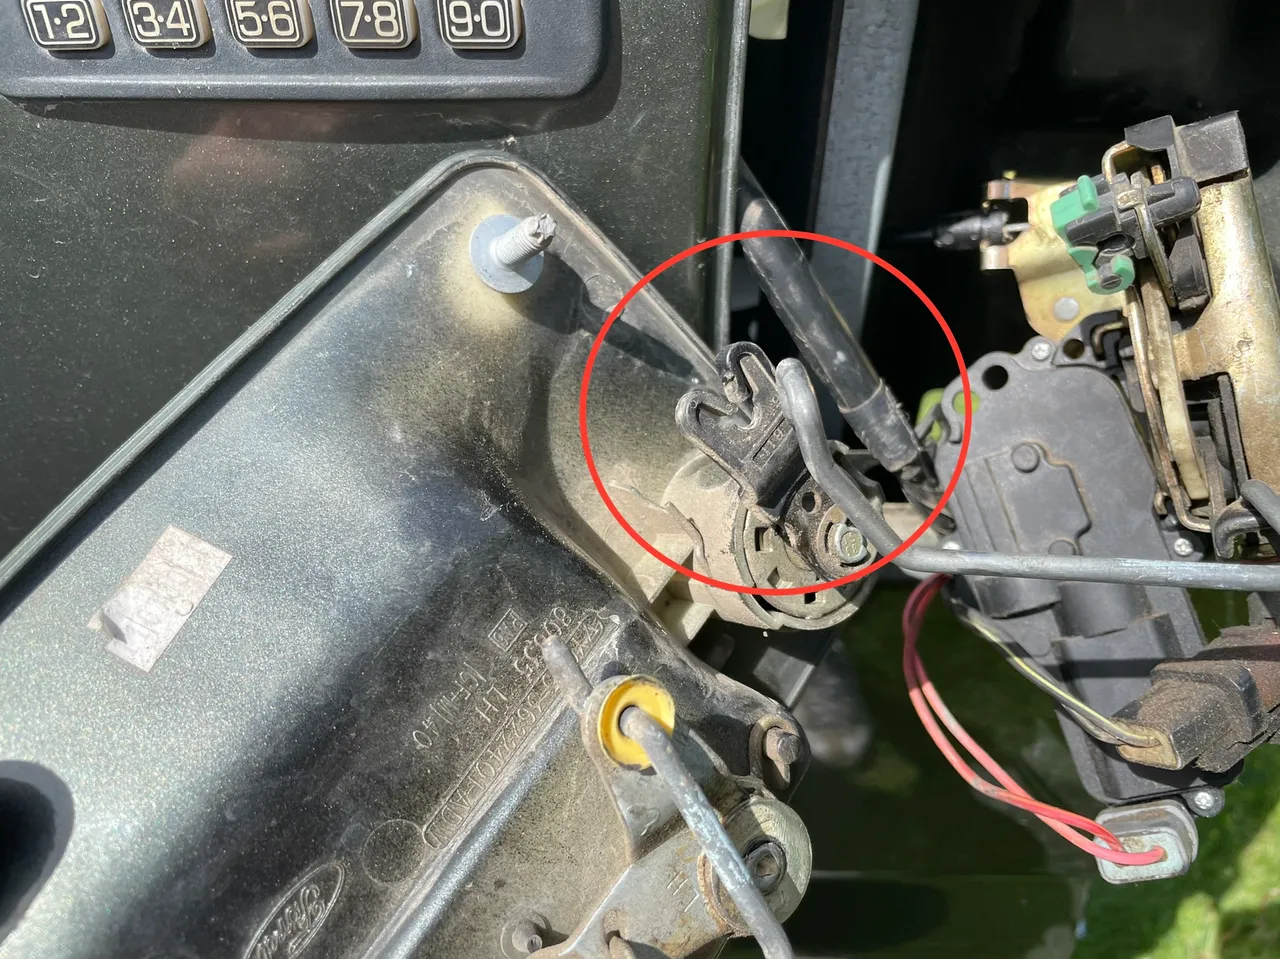
Attach the exterior door handle to the rod with the V shaped retainer on the back. Then lay the other rod in the slot of the green clip and flip the green portion over, locking it in place.
Once all the door lock guts are shoved back inside the door, reconnect the door lock plunger with the yellow retaining clip
Position the door latch mechanism and attach it with the 3 bolts on the left edge of the door. Then attach the exterior door handle. Be care not to drop those 2 nuts down inside the door. They might be fun to dig out of there.
Before you go putting everything back together, plug the door lock button into the harness and give it a test.
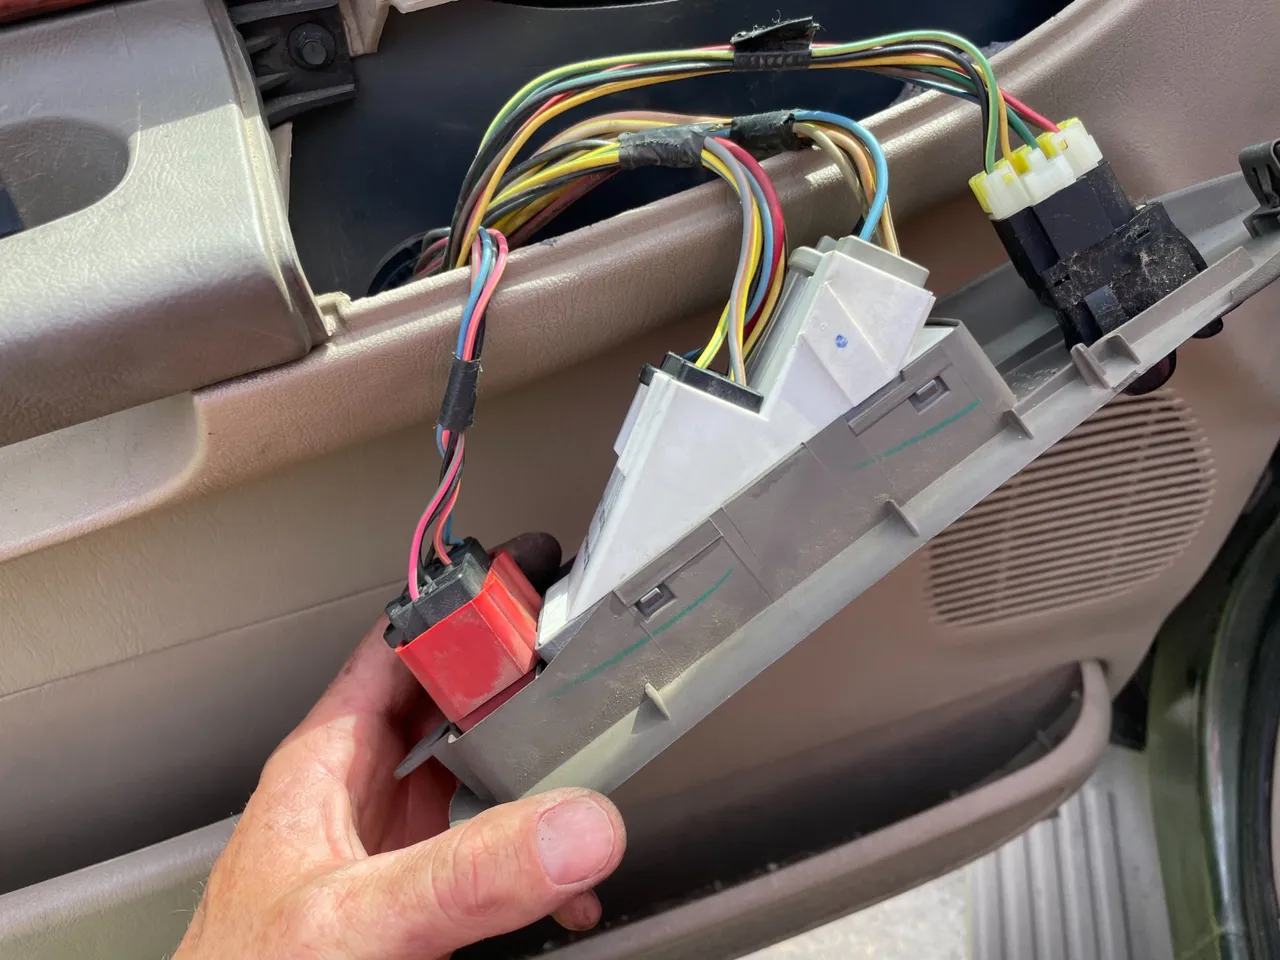
Would you look at that… It works!!
Now it’s time to put it all back together. Grab the door panel and attach the light first by twisting it 1/4 turn to the right. Then line up the downward facing hooks with the holes in the door.
While pushing the panel toward the door, slide it down into place. Make sure the door lock plunger comes up through the hole in the top of the panel
Once that is done everything can go back together. Install the 2-7mm bolts, plug in the electrical to the door lock, mirror, and window controls. Install that control panel, pop the triangle black piece into place and install the light cover
Overall it took me about 45-1hr to complete. It can be a little tricky getting access to some stuff but it can be done. I bet this would cost over $100 for a mechanic shop to do this. Instead it was $15 and an hour of work. Time to mark this off the checklist of things to do and onto the next one.
Save yourself some money and learn something new during the process. So grab some tools, do a little research and get those DIY hands dirty
CHEERS


Your Random
Dose of...