One thing I’ve figured out about myself is that I love staging photos.
No matter what the subject of my post is I always try to put it in the best spotlight to showcase it well. I feel a photo, specifically a cover photo, can really tell a story and get the readers in the mood for what they’re about to embark.
As you know, we’ve been doing photoshoots and trying to gain clientele for our family photography business. We were thinking our main focus would be portrait photography but now we’re seeing it may be geared toward other areas as well.
When my cousin hired me back then to take photos of her event tables, I fell in love with photographing products in close range and capturing the essence of her decor work. From there I was able to improve on my photos used for Hive posting. It was a stage of learning and growth that I am so grateful to have experienced. Being hired for a job makes you work harder and find ways to constantly enhance your skills.
Remember the post I did last week sharing about the custom bracelets I purchased from the young entrepreneur? Well she and her mother loved those photos and will be using them for her website! Yay! I was asked to take a photo of the keychain she made for me as well. Here is the outcome…
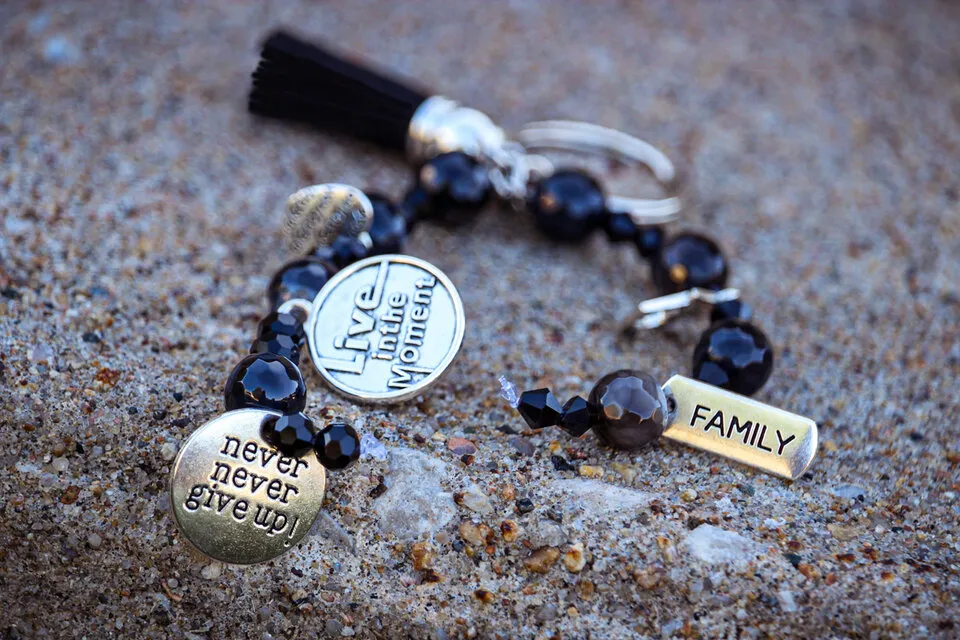
I took this photo in the evening light and staged it on the concrete right in front of our home. I wasn’t focused on trying to get every piece of the chain but just making the parts in focus look their best. I laid it out in a position where most of the charms could be read.
I am happy to report her mother thought the image was stunning!
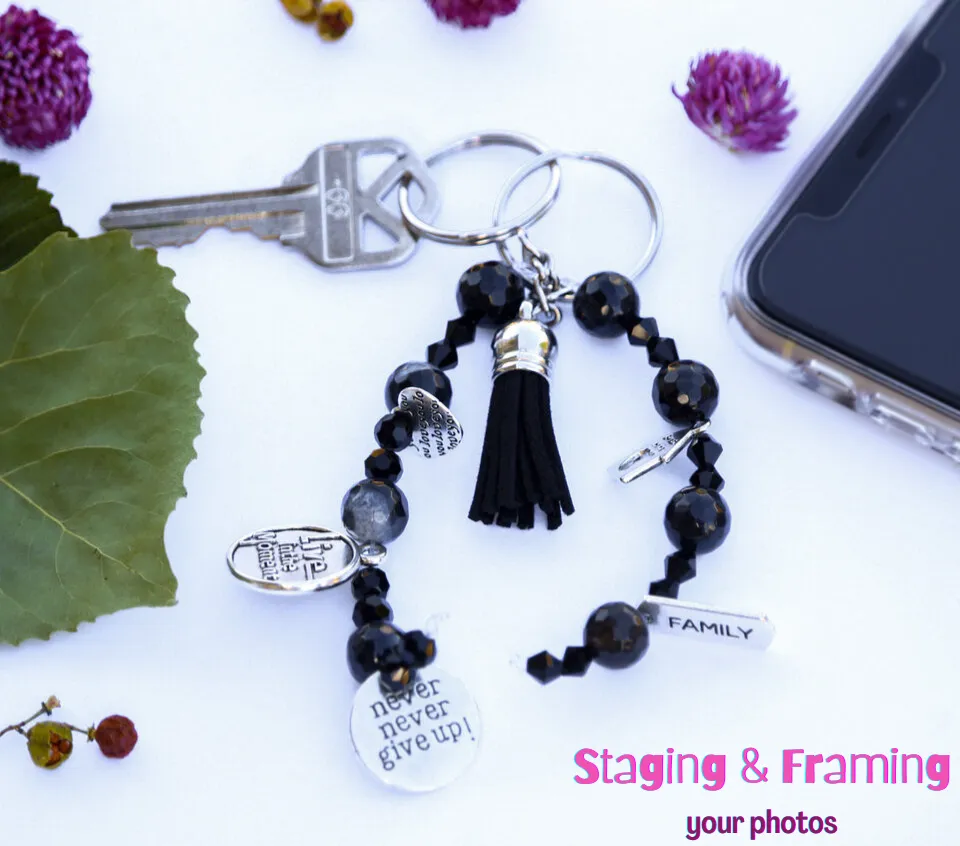
The cover photo was the first image I did with her keychain. As you can see I added a key, the cell phone, some leaves from around our house and a few of my dried herbs to frame the photo.
I think I will be looking into product photography since I love this aspect so much!
🅦🅗🅨 🅕🅡🅐🅜🅔 🅐 🅟🅗🅞🅣🅞?
I could have easily took photos of the keychain on a white background but the added items along the edges gives the eyes more to look at and makes the photo more interesting and full.
Framing your photos helps draw attention to your subject helping the viewer’s eyes to zoom in to that focal point. It’s like you’re actually framing it and saying “here’s the star of the show”. It also gives a photo a warmer complete feel instead of having a subject stand alone with a plain colored background. It spices up a photo as a whole and gives it a bit more life.
Framing can also add an illusion of depth or a sense of various layers.
🅗🅞🅦 🅣🅞 🅕🅡🅐🅜🅔 🅟🅗🅞🅣🅞🅢?
I’ve been practicing and playing around with some different techniques and I thought it would be cool to share them with you.
I am by no means an expert when it comes to this but just simply learning as I go.
I’ll be showing you some before and after shots to help you see the difference that framing your photos can make.
1. Adding Extra Visual Interest
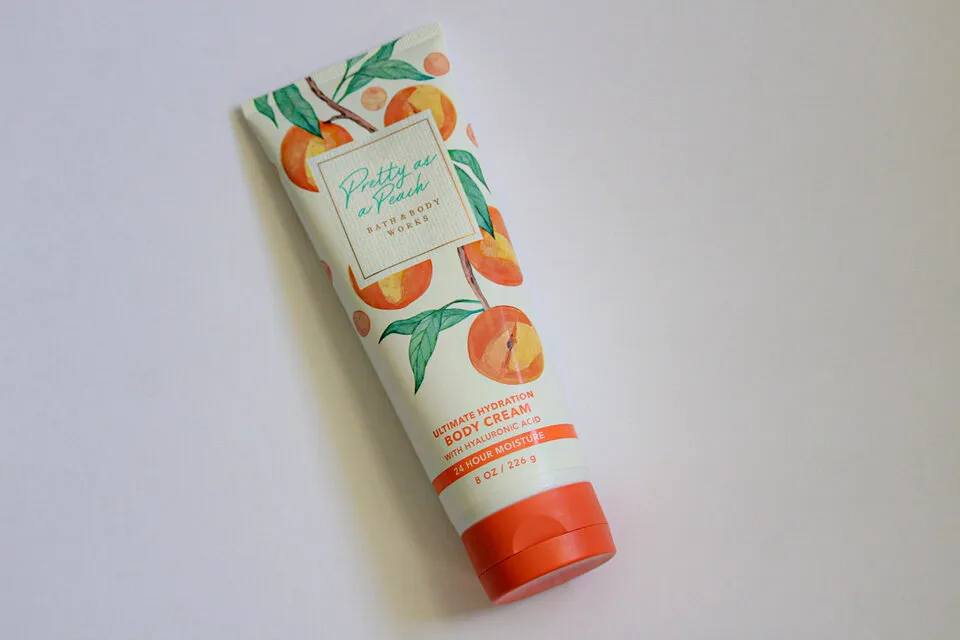
First let’s start with some lotion. When I use this lotion I think of how silky it makes my skin feel. I want to help display this and show the effect it has on my skin. I can easily just take a white background shot like this…
or I can add a silky peach colored scarf to frame it…
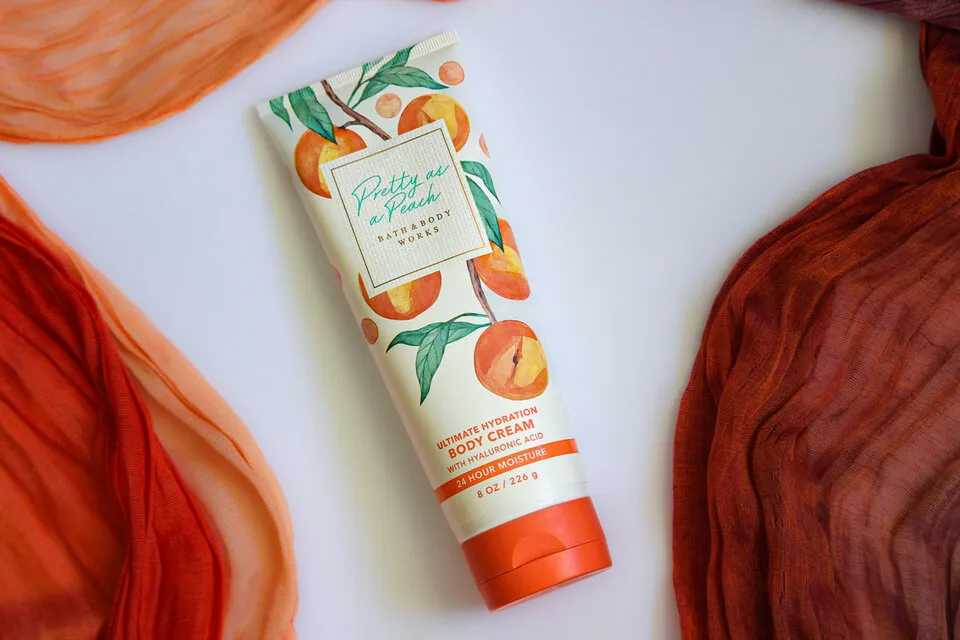
It instantly adds more color, depth and makes the shot more interesting while still keeping the focus on my subject…the lotion.
Here’s another lotion. This one smells amazing and is one of my favorite scents. Once again here’s a stand alone photo…

and here it is after adding some dried flowers to it…
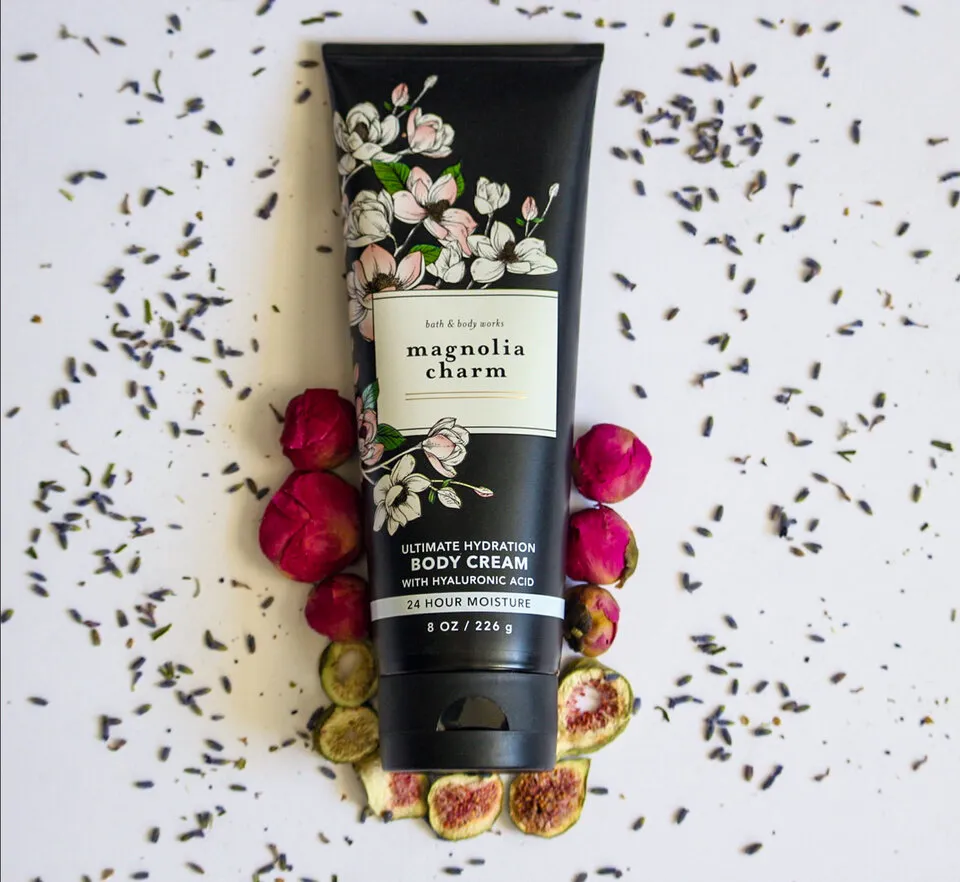
You can frame directly against the subject and/or by spreading elements further out from it. Framing the lotion with the dried flowers and herbs helps to further express the mood and even give a sense of the smell.
Getting the picture? I’m sure you are but I have more to share. 😆
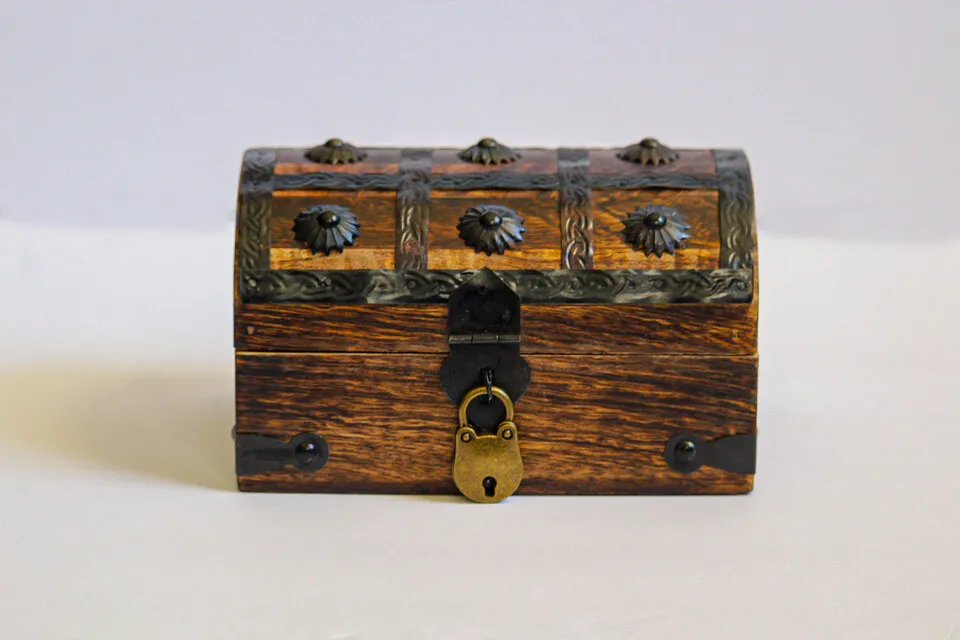
Let’s move on to this treasure chest. It’s already an interesting subject and doesn’t need much more to help display that. This moves me to my next point. You don’t always have to frame every corner in a photo, you can simply do one or two.
Here’s the frameless photo…
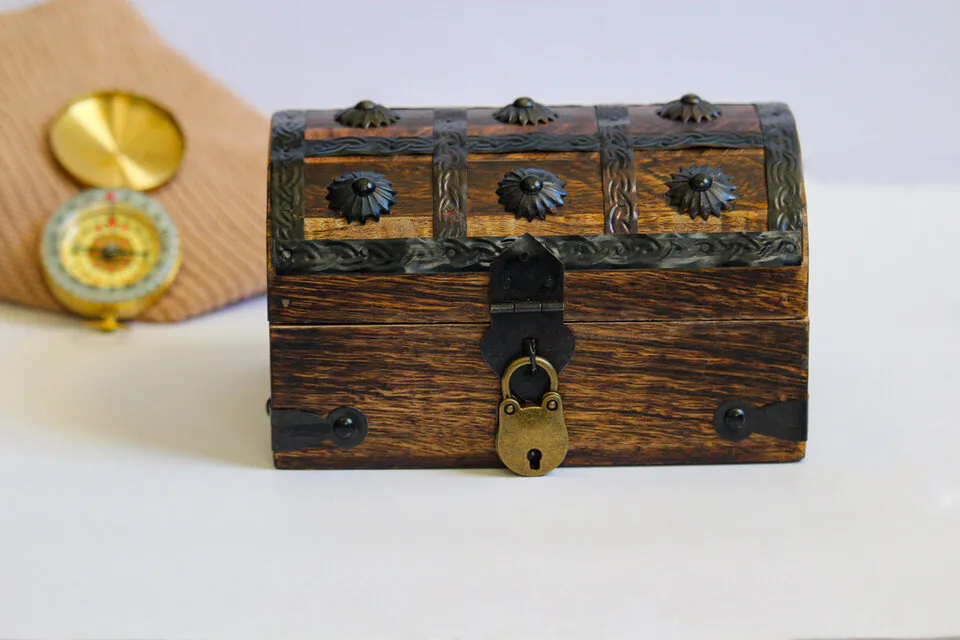
When I think of a treasure chest I automatically think of sand and jewels. I decided to grab a sweater that resembles the color of sand and put a compass on it and that was it. That’s all I added to the background for this frame…
2. Shooting Through Objects
Another way of framing a photo is to actually shoot through an object. The object you use frames the subject in your photo. This was my first attempt at doing these so I need to do a whole lot of fine tuning. I still wanted to share the results with you.
In this photo I framed my daughter’s watch with a red crocheted chain I made. I call this photo Tιмє ιѕ Fα∂ιηg…
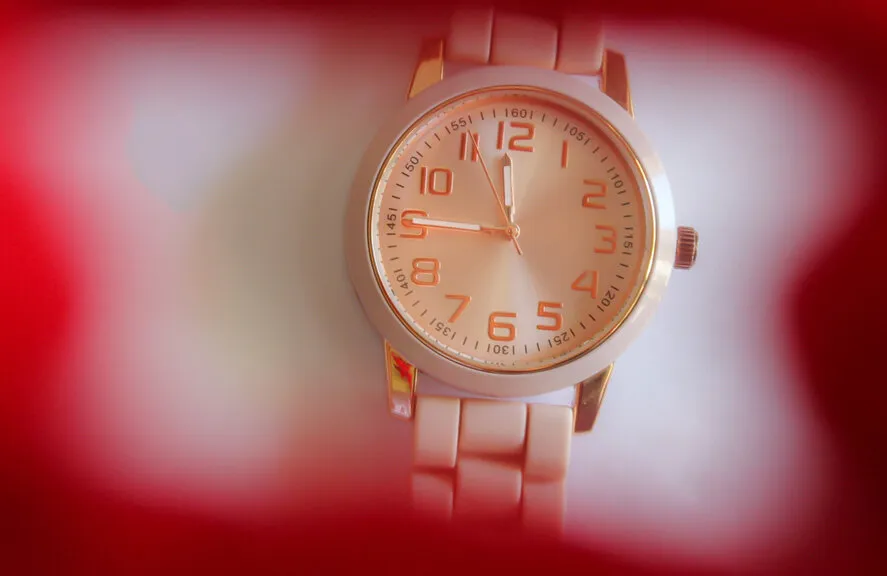
I had a lot of hands helping me with this one. One of my sons held up my white photo board while the other one held the watch up against it. My daughter held the crocheted ring as I took the photo. It was a lot of work because there were moving hands and tired arms but I finally was able to get a stable shot lol. I will definitely be practicing these types of shots more because I like the look of them.
This next one my daughter hung a triangle instrument over a unicorn toy. At first I tried to edit out her fingers but then thought it made the photo look more interesting (obvious that someone was holding it but still interesting). I call this one…oh who am I kidding I don’t have a name…
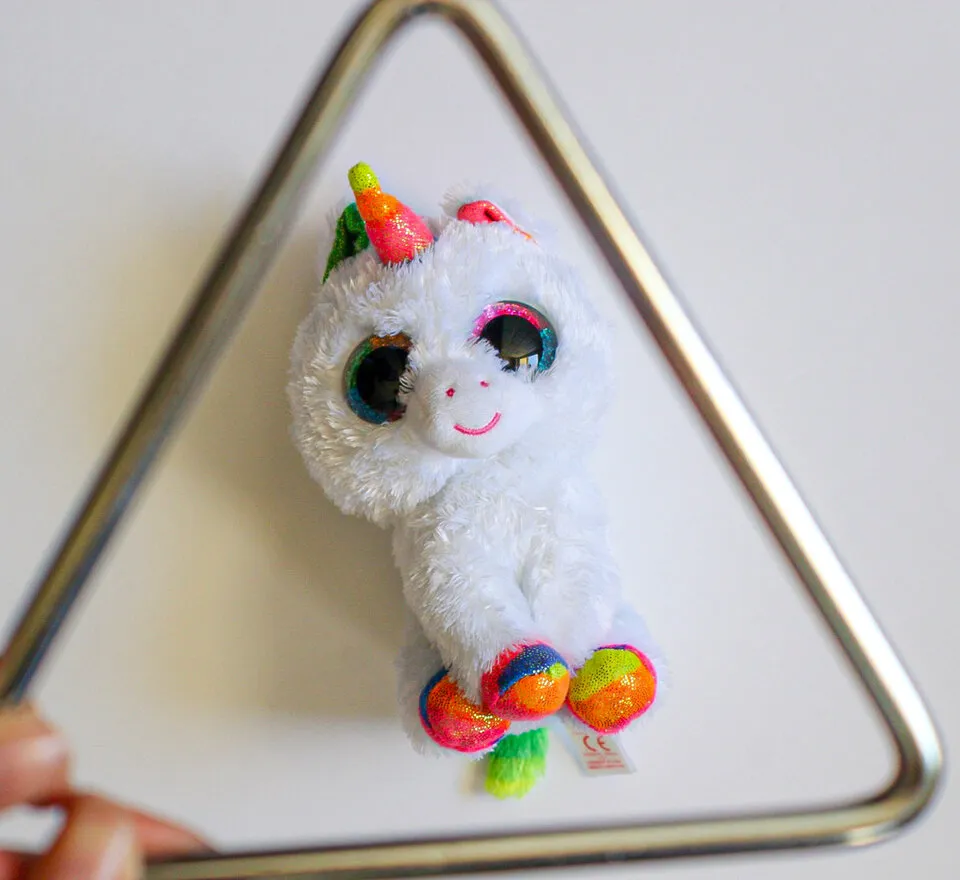
Notice in both shoot through photos the object is blurred out making the subject seem even more in focus. The blurred effect helps guide the eyes directly to the point of interest.
3. Using Contrast to Highlight Your Subject
Finally, I’d like to talk about contrast.
I’m learning that photographing hard objects on top of a soft background has a highlighting effect. It automatically frames your subject by standing out from the background. Vice versa, placing a soft item onto a hard background has a similar effect.
For this last photo I placed a pair of my earrings on top of a crocheted piece I made…
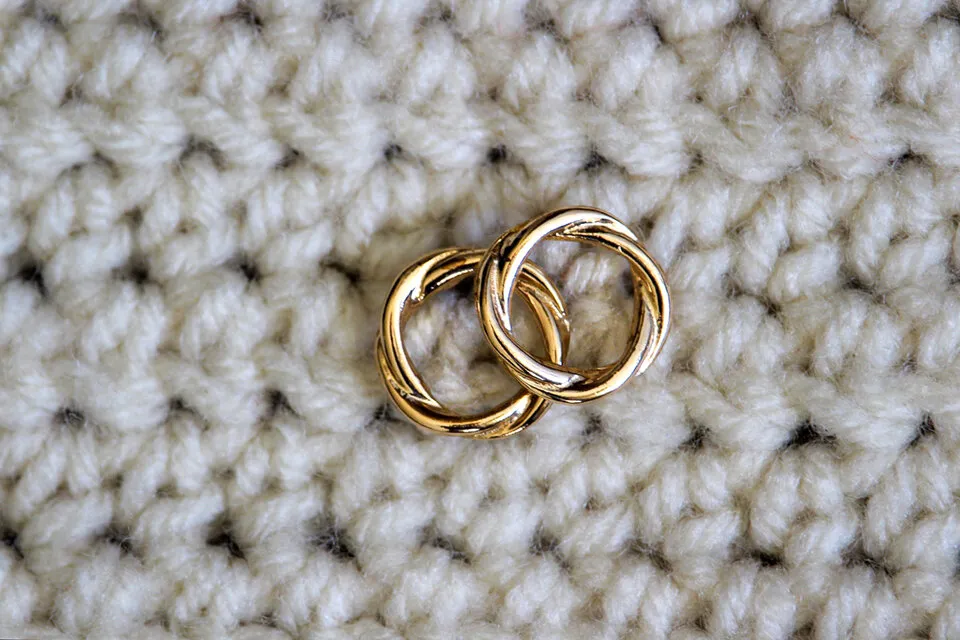
With it being so soft in the background it keeps your eyes focused on the pair of hard earrings. It also highlights the shine and smoothness of the earrings a lot more.
That’s all I have for today!
I’d love to hear what you thought about these staging and framing techniques.
Do you think they made a big difference?
Do you think the techniques enhanced the photos I shared?
I hope I was able to help you with some ideas to highlight your photo subjects. Even if you’re not a professional photographer and never plan to start a business, these techniques could help add more flavor to your blog photos.
If anything, it would be a fun challenge to see what you can come up with. If you do try these or any other framing techniques please tag me so I can see! 😉