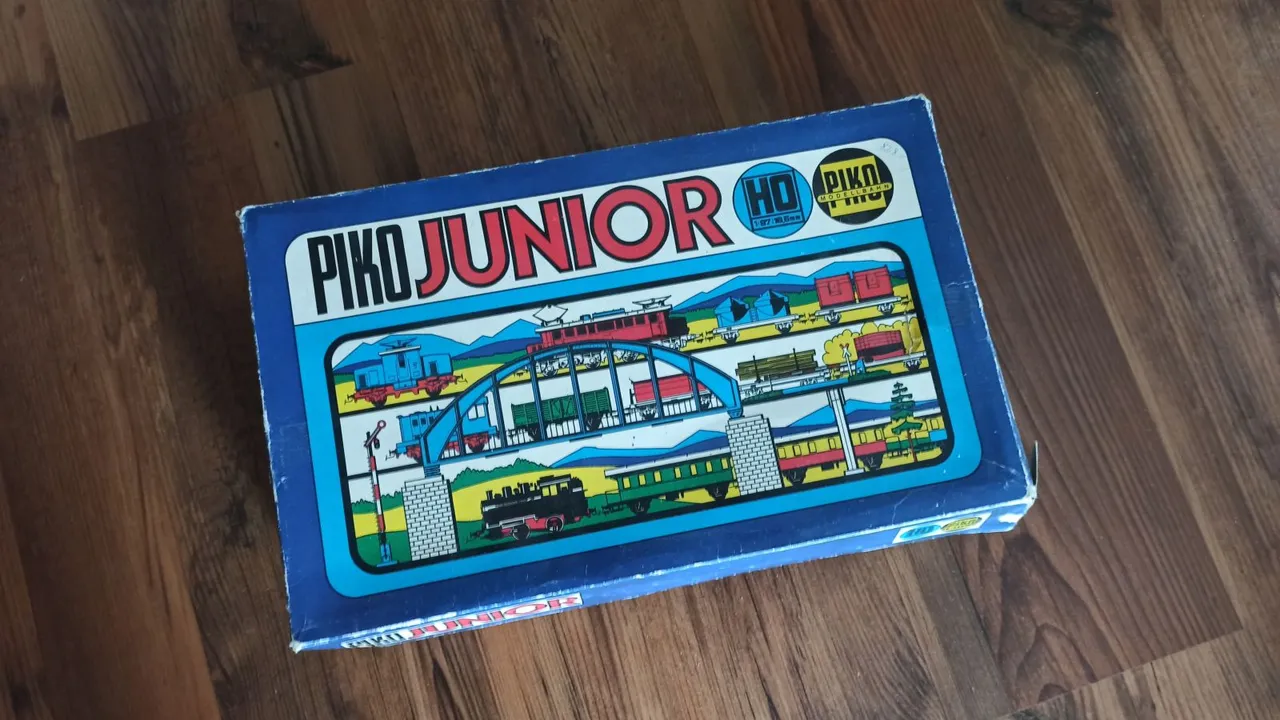
In February 2019, we visited an exhibition of the IGM Wien, a group of model train enthusiasts, in Korneuburg, Lower Austria.
Both, my son and me, were taking photos. (By the way - you can see the photos I took on scalemodel.photography.) Suddenly, one member of the group handed over two "PIKO Junior" sets as a present. We were overwhelmed and I almost broke out in tears.
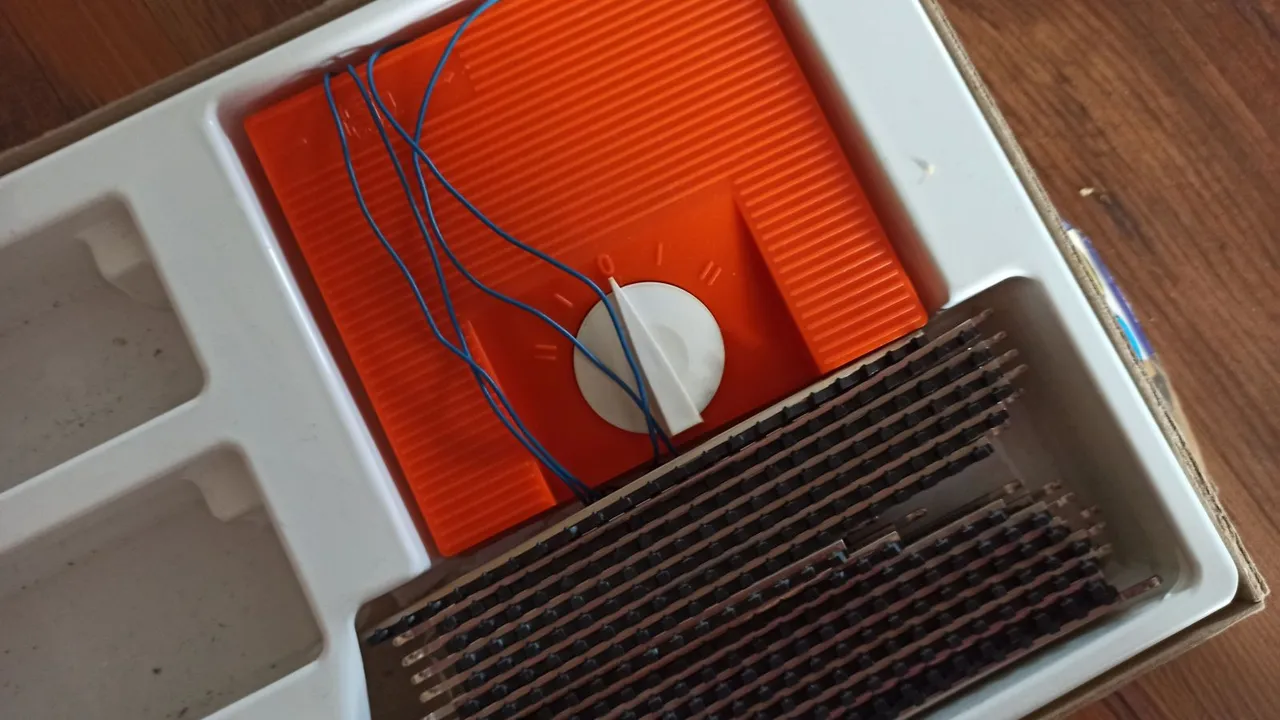
Both sets had the old PIKO tracks and the controllers…
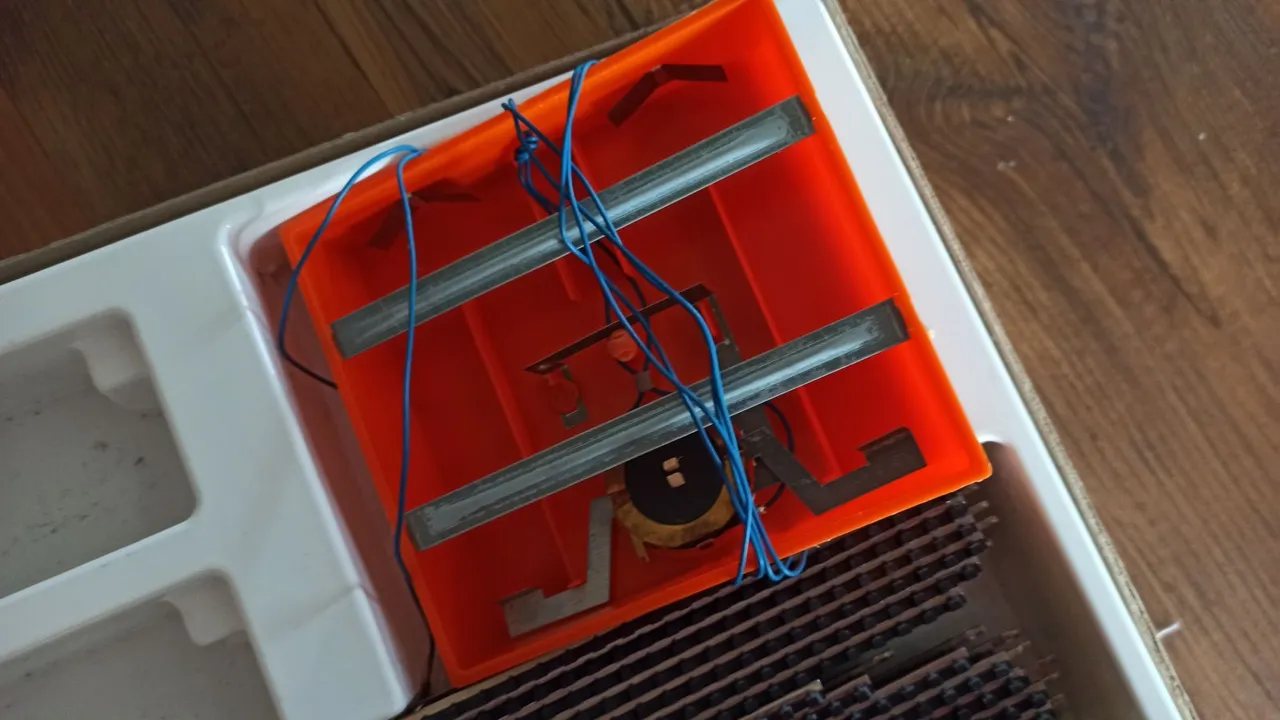
in that you have to insert six C batteries.
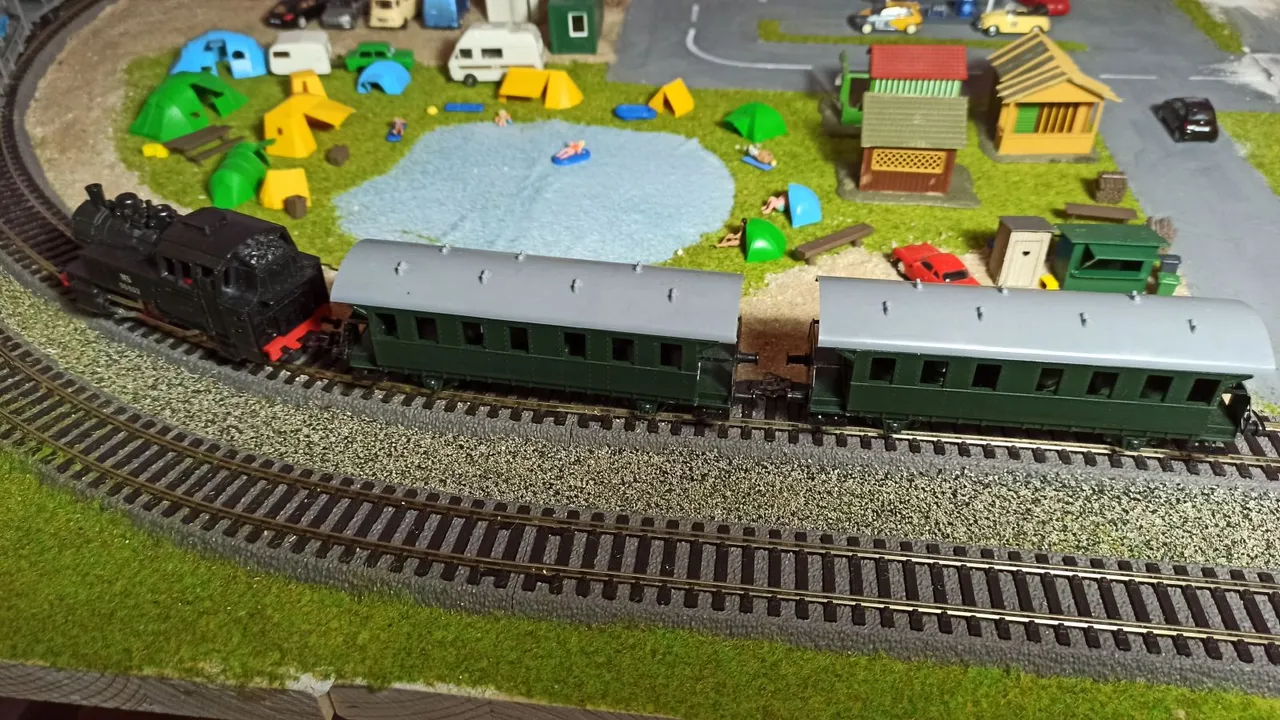
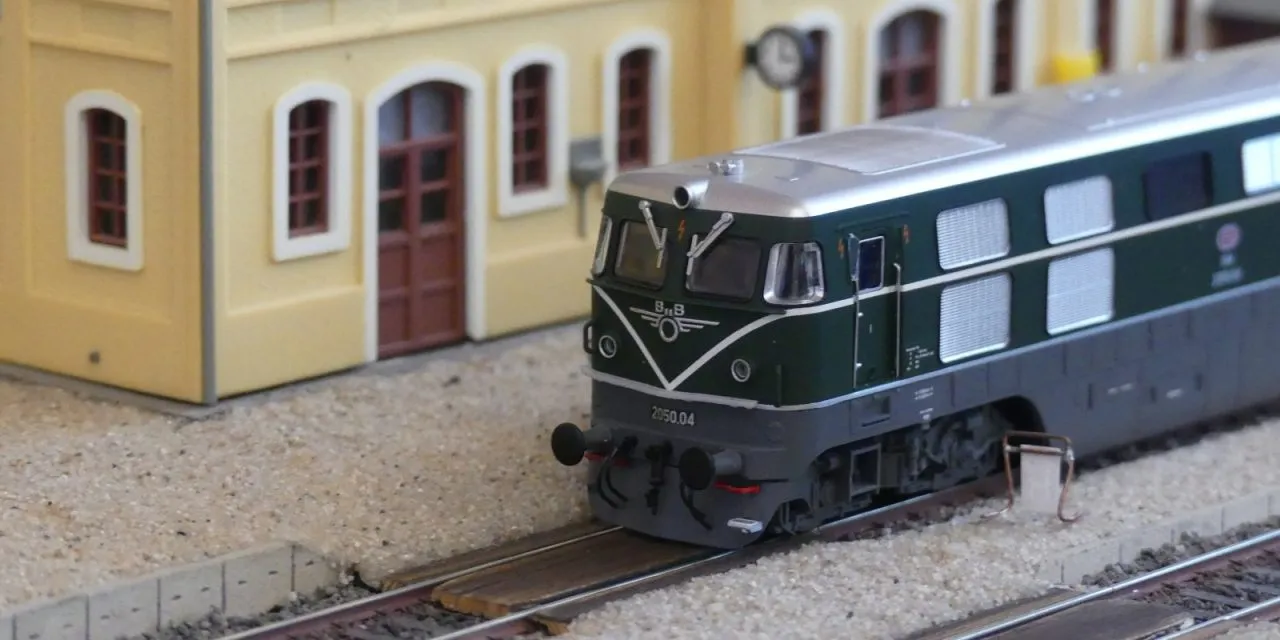
One set contained this locomotion of the Nederlandse Spoorwegen (dutch railway company), but the set was originally intended for the Hungarian market. At least the price on the set was in Hungarian Forint and the set contained some Hungarian description.
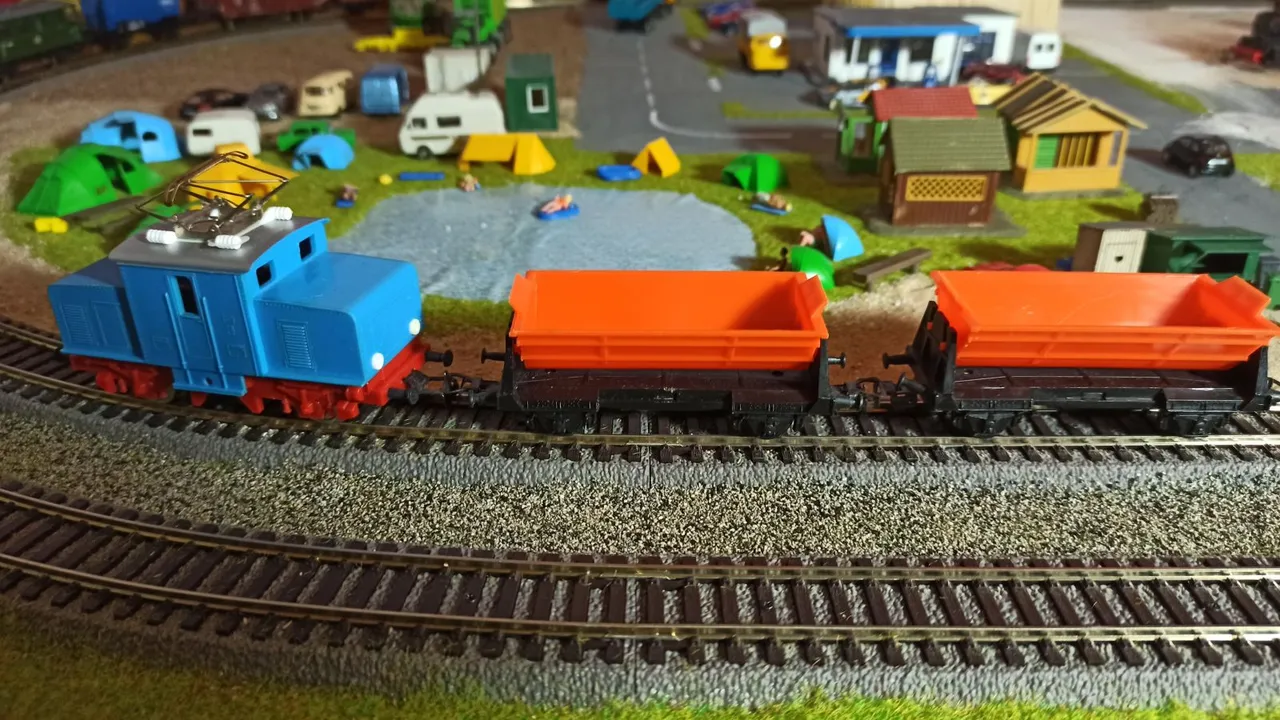
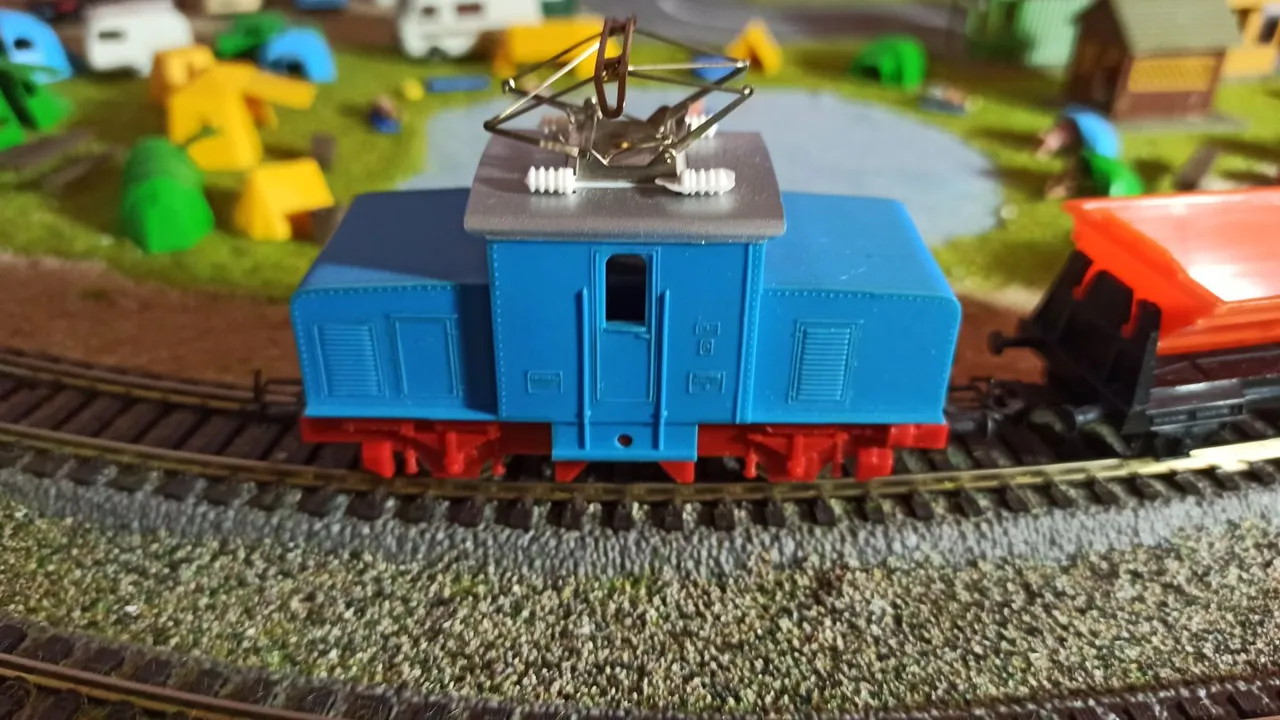
The second set contained this blue electric locomotion and two tipper dump cars.
Of course we put the tracks together the very same day and I used some other battery to get a a voltage of 9V to try the locomotions. One was working quite well, the other one not. But then I discovered some rubber bands in the packing and replaced the rubber band in the locomotion with the "new" (but probably also already more than 40 years old) rubber band. Since then it worked fine.
The next day we bought new C type batteries and used the controller. We found out that some tracks did not work so well. The controller worked but of course not like a modern controller. Of course, we wanted a controller with a transformer so that we do not have to spend a fortune for batteries.
But from that time it was clear for us that we will one day will expand our PIKO model train, buy more trains and cars, buy new tracks and built a model train layout.
In the meantime we continued visiting model train layouts to get inspiration, bought some cars, read books and magazines etc.
More about that in the next days and weeks!
Previous posts:
Part 1: The Christmas present
Part 2: The petrol station
Part 3: How it all started
Part 4: My model car collection
Part 5: The farm
Part 6: My GDR collection
Part 7: The base plate
Part 8: Basic electricity
Part 9: Mounting the tracks
Part 10: DR railroad cars
Part 11: Electrifying the railway switches
Part 12: Electricity for the lights
Part 13: Another DR passenger car
Part 14: An electric drive for the second railway switch
Part 15: My website "scalemodel.photography"
Part 16: The self-made protective pad
Part 17: Moving the base plate to the final position
Part 18: The campground
Part 19: The petrol station and the farm
Part 20: The railway crossing