BEARDSNEST MANOR - Construction Of The Chicken Pen - The Roof!
One of the toughest asignments yet down at Beardsnest Manor was to create a sloped roof for the Pen I have been building. With no prior experience but full of wind at my back with the success of Phase 1 and 2, I decided to tempt fate and have a go! Those of you who have been following this journey are aware we recently purchased a property in country Australia, a complete lifestyle change from the city life we once knew!
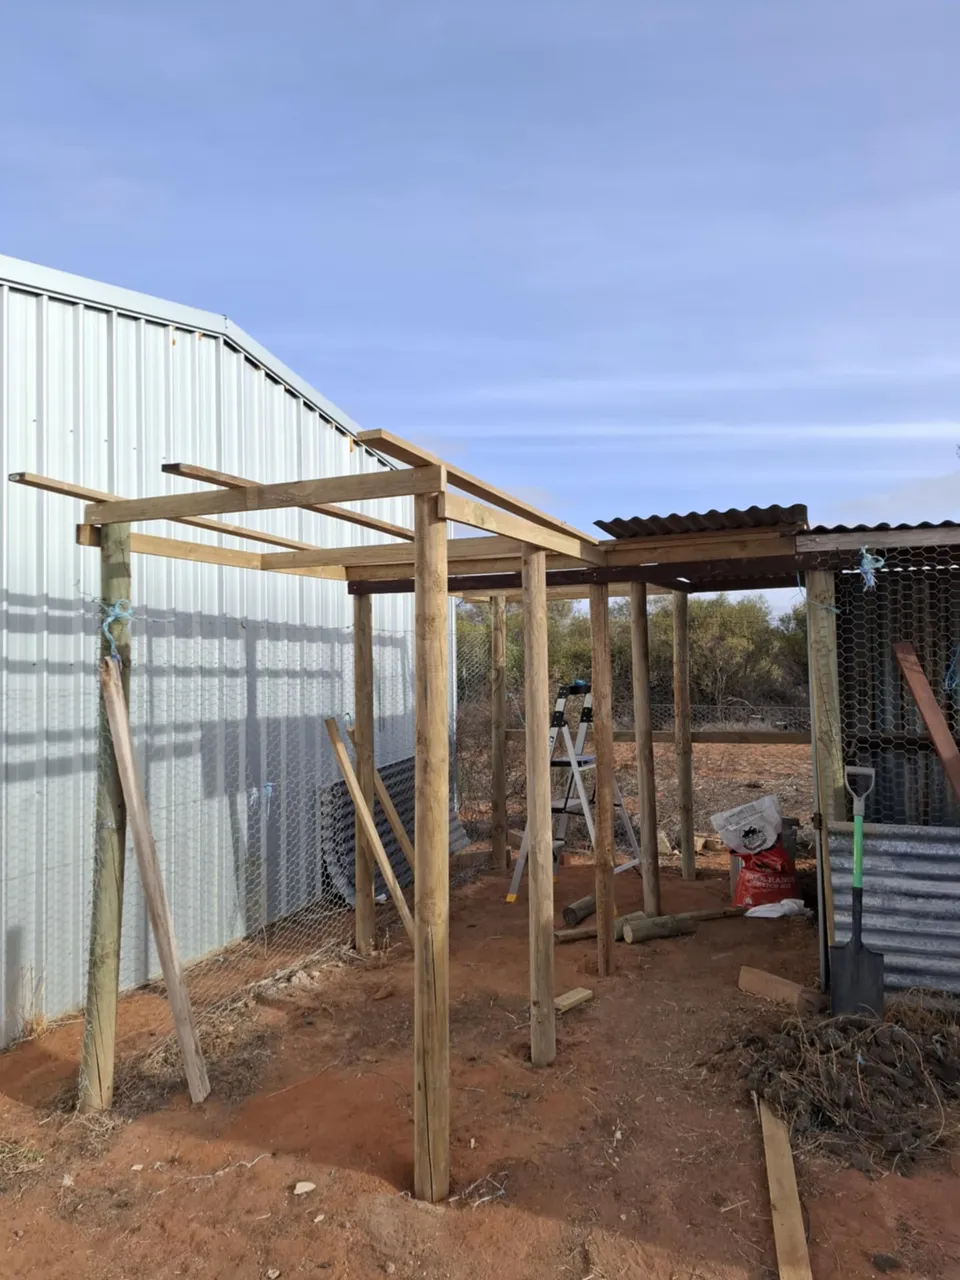
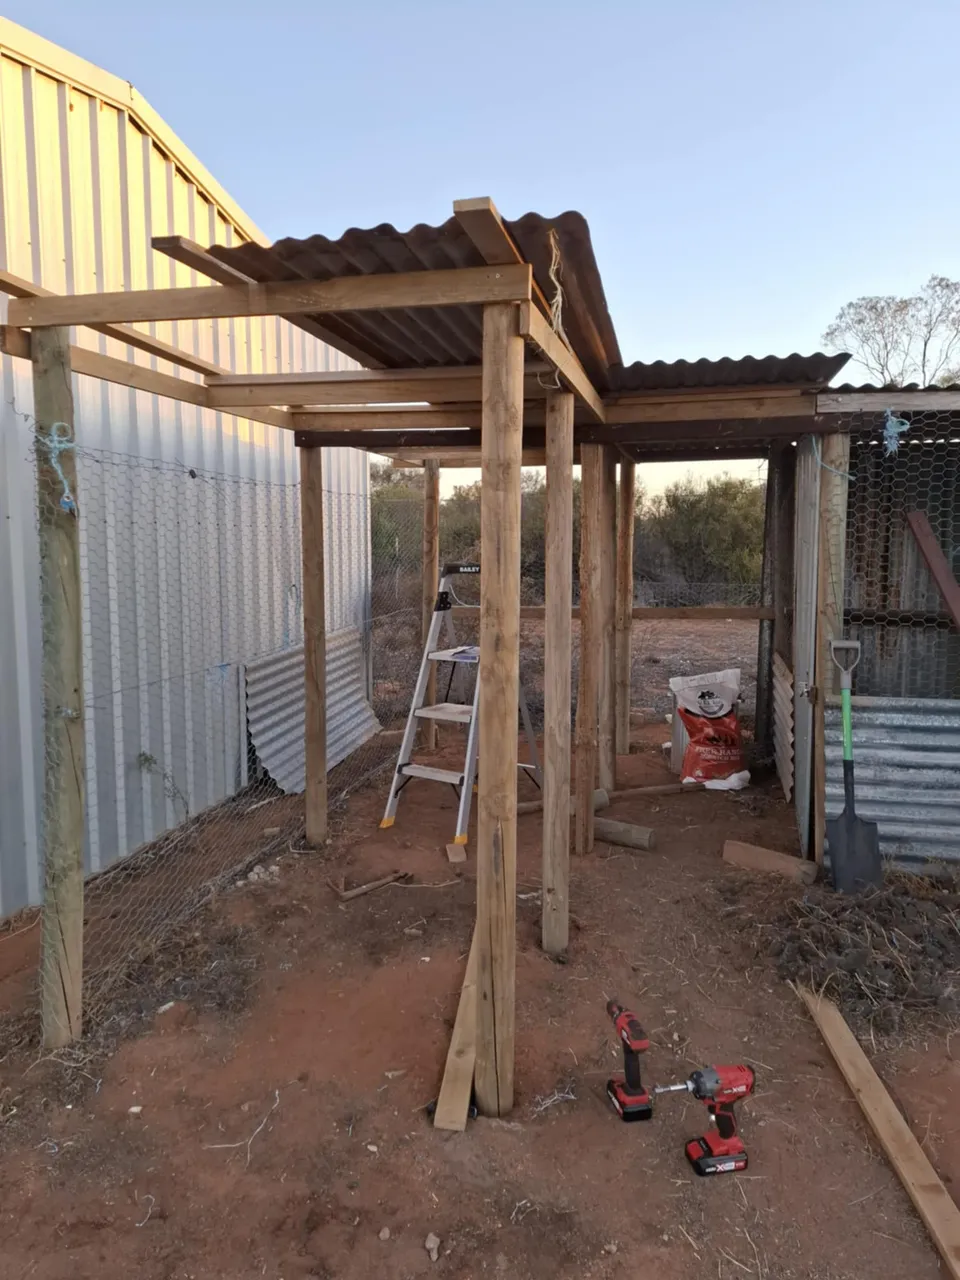
Step 1 - Choc And Level
Step 1 - Choc And Level
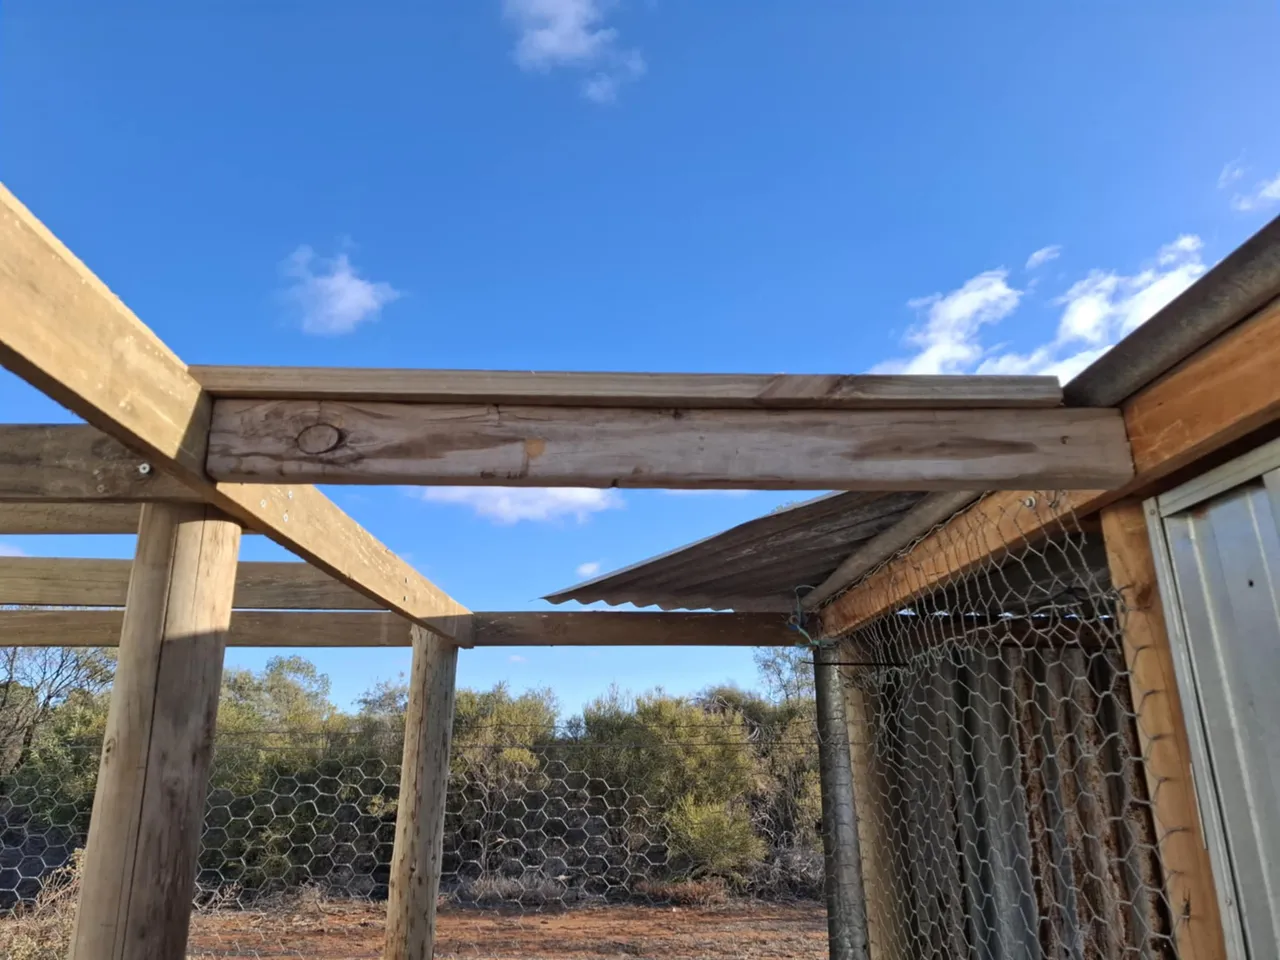
In order to achieve the sloped roof, I would require tin sheeting, lots of wood, wood screws, roof screws along with drills, saws, tape measure and a level. I set about the task of screwing in the wood to level with the sloped longer planks I had already seated.
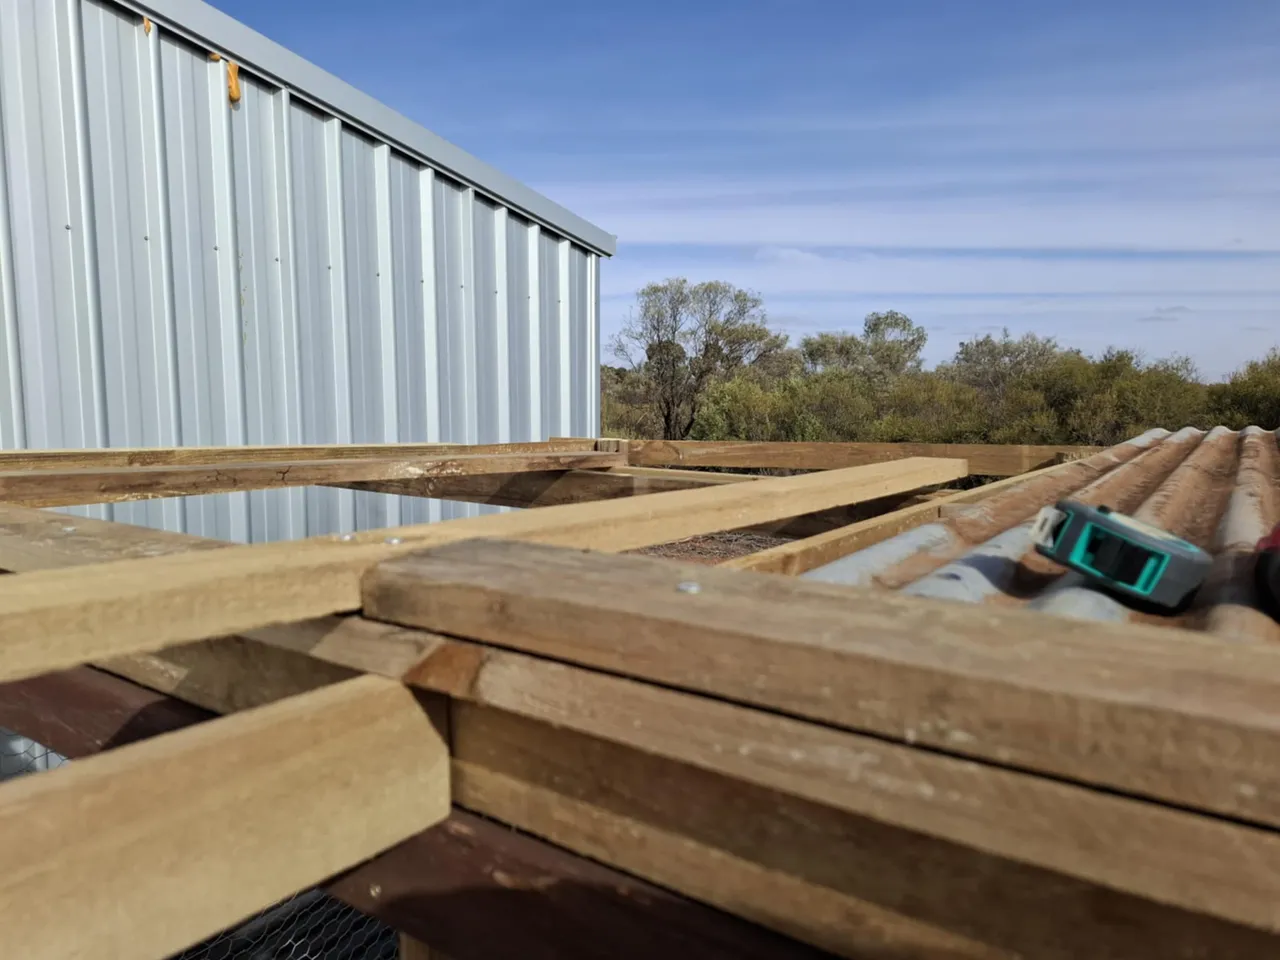
It's important to note that this providing ample support for the tin sheeting is the reason this needs to be done. I quickly realised that early on when trying to problem solve this and noticing the tin sheets sagging in various places. If the goal is to stop water pooling, then all areas my maintain a gentle slope and require additional support. Note the gaps between the sloping plants must be fitted with wood to level as shown in the above picture.
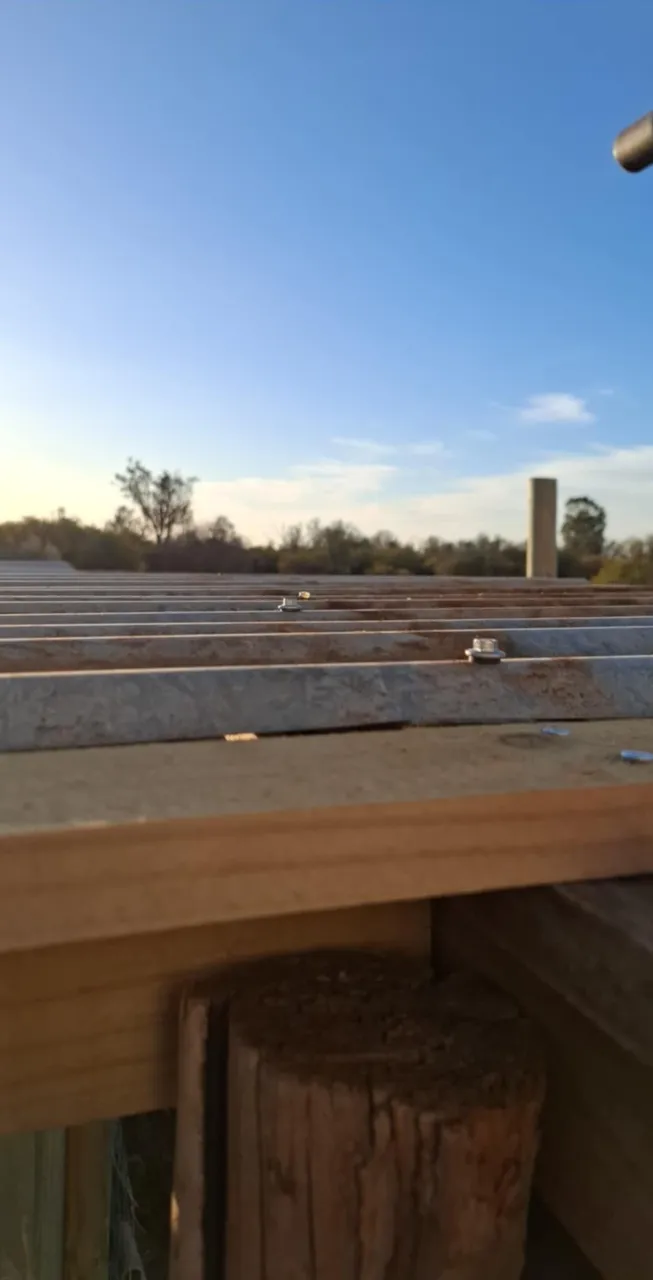
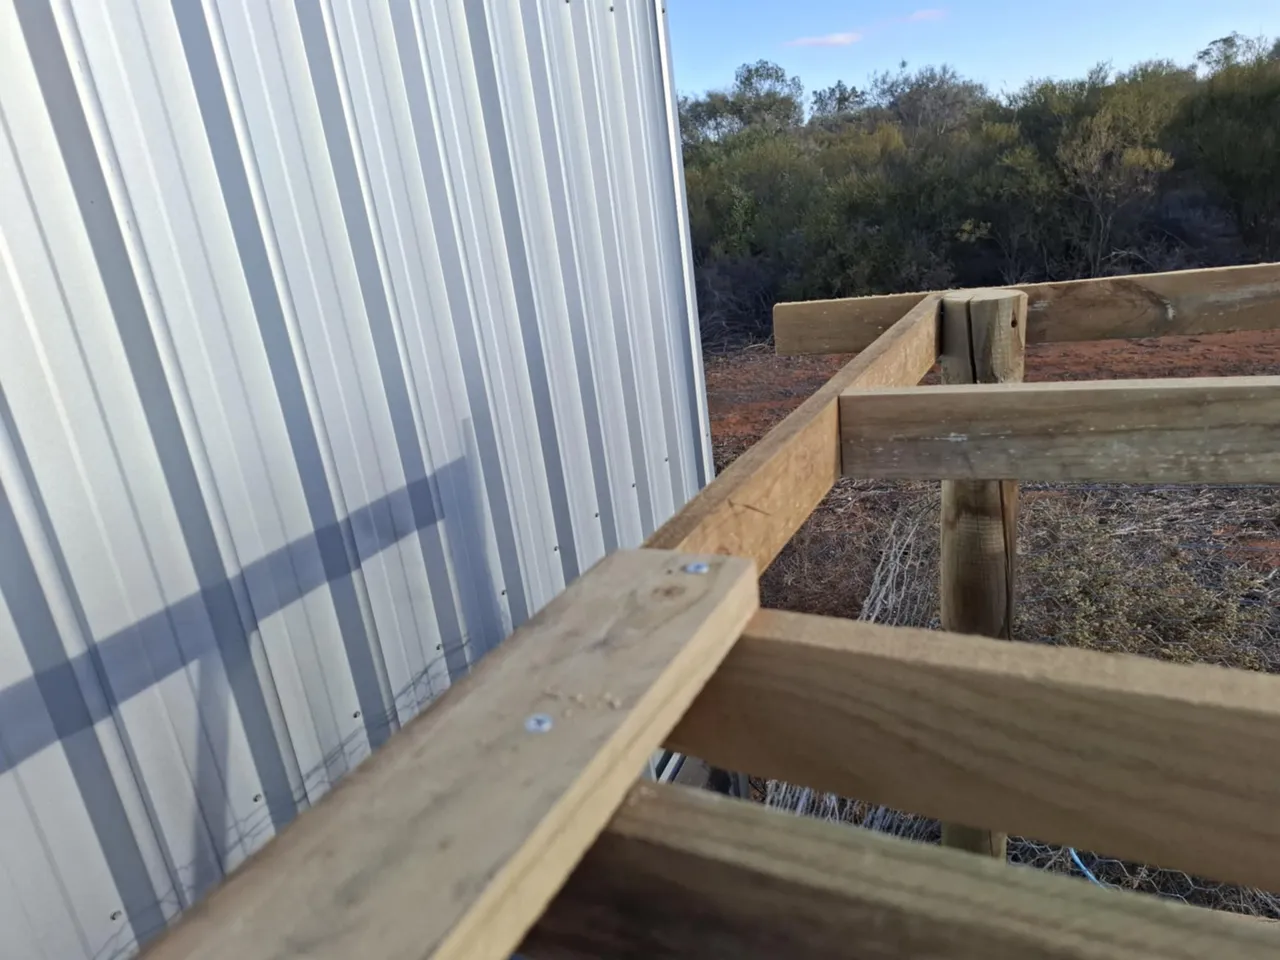
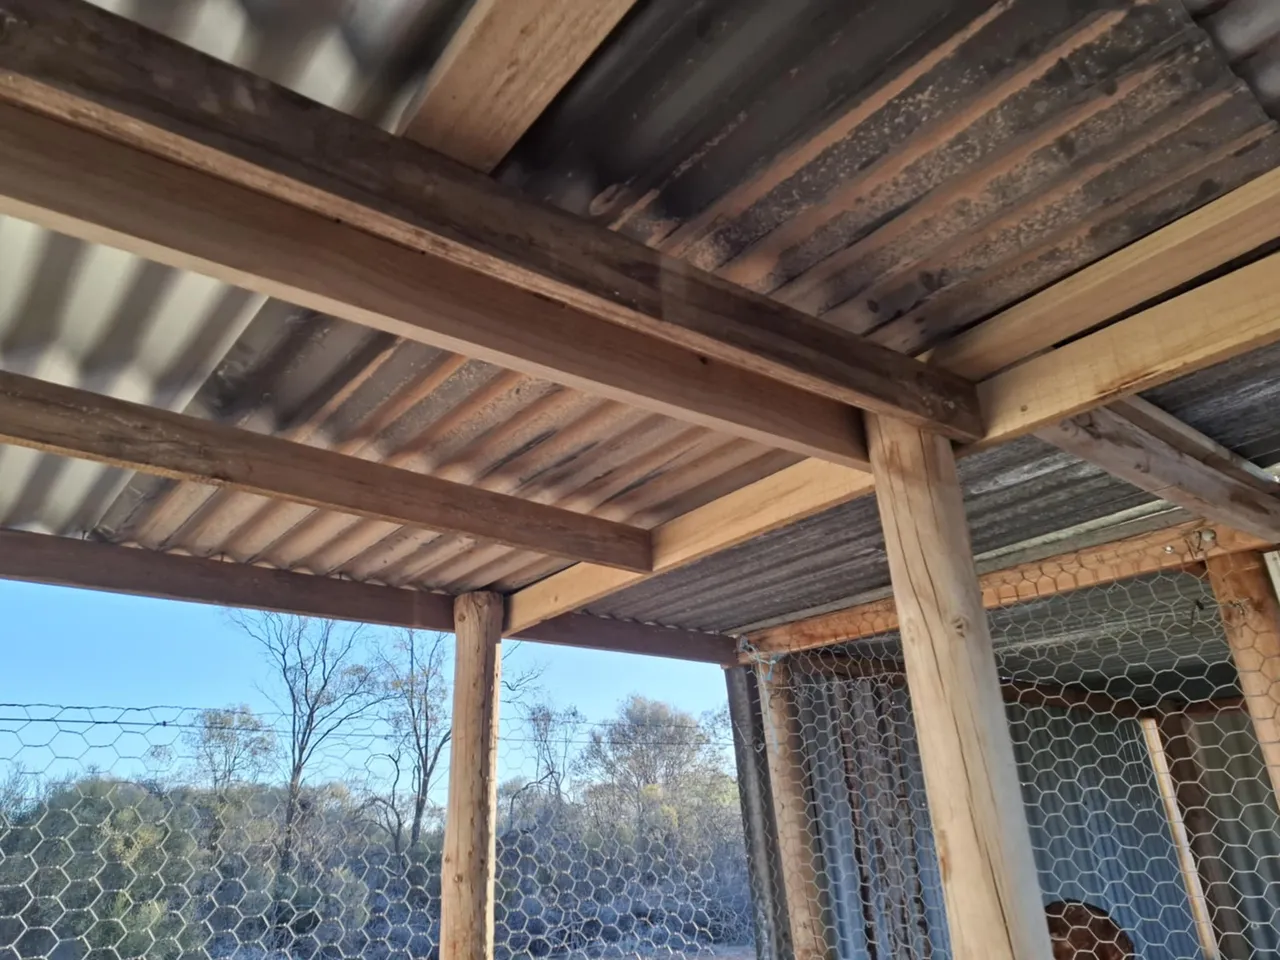
Step 2 - Batten Down The Hatches!
The roof screws must be seated with their seals in the raised sections of the sheeting. This allows water to run into the cavities without causing leakage during a heavy rain. I understood this very quickly. It also stops water washing past your screws, potentially damaging them over time through dust and water friction.
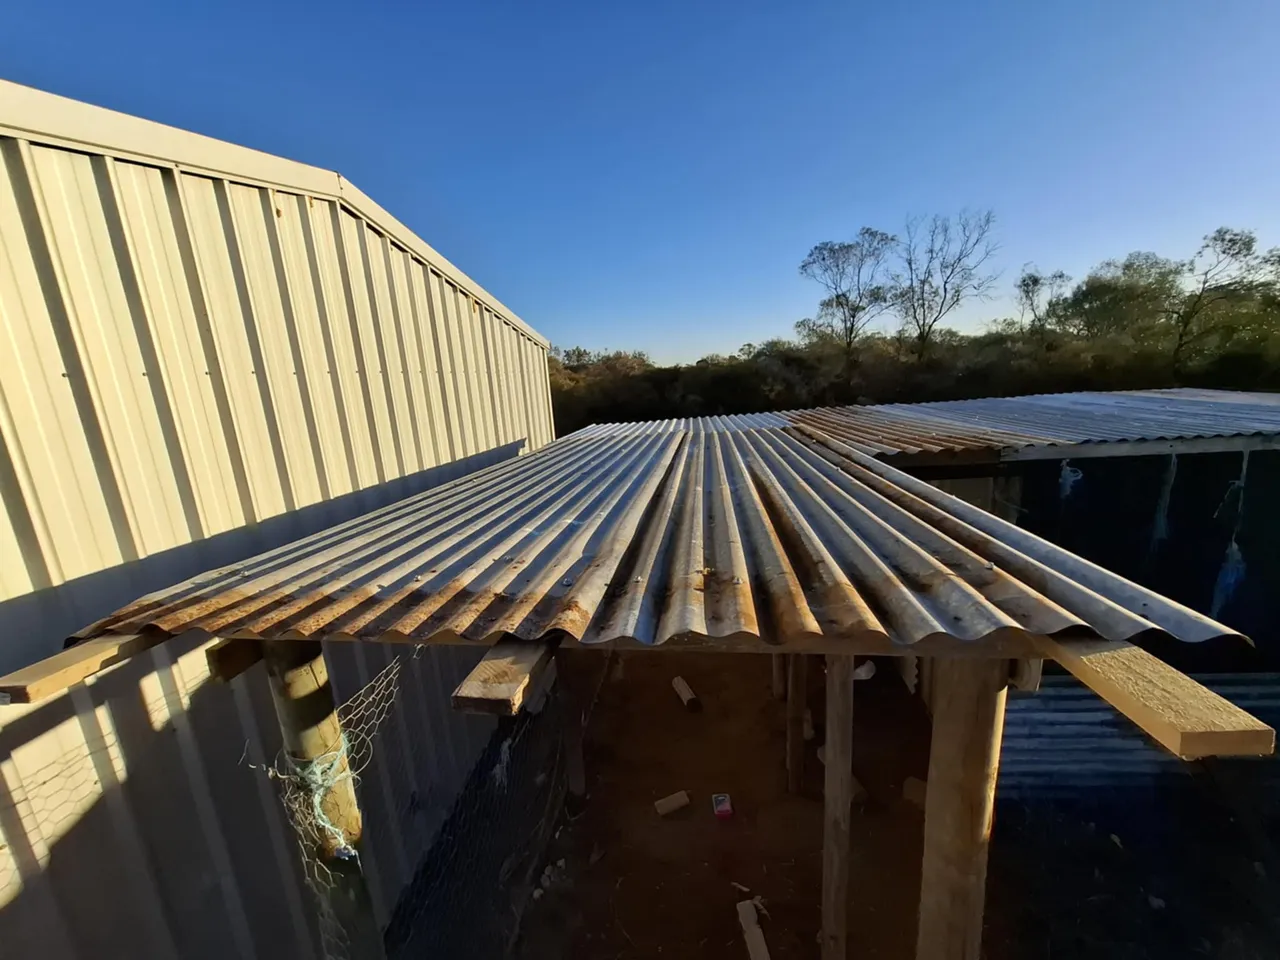
Step 3 - Connecting The Tin sheets
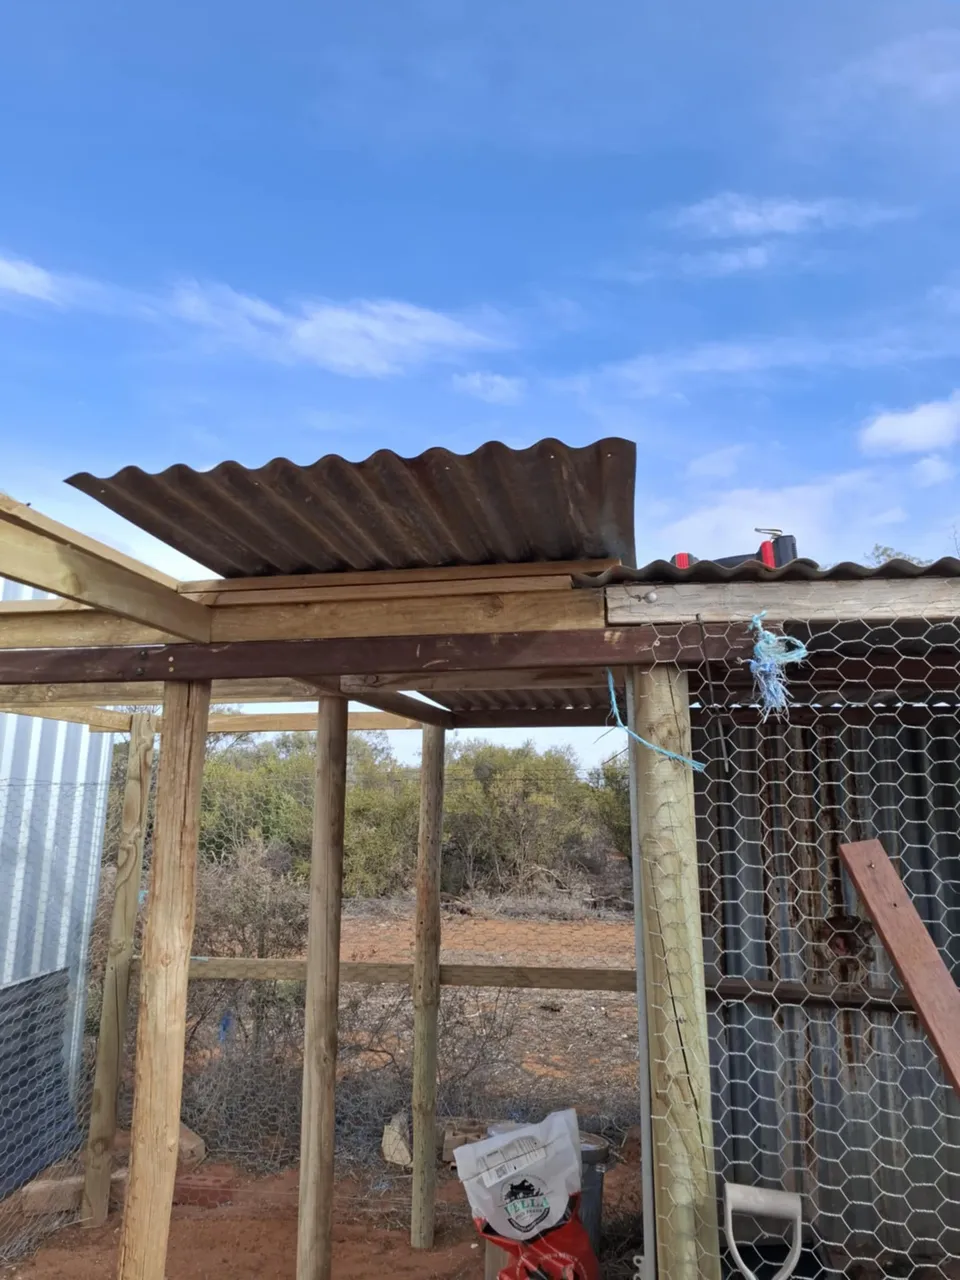
With the sloped roof, once you have added your wooden supports between your sloped planks, I came across a near fatal error. The first tin sheet was below the second sheet. If I had not picked up on this, it would have meant the water would not flow off the back but at the join, so make sure that if you need to connect tin sheets that from the highest point on your roof, you always overlap from the top to allow the water unimpeded run down the slope.
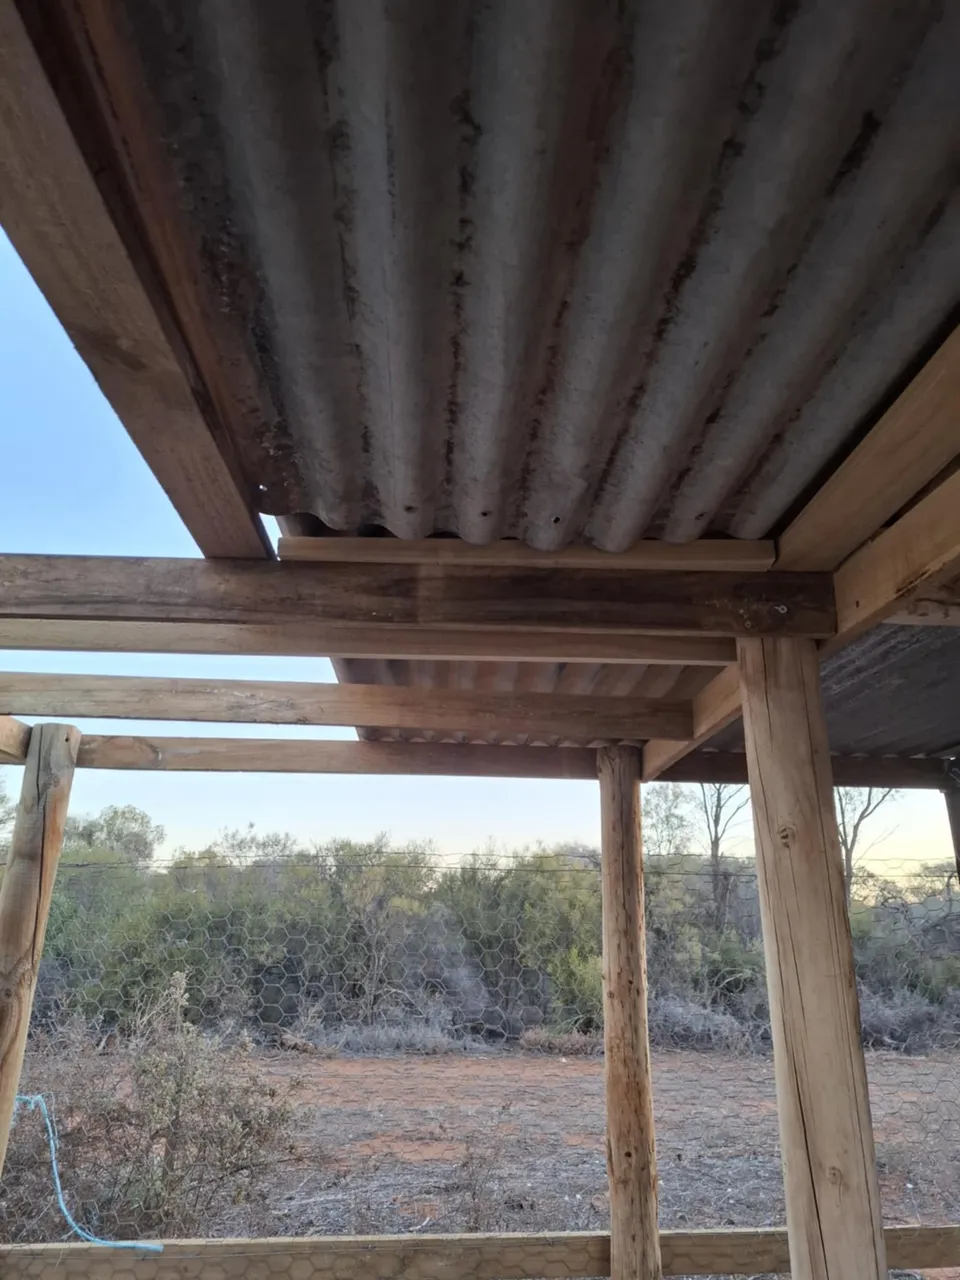
This picture shows how I overlapped the slope to allow water to continue to run down the sheets.
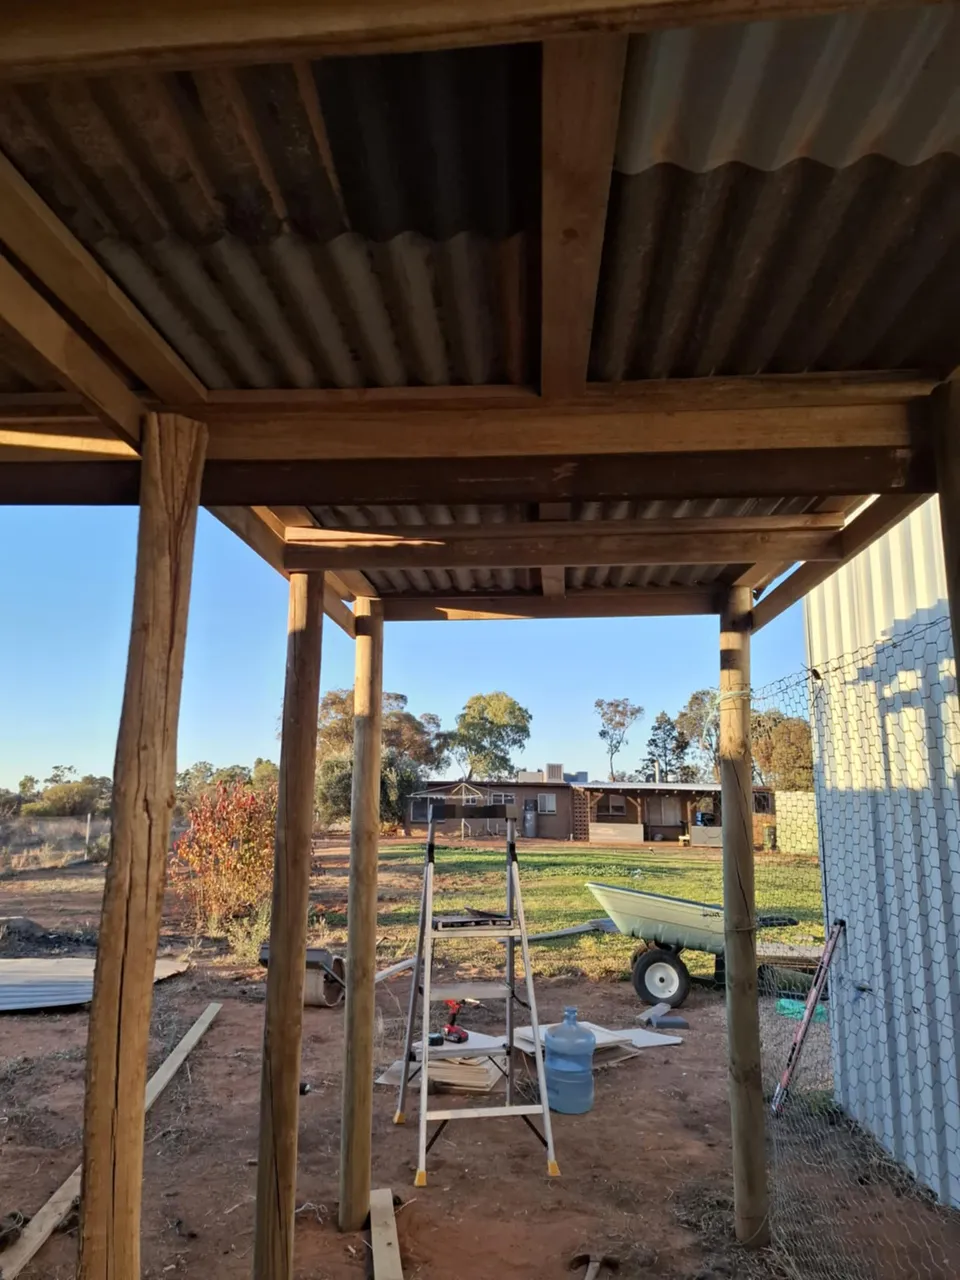
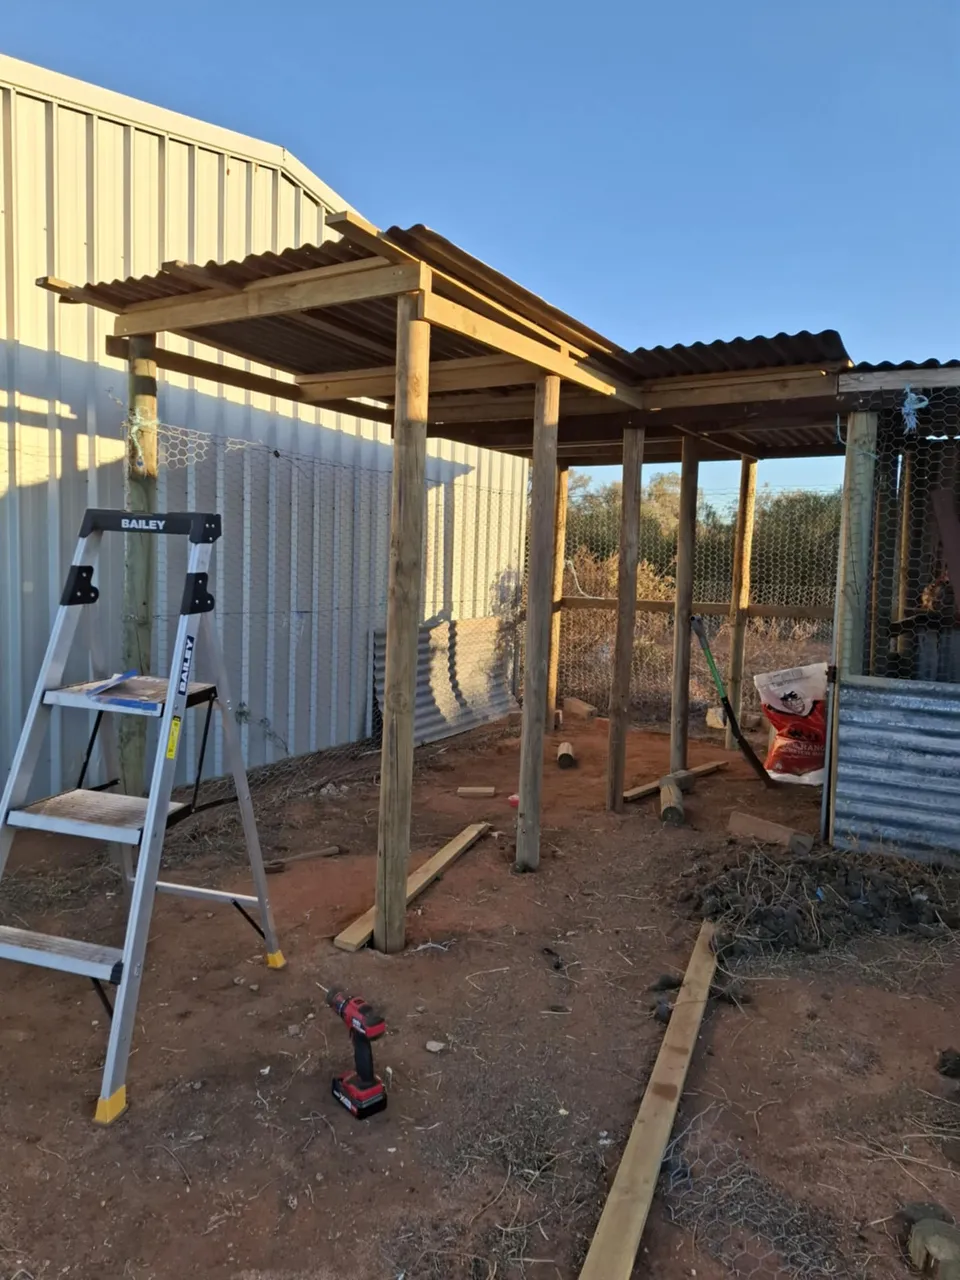
Step 4 - Make Sure You Have Overhang!
As I got closer to completing the roof, I notcied I must have done something right! The overhang was almost level all the way. I knew it wouldn't be perfect, but this is crucial to protecting your structure underneath and giving it symmetry. Because I paid close attention to uniforming my build, it meant that the roof not only went into place, it went in (mostly) straight!
Step 5 - Bugger, Missed A Spot
Unfortunately, with projects of this size, you will make mistakes. In this case I had forgotten to seat the back with wood between the sloped rails. Luckily tin sheeting is very forgiving and I was able to push the wood between and seat them. The important thing to remember is to not let your mistakes get you down, but to see them as part of the learning process!
Final Thoughts - The Roof, The Roof, The Roof Is On Fire!
Final Thoughts - The Roof, The Roof, The Roof Is On Fire!
I'm not really the type to cry, but at this point in the build, I have achieved things I never thought I could do! For some DIY experts, this might be a walk in the park, but for me the overwhelming sense of pride and self achievement brings a tear to my eye. I am finally doing something for myself and I appear to be learning faster than I thought possible! For those reading this, I can say it may be just a sloped roof for some, no biggy, but for me this marks a very important growth phase in myself. And I'm no spring chicken either. And I just want to encourage everyone out there who reads this to say to yourself YOU CAN DO IT, JUST BELIEVE and give it a shot! You never know what you are truly capable of until you try!
Thank you for reading and please follow my journey or ask any questions! I am always happy to share and exchange ideas and learn new things if you have some wisdom or advice to give!
If you'd like to catch up here are the previous posts on this current project: