@leemah1 wrote a post about flour and bread a while ago. She told me that she didn't know how to make bread so she made chinchin instead.
Now her chinchin recipe used the following ingredients with the following prices:
flour $1.16
butter $0.58
baking powder $0.072
eggs $0.14
nutmeg $0.072
sugar 1cup $0.22
vegetable oil $1.45
and if you want to check out the mission you can find it here
The recipe cost $3.66
I'm certain it is tasty but for those people on a tight budget her $1.16 loaf of bread is far more affordable. However, I told her that making her own Sourdough bread is even cheaper still.
Now on her mission she found flour at $42.01 for 50kg. For this recipe I used 500g of flour (or 0.5kg) which would be 1/100th of the bag. 42 cents for the loaf of bread that I made. I also used 500 watts of power to bake it which would bring my total cost to 50 cents for the loaf of bread.
Some people make fancier bread but this bread is basic. Flour, water, and salt. Even the yeast comes from a sourdough starter which I made using just flour and water.
@leemah1 asked me to write how it is done so here it is:
Let me start by saying that most people make bread using yeast. Then they get fancy and use egg wash or milk and possibly some sugar or maybe lye water.
However, at its heart a loaf of bread can be made from simple flour, water and a tiny bit of salt.
But if you don't have yeast of some type it will be more of a tortilla than a bread.
Luckily yeast is present in all whole wheat and rye flours. White flour has been bleached though so it cannot be used to make a yeast culture.
Starting a yeast culture which is known as a starter is easy but it is also very slow. That's why I wanted to do this for Creative Sunday but its only getting posted now on Tuesday!
Day 1 : Making the starter.
The first step is really easy. Mix equal amounts of flour and water then mix well.
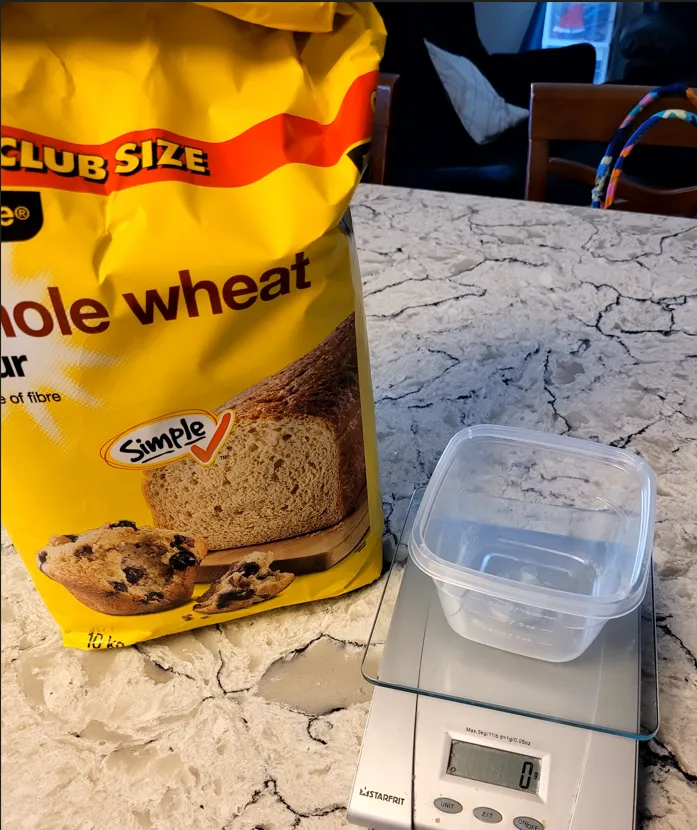
Note: I used whole wheat flour. Bleached flour won't work as the bleach kills the natural yeast.
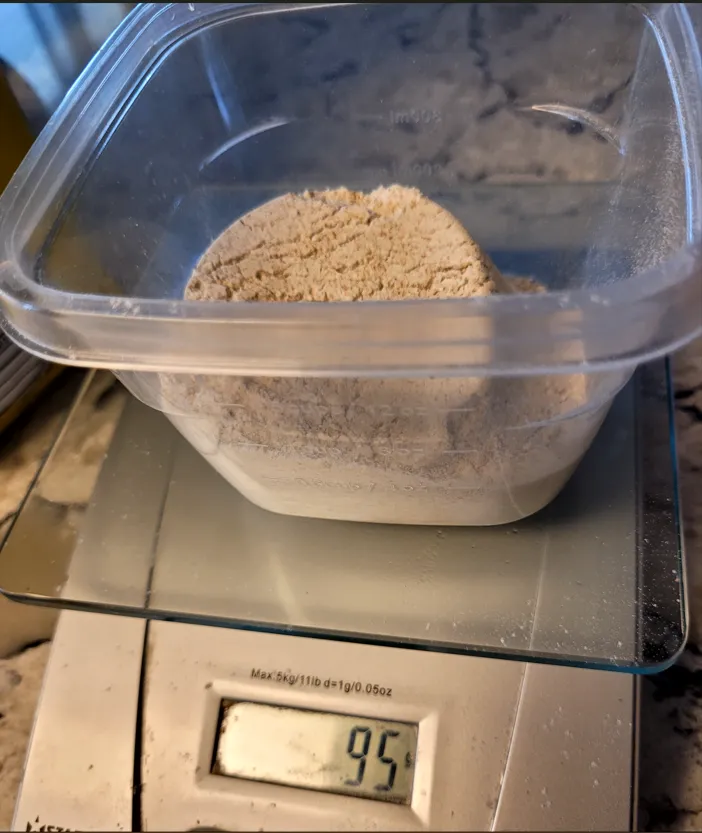
I added 95g of flour (about 3/4 cup)
Then 95g of water (non chlorinated as chlorine kills the yeast)
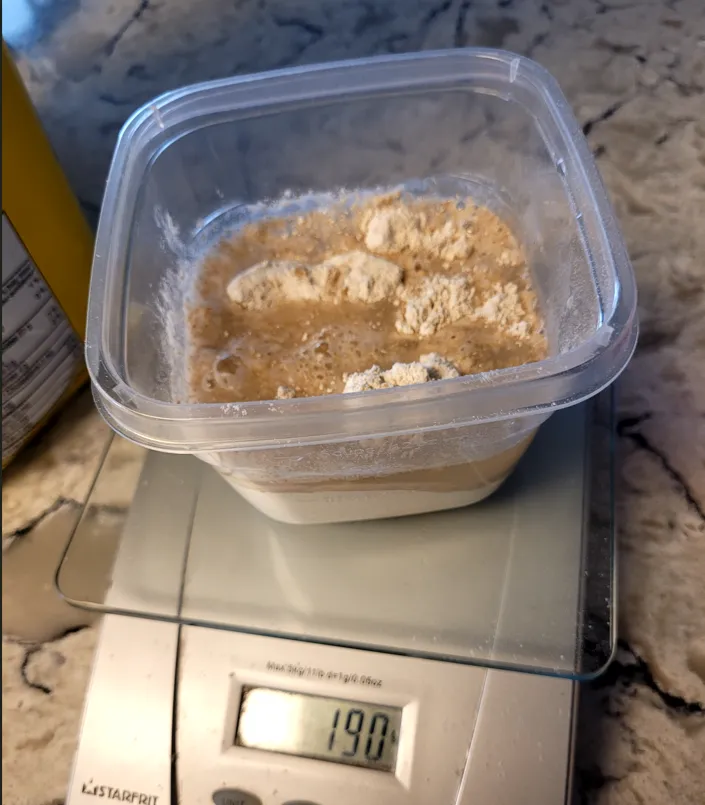
Mix it all up
Then cover and let it sit until the next day.
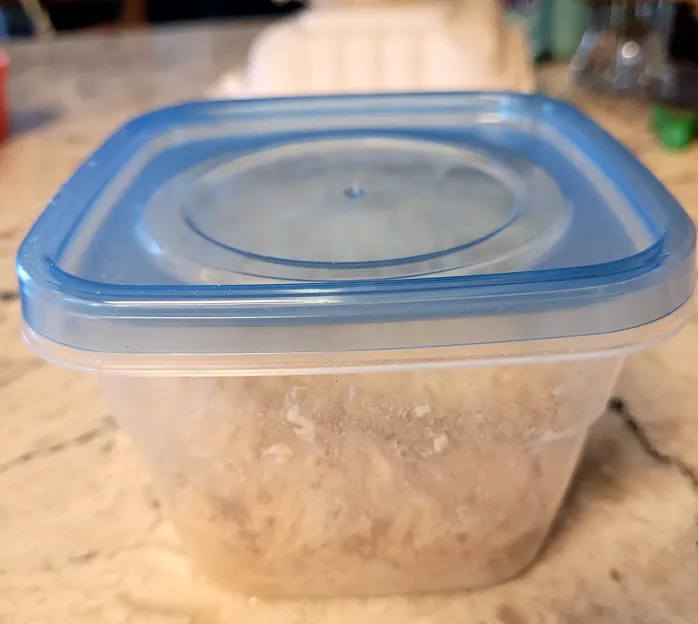
Room temperature (20-30C) is best. If it gets too cold the yeast doesn't want to grow.
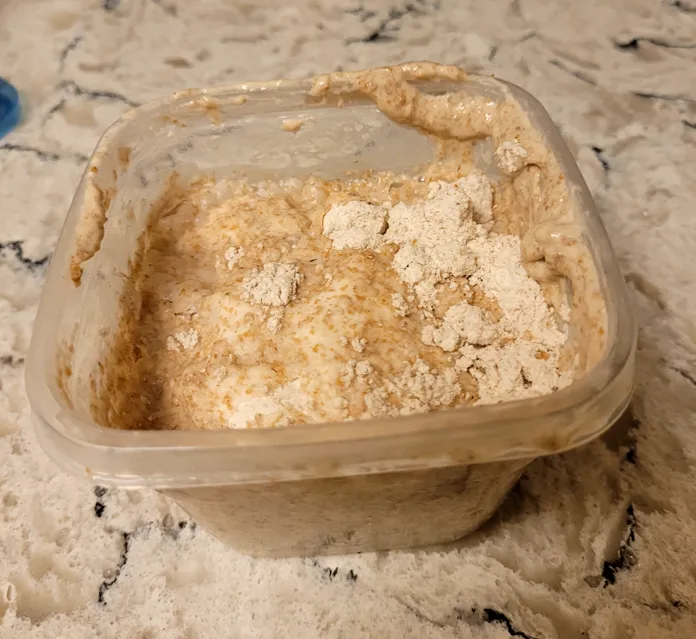
Day 2 : Add some more water and flour
After 24 hours its time to add more flour and water. Just like people the yeast like to get new food regularly. Typically I would remove half of the mix then add equal amounts of flour and water again.
I got lazy and just added 1/2 cup of flour and 1/2 cup of water.
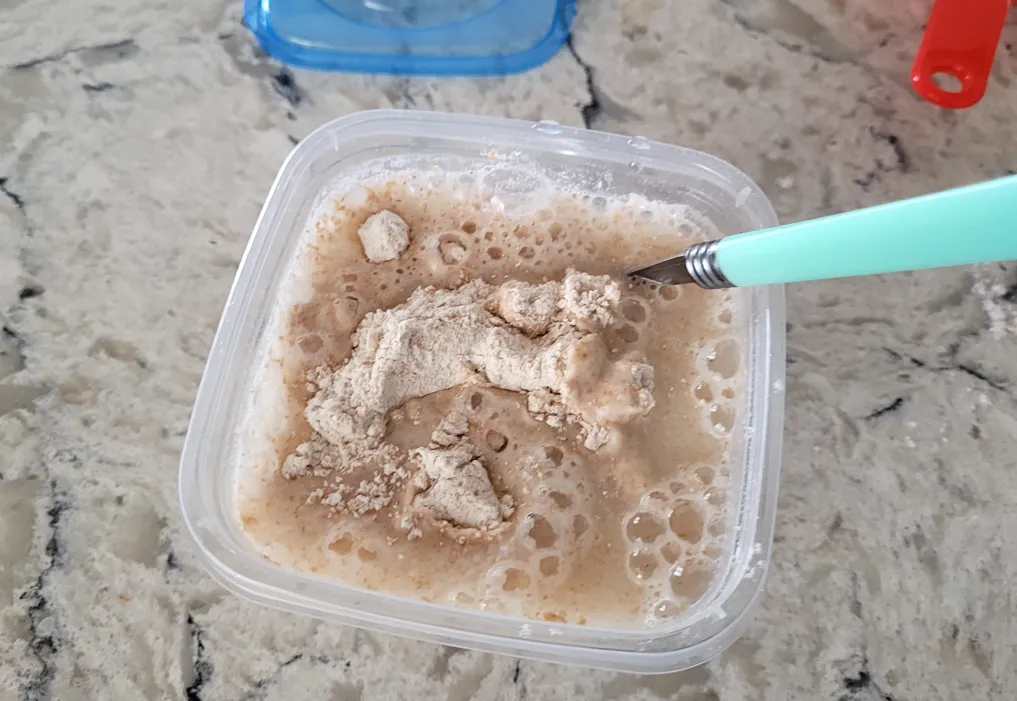
Notice the bubbles. That's usually a good sign that the yeast is growing.
Now I just mix the new flour and water with the mix from yesterday.
I gave it a good stir and covered it to let it do its thing again.
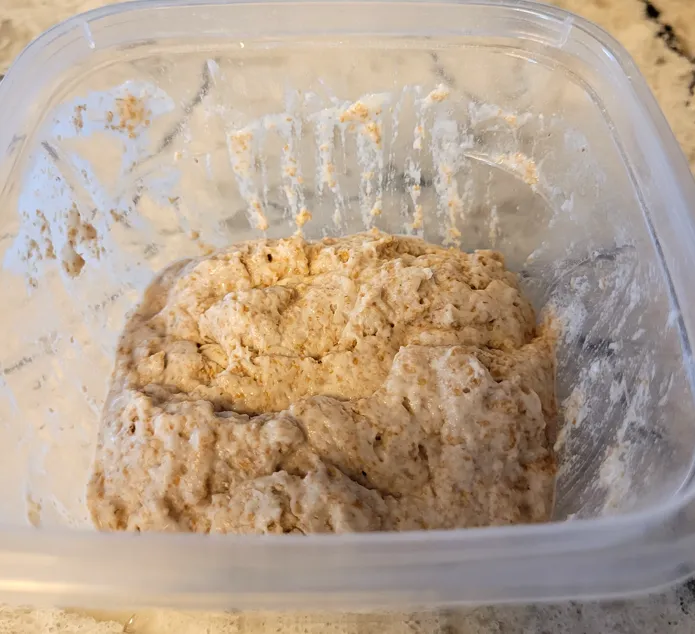
Day 2 : Evening.
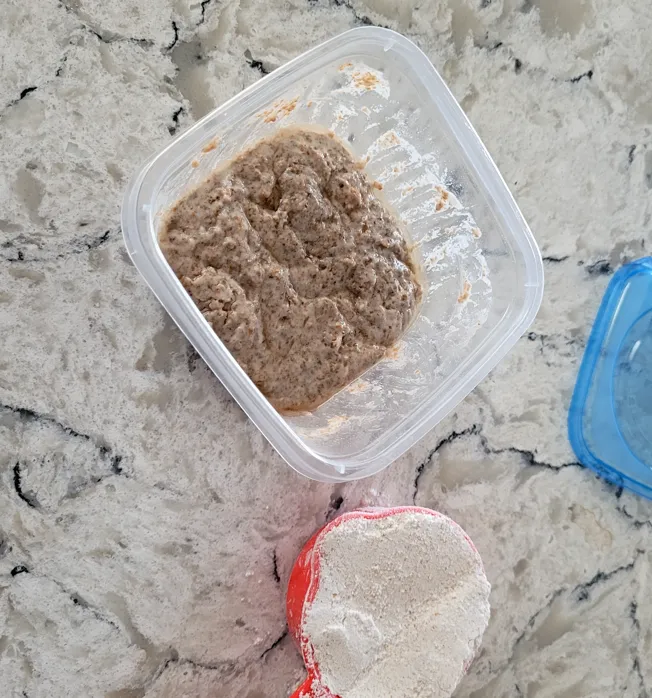
When I checked the starter in the evening I noticed that the yeast was very lively and the starter totally overflowed.
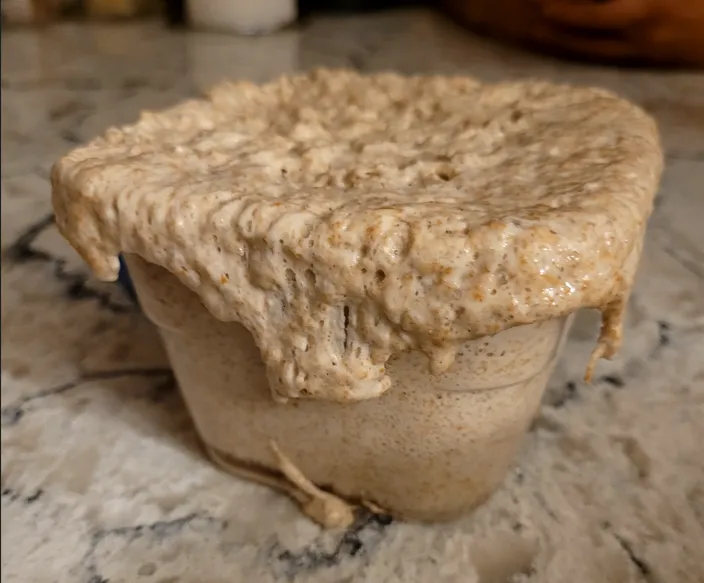
So I cleaned out a little more than half of the mix added a half cup of flour and water again, mixed it, then let it sit overnight.
Day 3 : Time to use the starter and make the bread.
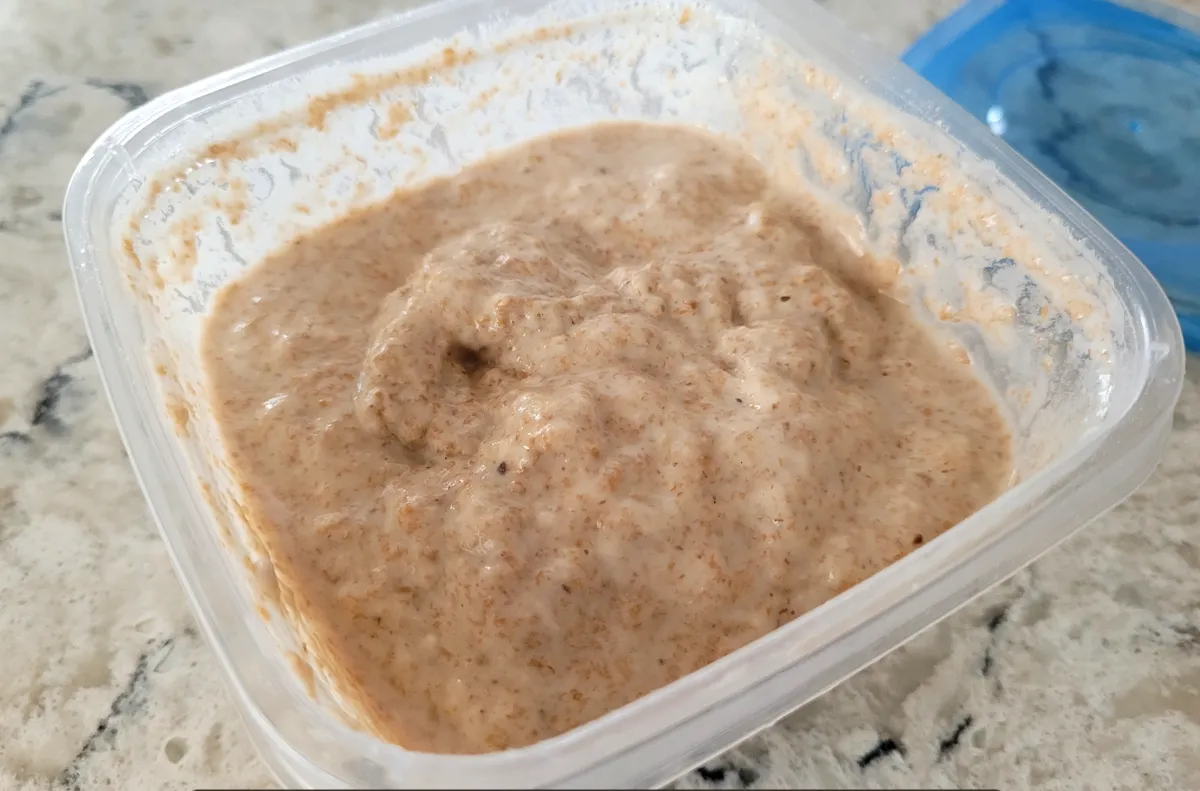
Now if you look at the starter container you will notice it overflowed again (a sign that the yeast if happily growing in there). Time to make bread.
This is not an exact recipe. It is more of an artform. I suck at making bread but will do my best to show you the process.
You will notice only three ingredients. All purpose flour (I could use whole wheat but I don't like it much) with the starter (flour/water/yeast mix) and some salt.

The ROUGH recipe is as follows:
3 cups of flour
1 cup of starter
1 and 1/2 tsp of salt.
However the exact mix is based on the feel of the dough. If it is too dry add a little more water. If it is too stick add a little bit more flour.
That's the flour/salt/starter mix before I knead it all together.
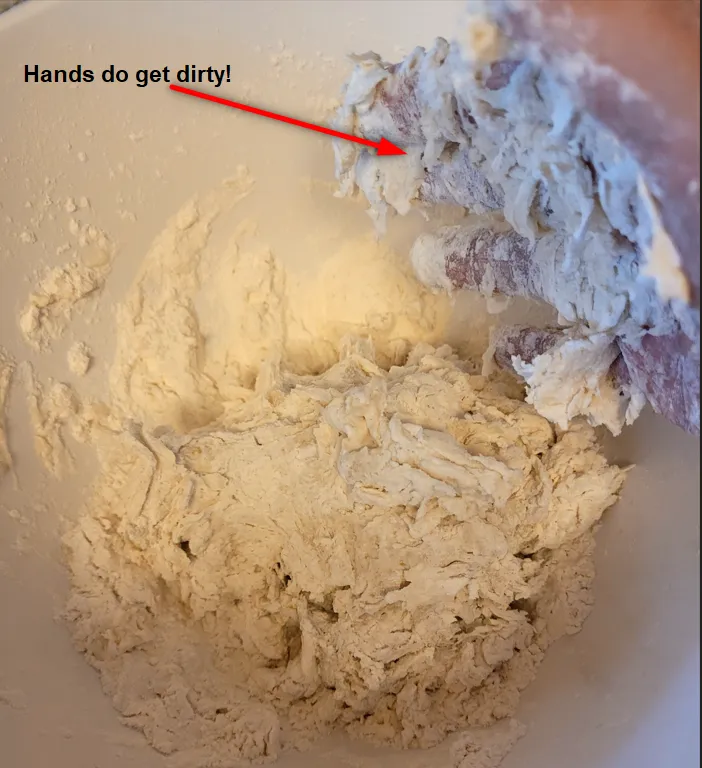
That's after I mix it together but before I add water.
Add water bit by bit and keep on kneading until I get a loose, not too sticky mixture.

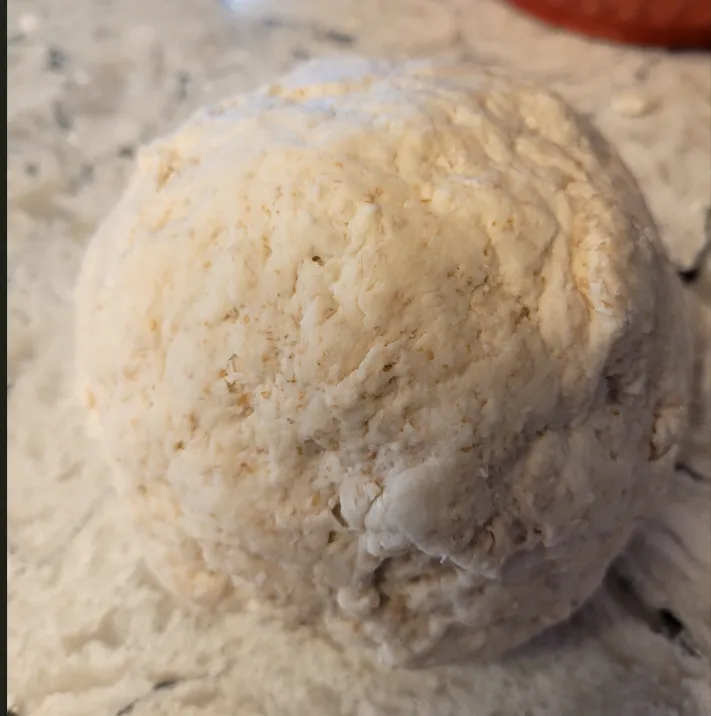
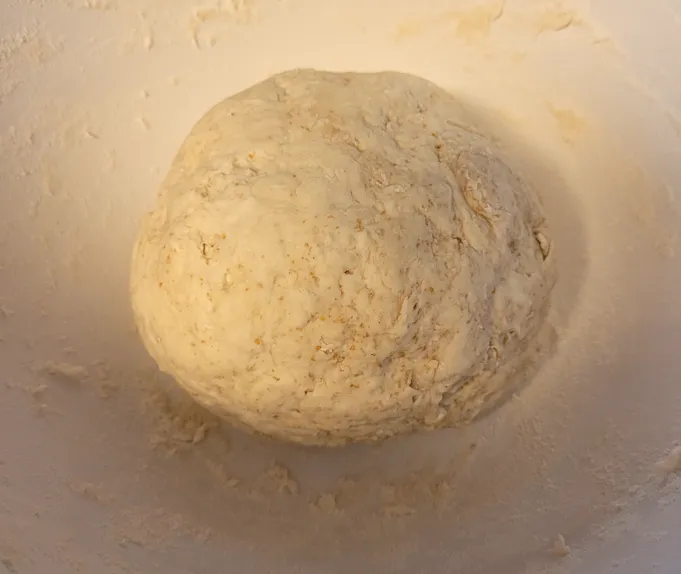
I keep kneading and add a little flour based on stickiness until I get a nice ball of dough.
First rest
Now I take the dough, put it into a bowl, cover it up and let it rest.
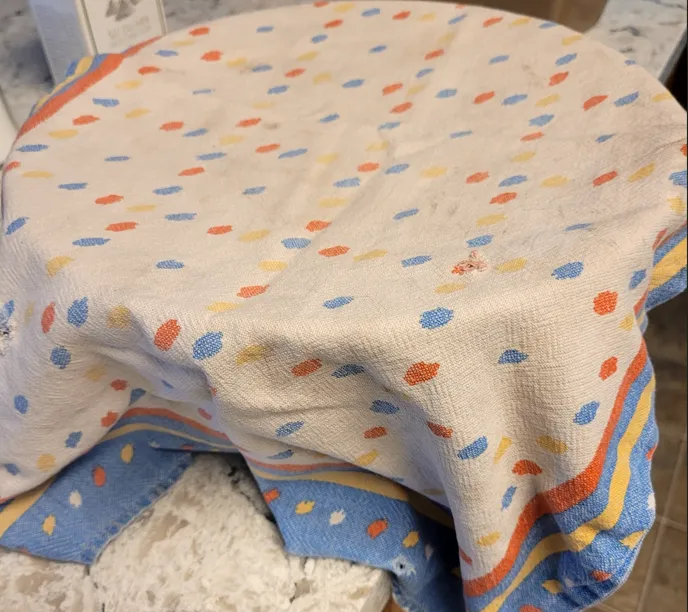
Then I place the covered dough in the over so it doesn't get any cold breezes. Cool air can slow down the yeast. As its a warm day I probably could have just left it on the countertop but the stove is just a habit.
Kneading after a couple hours of rest.
After a few hours of resting (I did 2 hours but it can be a little longer or shorter depending on the dough). I opened up the dough and it looked like this:
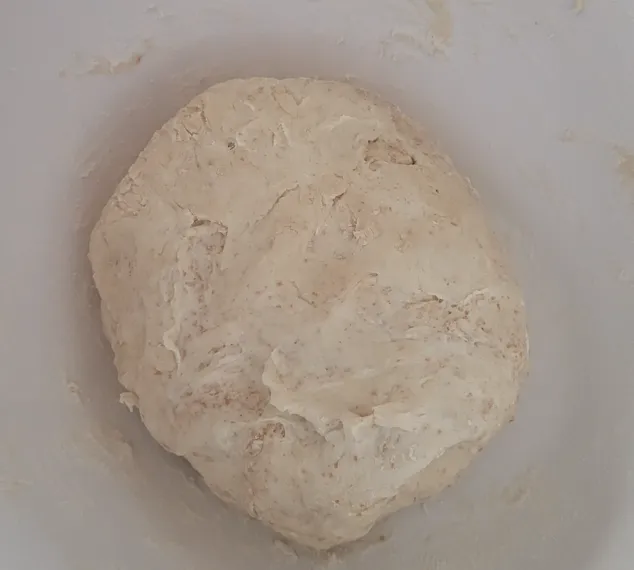
It had expanded a little bit so I knew the yeast was doing its job. So I kneaded it a little bit more and this time I made an elongated dough ball.
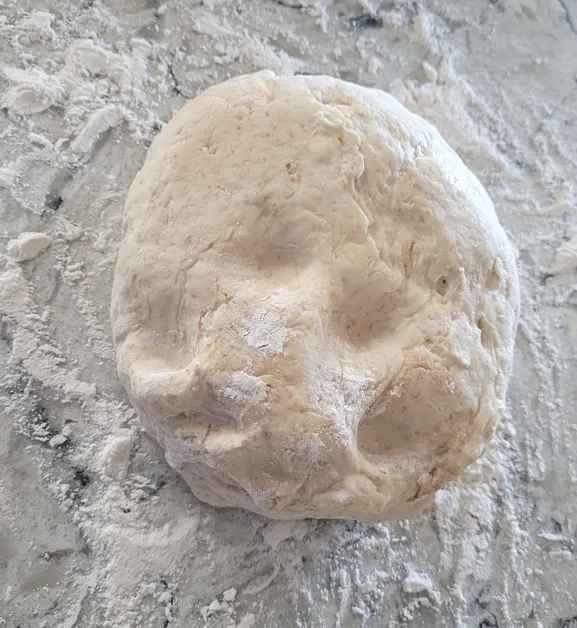
First the dough was kneaded on the floured countertop so it doesn't stick.
then I greased the baking pan and added a bit of flour and put the dough into it.
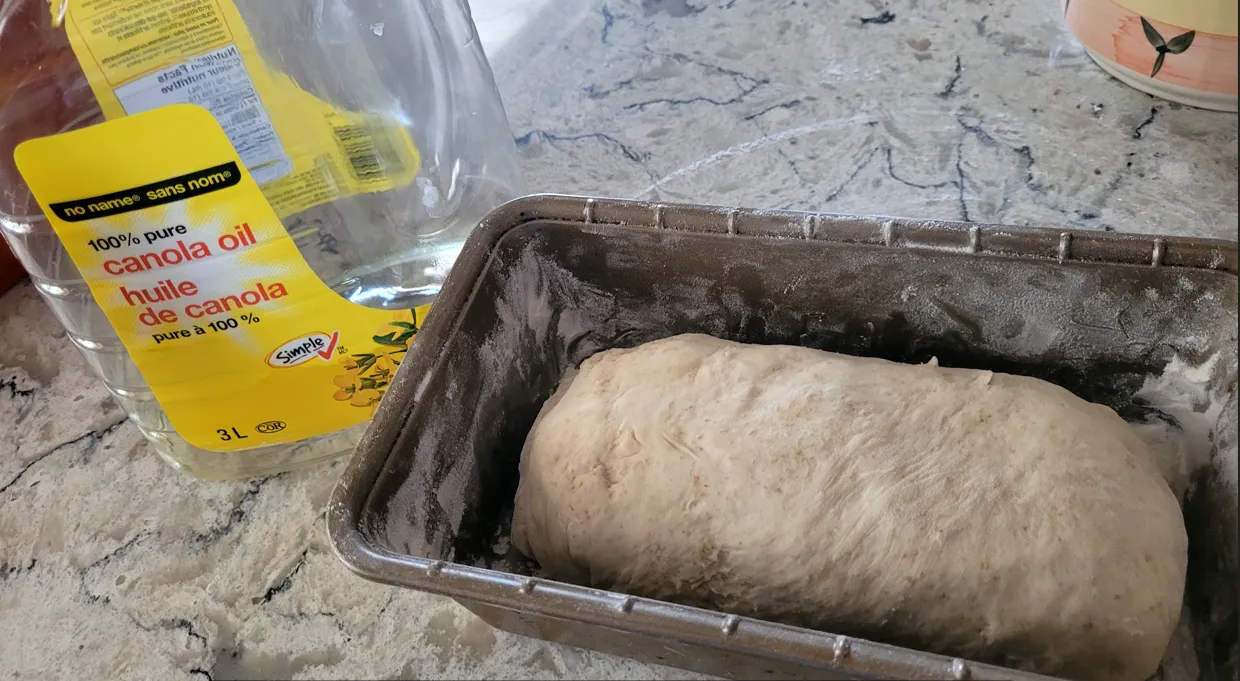
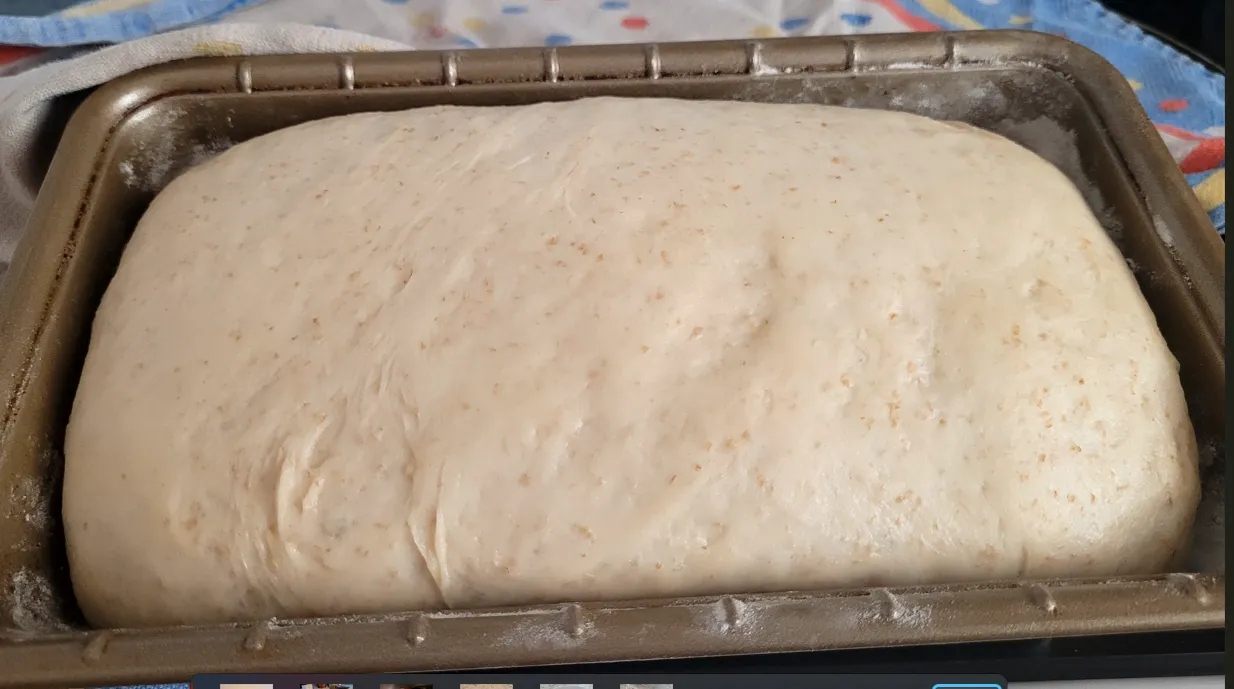
Now it is time to cover and put back into the oven to rest and rise for the next 6 - 8 hours.
When I pull it out after that time here is what it looks like.
I pre-heat the oven to 375F (it can be a little hotter or cooler depending on your preference) but I like 375 for 40min.
After 40 minutes I pull it out of the oven. Let it cool for a little bit and here we go.
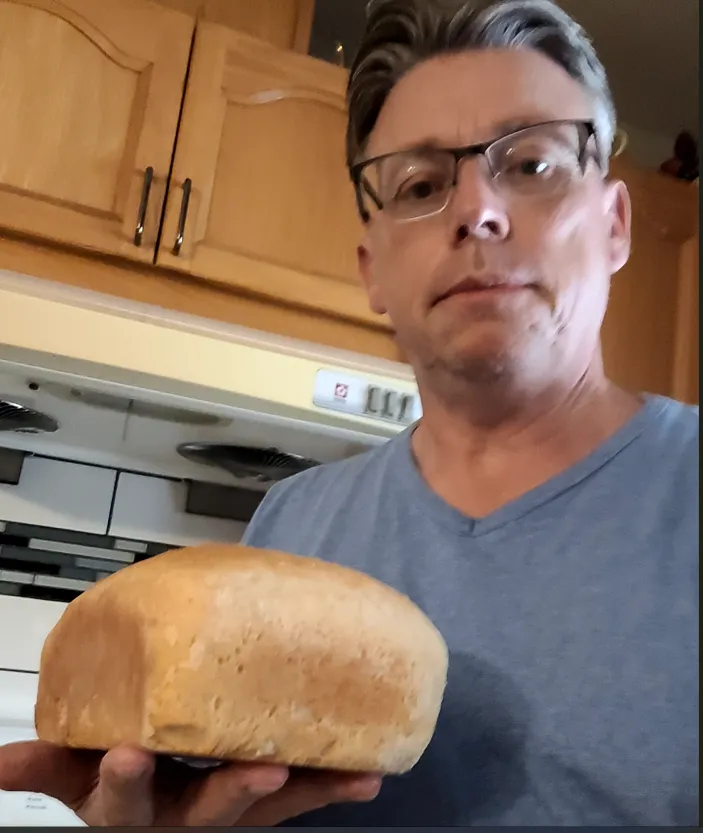
That's me with a 50 cent loaf of bread. Actually a little cheaper because I pay less for my flour than @leemah1 did in Nigeria.
Now, it is quite possible to make much better bread than I did. I'm a terrible cook and a poor baker. However, it is still quite edible. Also the starter is still going so every day I'll either have to make bread or buns....or put the starter in the fridge so it doesn't make a sticky mess.
However, if you want to save 50% of more on bread costs...and you eat a lot of bread now you know it can be very simple to make.
Flour, Water and Salt.
....but some love and time :)
Hope you liked it.
Thanks for reading and as always please comment and ask questions if you are so inclined.