
Ruleset Focus

In this edition of Battle Mage Secrets, we'll dive into the TAKING SIDES ruleset. According to this ruleset, the use of Neutral Monsters are prohibited in battles. While the TAKING SIDES ruleset might not be a game-changing factor on its own and doesn't inherently offer any specific strategic advantage, players should focus on maintaining a balanced lineup within the constraints of the available Splinters and leveraging the other rulesets in the battle to their advantage! 😁

Neutral Splinter Focus
TAKING SIDES ruleset rather enjoyable. It's a relief knowing that I won't have to deal with those pesky Neutral Monsters that I dislike facing.


The Battle
While fulfilling my responsibilities in the Splinterlands scholarship account I have with Balthazar, bltzr-wizard-729, I was able to engage in a battle that involves the TAKING SIDES ruleset. To get right into the action, the battle link can be found here. Otherwise, do read on as I go into more detail regarding the lineup and fight.

Let's begin by reviewing the ruleset governing this battle. First and foremost, the main highlight of this week's challenge is the TAKING SIDES ruleset, which we've already explored in detail. Following that, we have the Explosive Weaponry ruleset, which bestows the Blast ability upon all Monsters. Lastly, there's the Unprotected ruleset, effectively removing all Armor statistics from the battle. This battle imposes a mana limit of 55 and restricts the utilization of only the Water and Death Splinters.

Summoner, Kelya Frendul
Considering the limited options among Splinters, my selection of the Water Splinter was a practical and well-reasoned choice. The Water Splinter offers a robust array of Monsters that have the capacity to excel in this battle when compared to the Death Splinter. Although Kelya Frendul's +1 Armor buff becomes ineffective due to the Unprotected ruleset, the +1 Speed buff it provides remains valuable! 😄
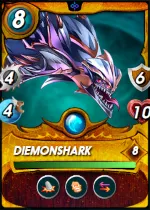
First Position, Diemonshark
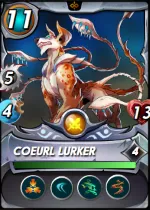
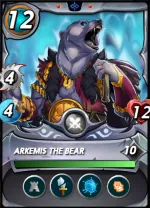
Diemonshark stands out as an excellent choice for the tank role in the Water Splinter, especially within the context of the TAKING SIDES ruleset. This is primarily because I won't be facing off against either Arkemis The Bear or Coeurl Lurker in this scenario. One particularly advantageous aspect is its Retaliate ability, which grants Diemonshark the capability to retaliate with a counter-attack when subjected to a Melee attack, allowing it to strike back at its attacker 💪
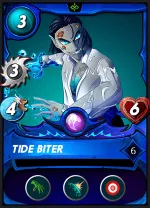
Second Position, Tide Biter
In light of the Explosive Weaponry ruleset, the placement of the Tide Biter in the second position serves to shield the backline from Blast Damages, thanks to its Reflection Shield ability. Despite being a Melee Monster, the Tide Biter can effectively engage in combat from this position due to its possession of the Reach ability. Furthermore, the presence of the True Strike ability guarantees the Tide Biter's attacks will consistently hit the intended target! 😝
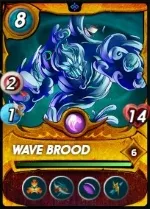
Third Position, Wave Brood
Wave Brood is as a reliable choice for a backline tank, primarily due to its substantial health pool and a set of valuable abilities, including Void and Return Fire. Capitalizing on Wave Brood's Taunt ability allows me to divert all incoming attacks towards it, offering command over the battle and safeguarding the well-being of my backline Monsters. I've positioned Wave Brood between the Tide Biter and Baakjira, effectively containing and mitigating the Blast damage, thus averting significant harm to my lineup 👊
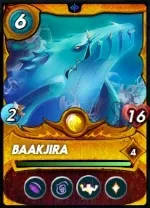
Fourth Position, Baakjira
Baakjira undeniably stands out as the prime pick for tanking duties, particularly in the absence of Neutral Monsters due to the TAKING SIDES ruleset, limiting us to Water and Death Splinter Monsters. I've positioned Baakjira beside Wave Brood to efficiently absorb all Blast damages. Baakjira brings an impressive array of abilities to the battlefield, including both supportive and disruptive effects like Slow and Strengthen. Additionally, its Void ability mitigates incoming Magic damage, further reinforced by its Healing capability 😇
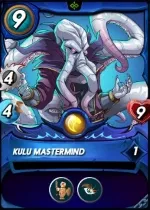
Fifth Position, Kulu Mastermind
Kulu Mastermind is undoubtedly one of my favorite Soulbound Reward Cards, elevating the Water Splinter to even greater heights. The Kulu Mastermind is a typical Water Monster which generally boasts a well-rounded set of statistics. Placing Kulu Mastermind in the rear ranks and leveraging its Opportunity ability enables me to capitalize on the Explosive Weaponry ruleset, granting me the opportunity to bypass enemy tanks and strike at the more vulnerable rear positions and causing destructive Blast damages! ✌️
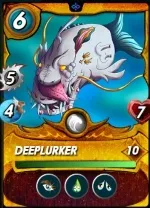
Last Position, Deeplurker
Incorporating the Deeplurker into my lineup, especially when using the Water Splinter, seems like a clear-cut choice. Much like the Kulu Mastermind, the Deeplurker leverages its Opportunity ability to cause havoc in the enemy's backline. Moreover, the Deeplurker has the capacity to afflict its target with Poison, introducing an additional layer to its already formidable offensive prowess. Additionally, it brings the Demoralize ability to the table, imposing a -1 Melee attack debuff on the opposing team! 😉
The Analysis
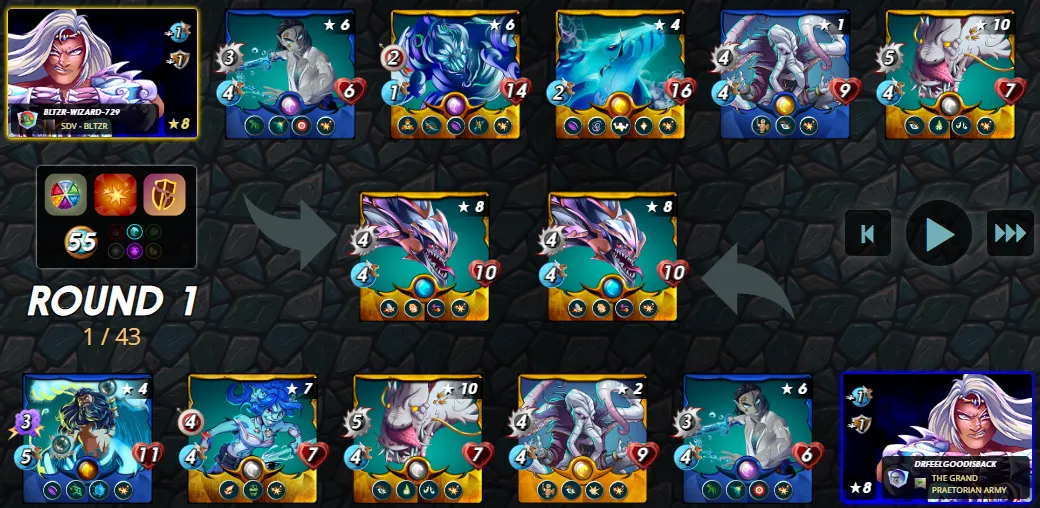
Considering the limited Splinter options in this battle, it comes as no surprise that my opponent also chose the Water Splinter. In a manner similar to my own lineup, the opponent utilized a Tide Biter to shield the backline from Blast damage. Moreover, both the Kulu Mastermind and Deeplurker were deployed by the opponent, capitalizing on their Opportunity ability.
Nonetheless, my well-devised strategy featuring the Wave Brood's Taunt ability allowed me to control the enemy's attacks and direct them to where I wanted. The resulting attacks and their accompanying Blast damage were effectively managed thanks to Tide Biter's Reflection Shield and Baakjira's tanking prowess. With these threats under control, I seized the opportunity to strike back in the enemy's backline using my Opportunistic Monsters, swiftly bringing the battle to a victorious close! 🤙
Do you guys have any better recommendations for setting up the team in this particular ruleset? Do share them with me in the below comments 😜

If you made it this far, I sincerely appreciate your time and value your encouragement. Please feel free to leave any comments or suggestions so that we can discuss about other strategies. Thinking about giving Splinterlands a try but haven't signed up yet? Feel free to use my referral link: https://splinterlands.com?ref=ak08, and be sure to reach out to me if you have any questions!
Are you interested in reading some of my future writings? Don't forget to follow me! In the meantime, here are some of my most recent blogs if you'd like to view them:
 |  |
 |  |
All banners, dividers card and battle images used in this article are open source and obtained from the Splinterlands team or made by flauwy. Do check out his link for other amazing designs.