This week's Battle Mage Challenge is about the Up Close & Personal. rule.
Splinterlands tells us the following about this rule:
Only units with melee attacks can be used.

    Use Thorns and Demoralize to counter melee attacks.
    Units with 2 types of attacks (including melee) can be used.
Up Close & Personal is a very restrictive rule. All monsters has to have a melee attack stat. The few double attackers with melee strike is very valuable in this rule, especially the ones with magic attack This is because it is very common to include several Demoralize or Shield.

Incompatible Rules


Up Close & Personal is incompatible with Weak Magic, Target Practice, Close Range, Keep Your Distance, Broken Arrows, Lost Magic, Counterspell, Return Fire, Aimless, and Wands Out.
Desirable Abilities


(Demoralize, Inspire, Shield, Thorns, Sneak, Opportunity, Repair)
In Up Close & Personal it is very important to modify melee attack damage. We achieve this by including Demoralize and Inspire. These will affect all units on the team, and provide great value. Shield is also great for reducing the incoming damage. Thorns will get maximum value in this mode, except when hit by the second strike of a dual attacker unit. Sneak and Opportunity make sure that units can attack even if they are not in the frontline position.
Advantaged Summoners


Desirable Monsters


My Battle : Up Close & Personal battle
My battle had the following configuration: Wild Diamond league. 55 mana, rules: Up Close & Personal, Healed Out, Armored Up. Splinters: Death, Water, Life.

My lineup


I went for a classic Kelya setup here. Diemonshark+Flying Squid frontline. Two Opportunity monsters, a Demoralize with Alvar, as well as letting him be the target for Opportunity. Finally, I added Drybone Raider, primarily to get the Shatter.
Opponent's lineup


My opponent went for Possibilus, which is somwewhat predictable. He is very good in melee matches, but surprisingly there is no Coastal Sentry in the lineup. Instead, they doubled up on defensive measures with three Demoralize, one Protect and Arkemis' Halving.
Battle progress and Result
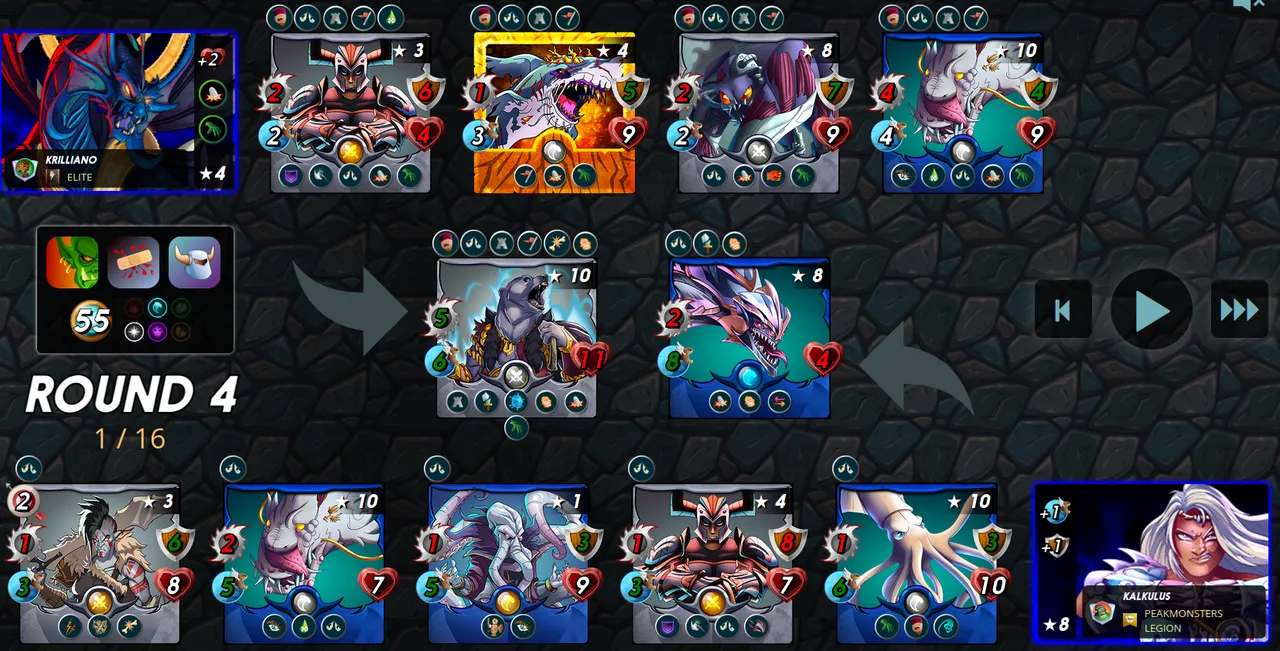
In the first round, my units start attacking the Diemonshark, but do very little damage because of the 3x Demoralize. My Deeplurker luckily manages to poison Legionnaire Alvar, and Drybone Raider is highly effective by removing the Diemonsharks armor with Shatter. My Diemonshark similarly tanks the opponent's hits, but its attack is reduced because of Halving.
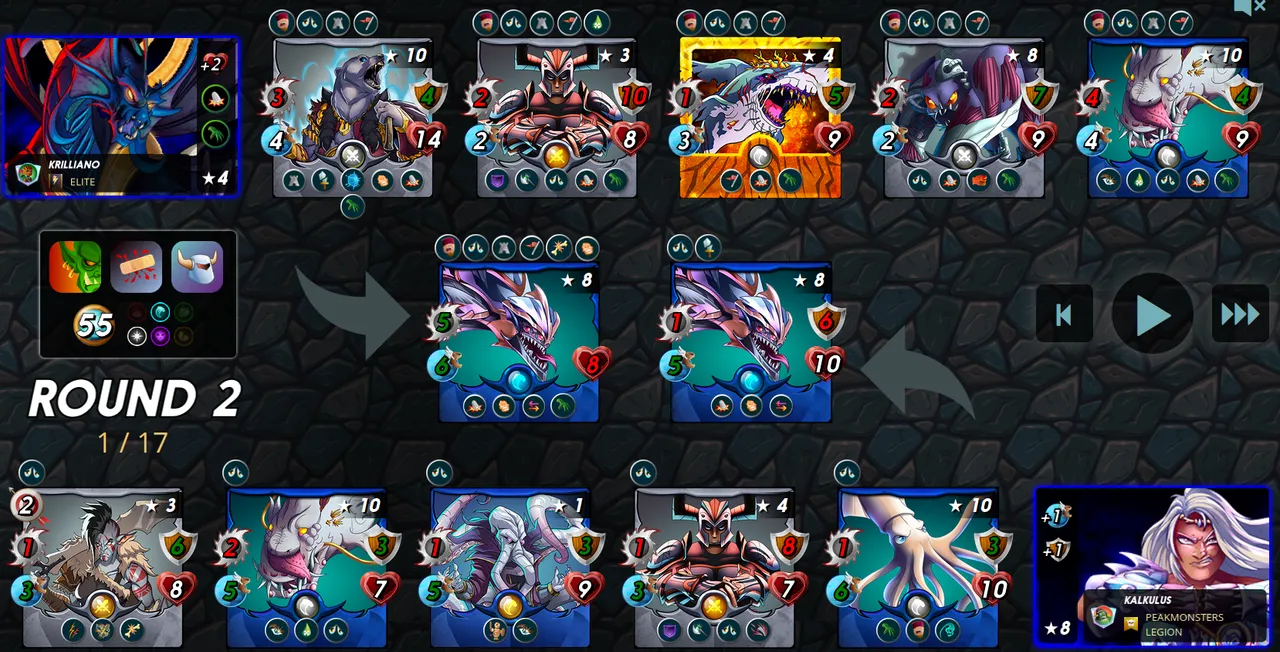
In round 2, we start off with a little Retaliate bouncing between the Diemonsharks, Now the opponents Diemonshark has become the lowest health unit, and my Deeplurker targets it instead, but takes a Retaliate strike back for it. With the Double Strike hits, my Drybone Raider manages to bring down the Diemonshark at the end of the round.
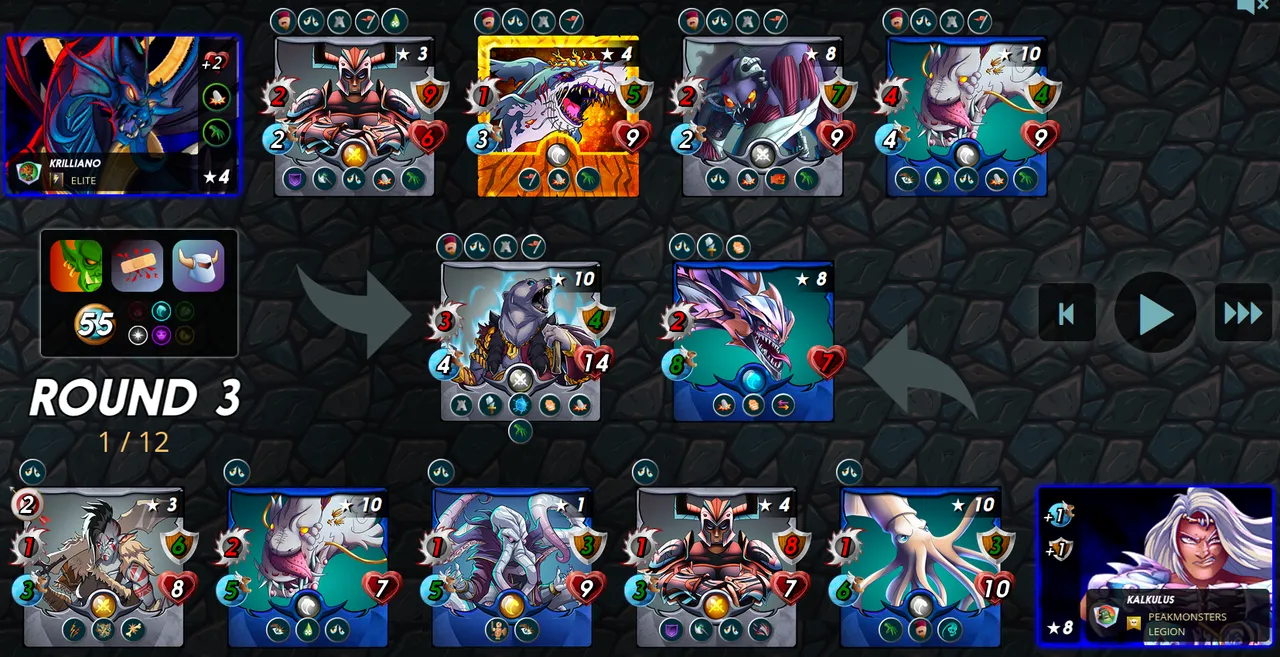
Round 3 is pretty uneventful. The tanks take some damage, and my opportunity monsters hit Alvar. At the end, my Diemonshark dodges a hit from Alvar and will live a little longer than expected.
In round 4, Arkemis kills my Diemonshark and Tramples onto the Flying Squid and applied Halving to that one too. My units continue to strike at Arkemis and Alvar to tear them down.
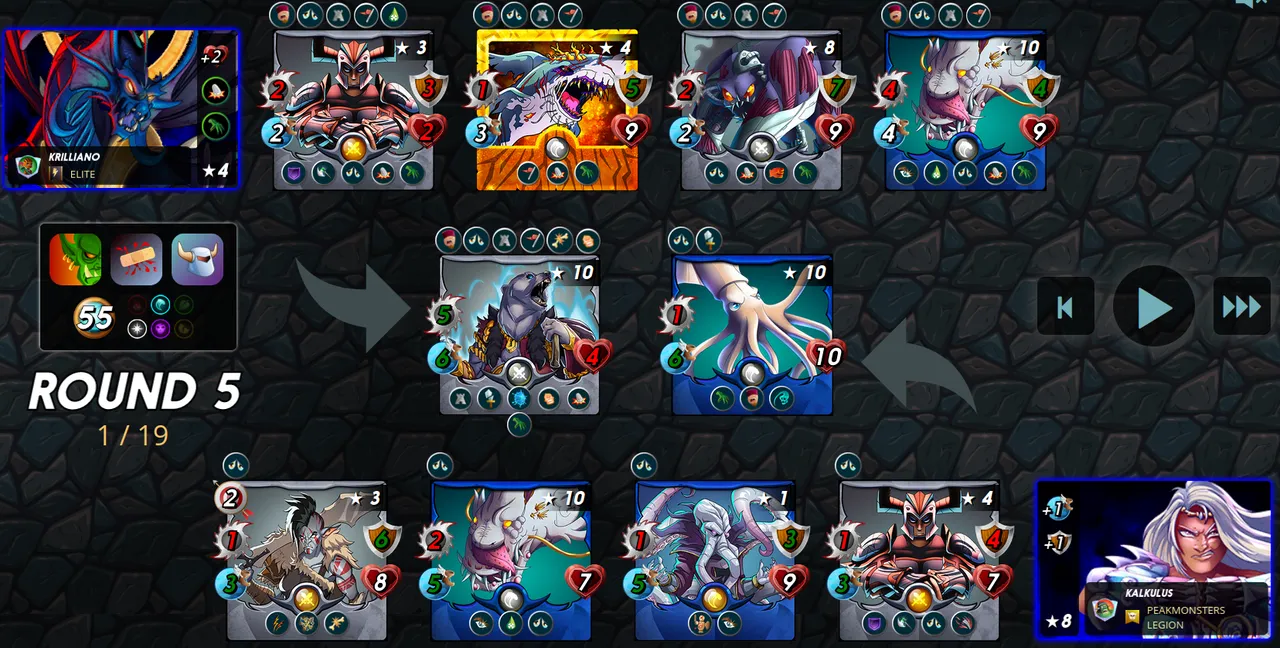
In the start of Round 5, Alvar finally succumbs to Poison and my team's damage is almost doubled. With that, they are quickly able to finish of Arkemis, and then the main threats from my opponent are down. Flying Squid does a great job at tanking, and dodges two of the incoming hits, sending Backfire damage back at my opponent.
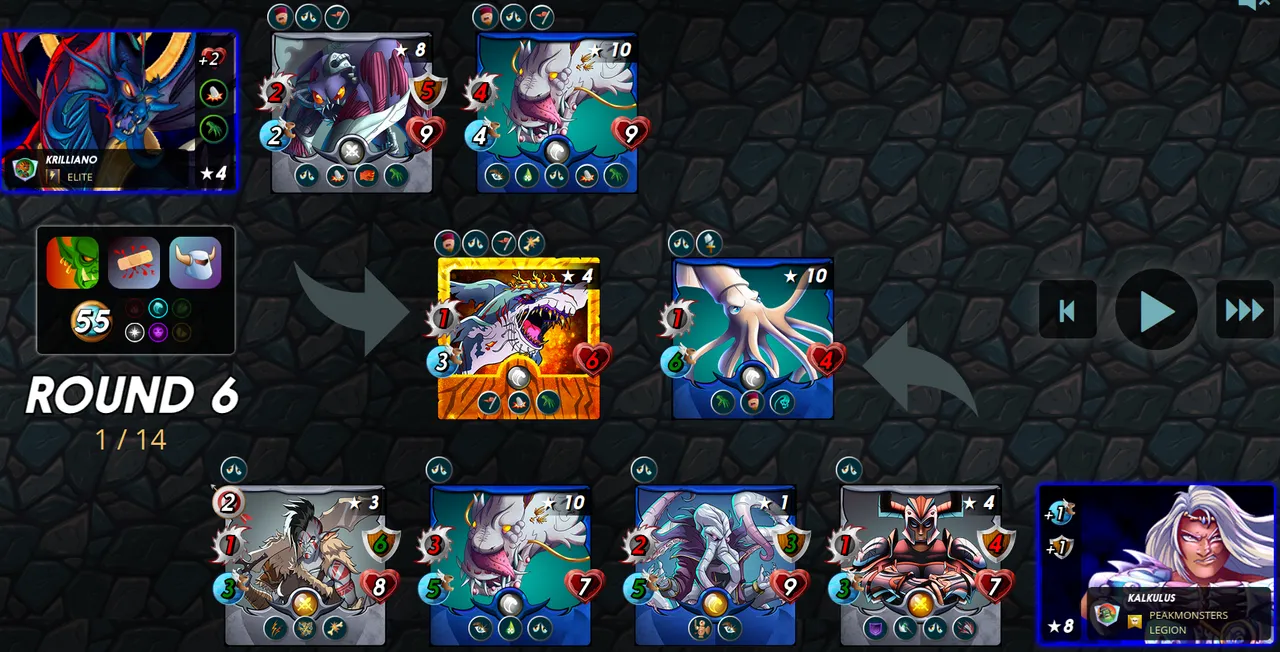
In round 6, my Opportunity monsters quickly finish off the Demented Shark, and Flying Squid dodges the Deeplurkers hit once again. Now the match outcome is clear, and I can just watch while my units overwhelm the poor two remaining monsters in my opponent's team.
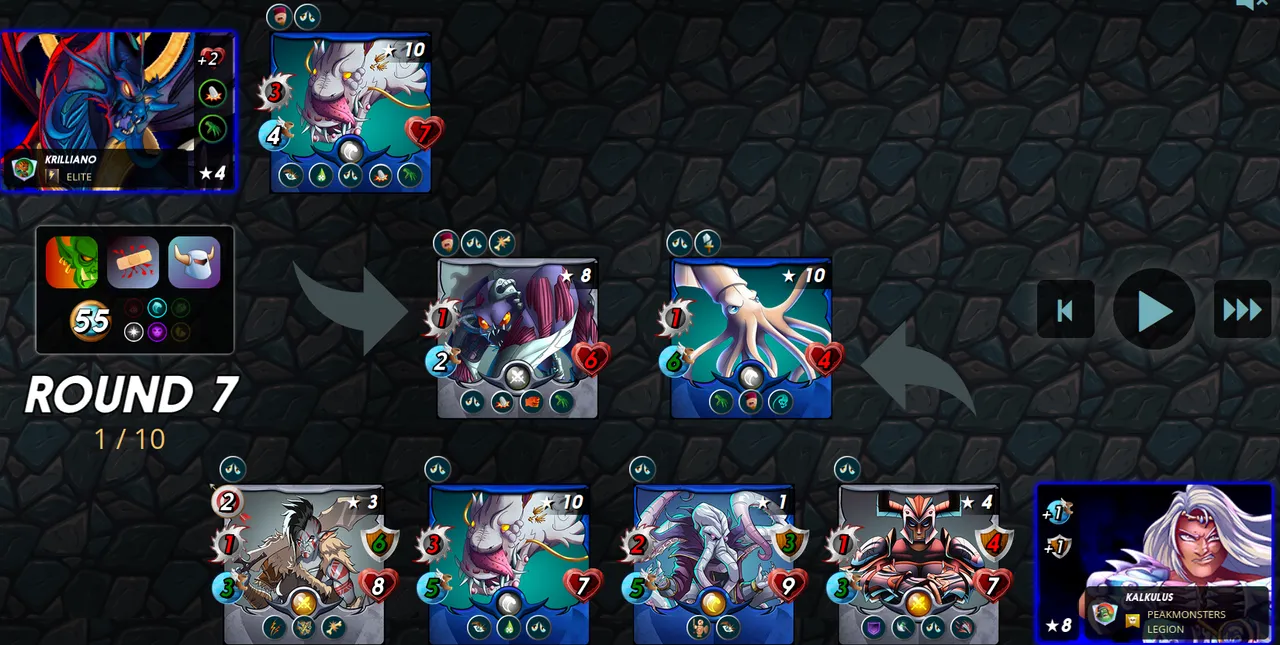
A victory for me, and a somewhat classic match. Kelya usually has the upper hand against Possibilus due to the extra armor and speed, and that turned out to be the case here aswell.
Alternate lineups
Astral Entity


Chanseus the Great


Kelya Frendul


Crypt Mancer


I hope you found this post interesting. If you did, you might also enjoy my other content.
Battle mage challenges
Battle Mage Challenge: Unprotected
Battle Mage Challenge: Target Practice
Battle Mage Challenge: Taking Sides
Battle Mage Challenge: Super Sneak
Battle Mage Challenge: Stampede
Battle Mage Challenge: What Doesn't Kill You
Battle Mage Challenge: Wands Out
Battle Mage Challenge: Silenced Summoners
Battle Mage Challenge: Rise of the Commons
Battle Mage Challenge: Reverse Speed
Battle Mage Challenge: Odd Ones Out
Battle Mage Challenge: Noxious Fumes
Battle Mage Challenge: Melee Mayhem
Battle Mage Challenge: Lost Magic
Battle Mage Challenge: Lost Legendaries
Battle Mage Challenge: Little League
Battle Mage Challenge: Keep Your Distance
Battle Mage Challenge: Holy Protection
Battle Mage Challenge: Healed Out
Battle Mage Challenge: Going the Distance
Battle Mage Challenge: Ferocity
Battle Mage Challenge: Fog of War
Battle Mage Challenge: Fire & Regret
Battle Mage Challenge: Explosive weaponry
If you would like to see more of this content, please let me know, like and share the post. Also, if you have not yet started playing Splinterlands, you can join and support me and the same time with the following link
Best of luck in Splinterlands!
Kalkulus