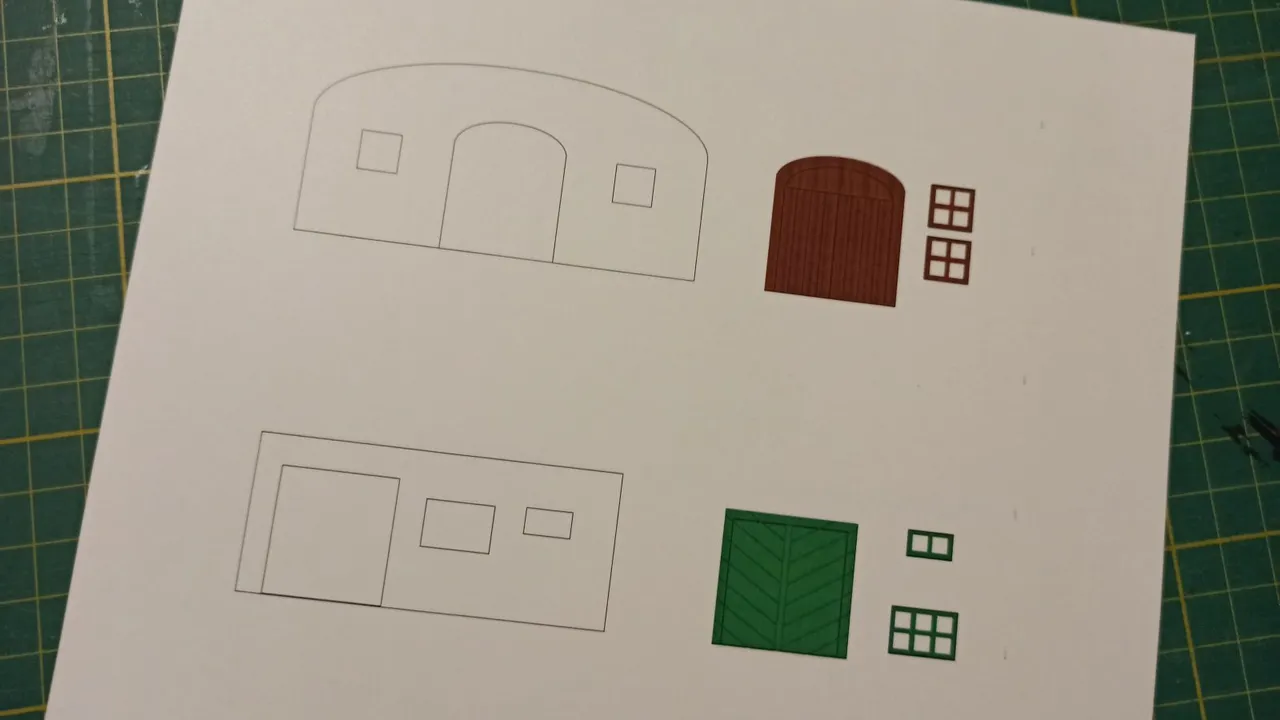
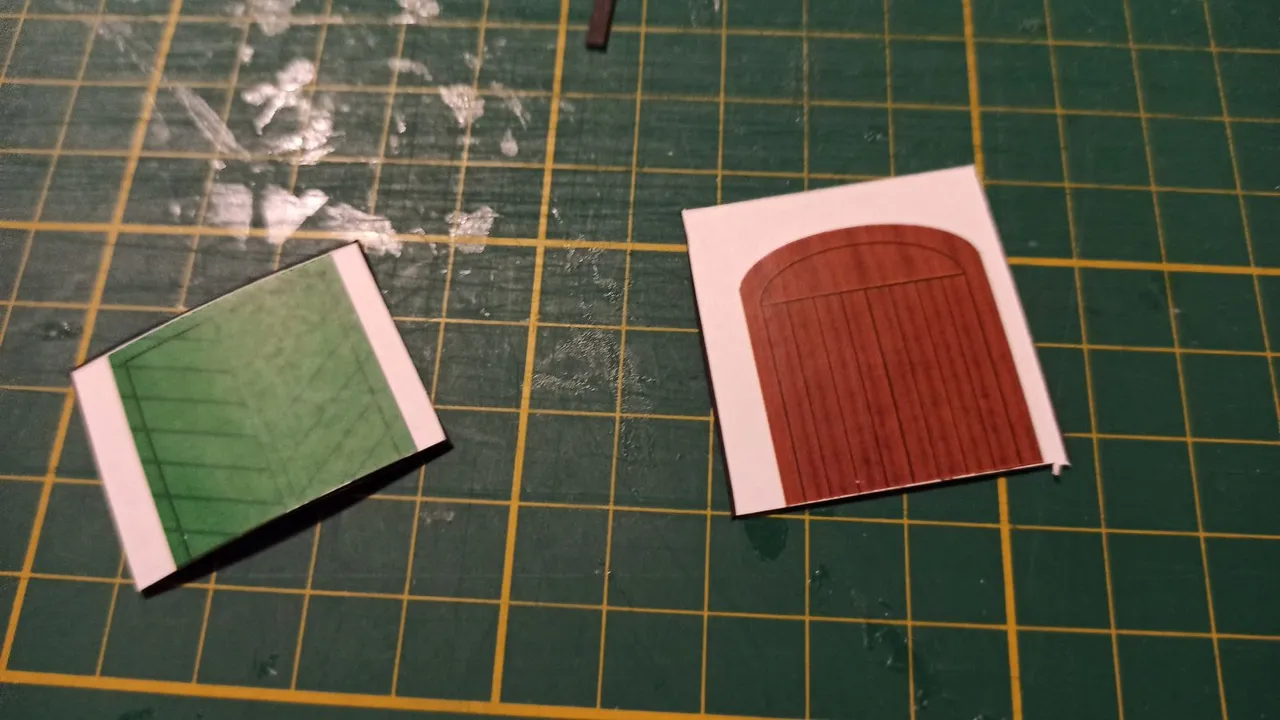
As we live in Wachau valley, a wine growing region, we also wanted to have two wine cellers in our model train layout. First I created the doors, windows and the basic forms on my PC. If you want to create such wine cellars as well, feel free to download the template for the wine cellars in H0 scale here.
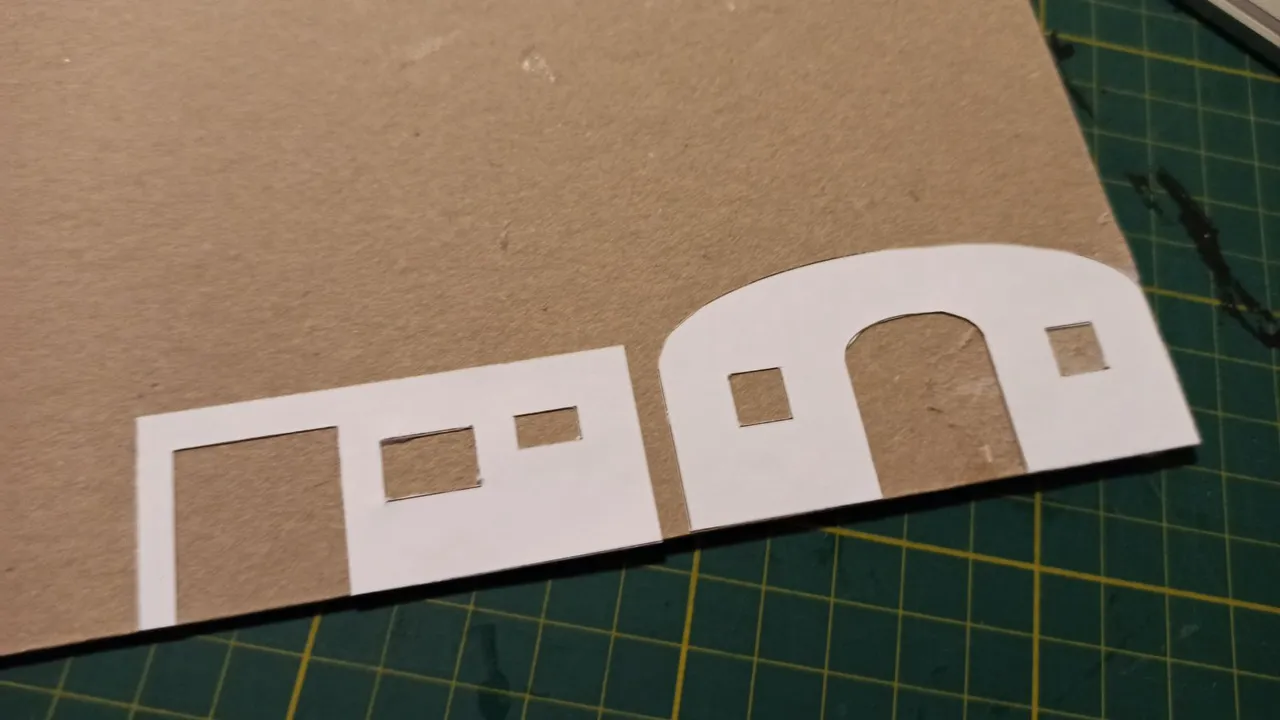
I cut out the two cellars and glued them on stable carton (approx. 1 mm thick).
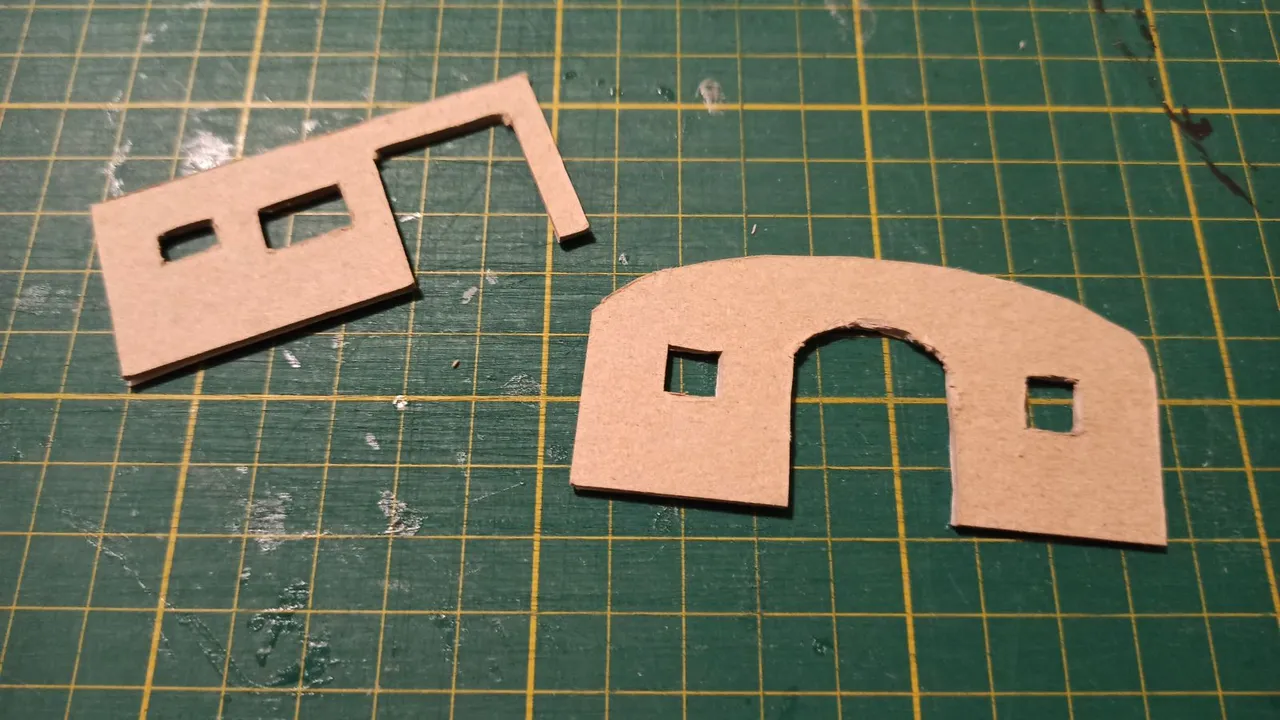
Then I cut out the carton and turned it around.
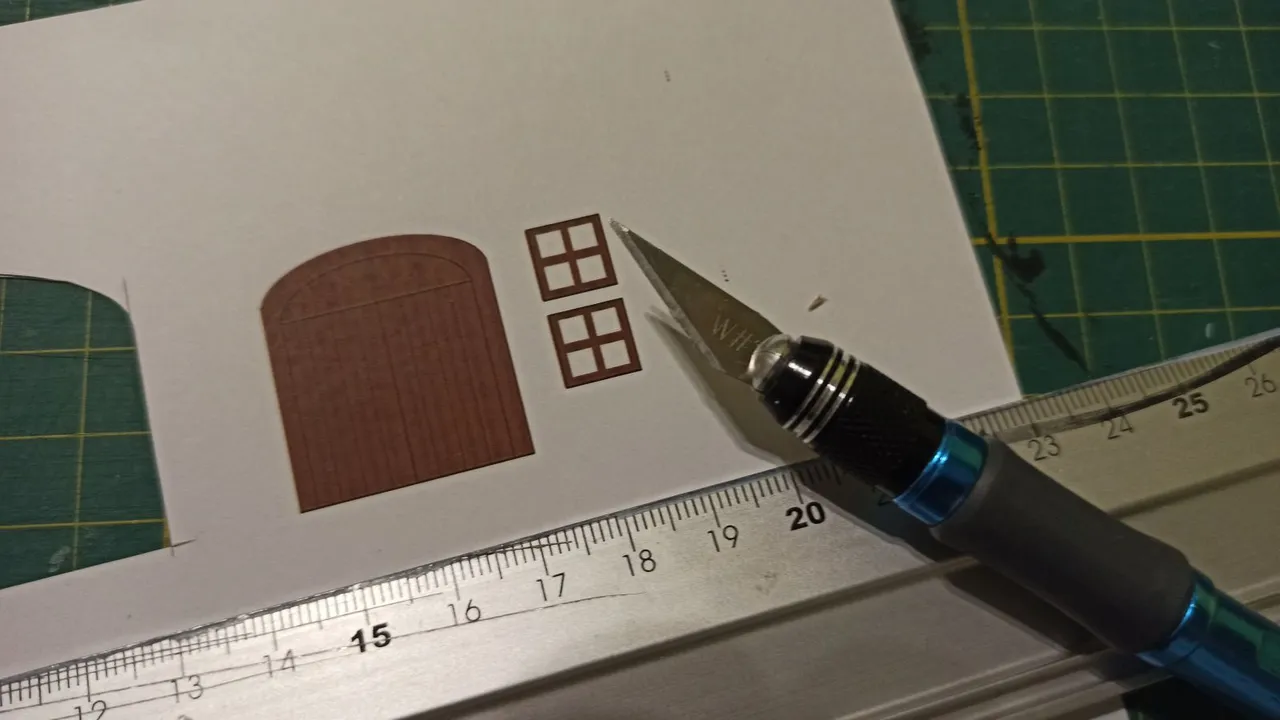
In the next step I cut out the doors and windows.
I want to light the wine cellars from the inside so I glued both doors on black paper (approx. 160 g/m²) so that no light will come through the doors.
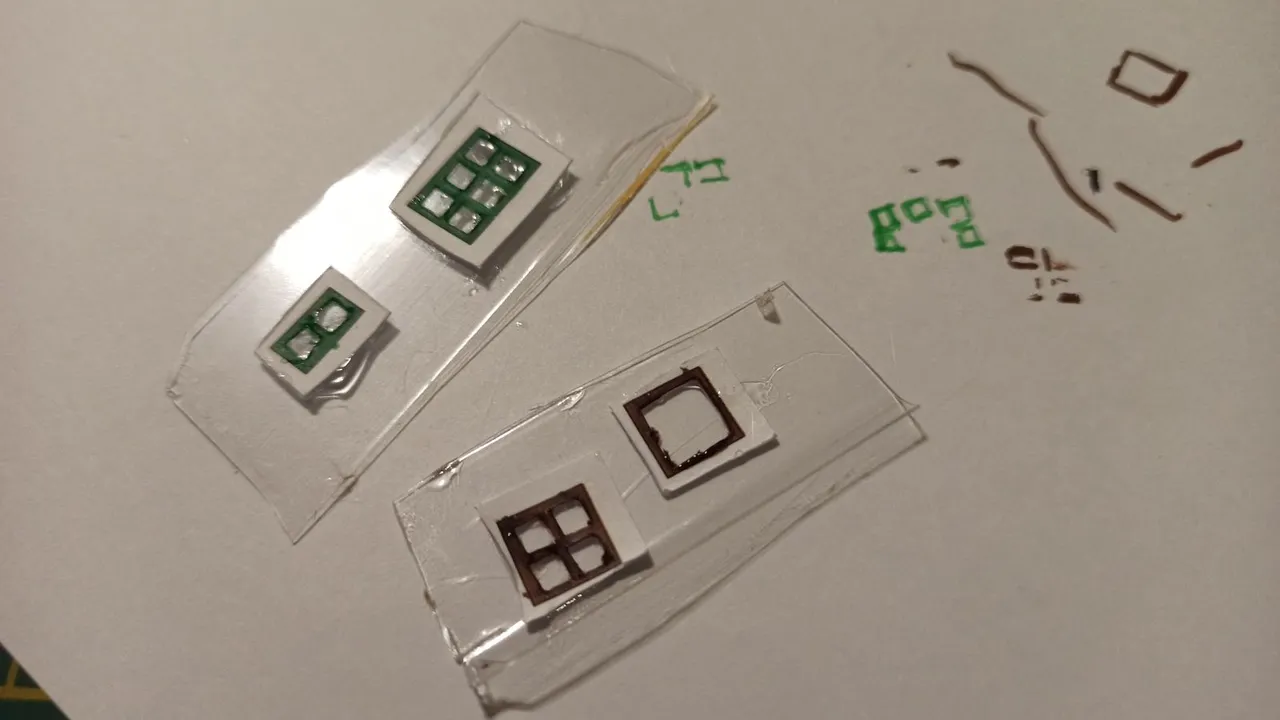
I cut out the windows as well and glued them on transparent plastic. For that I just took some plastic from a packaging of a Matchbox car.
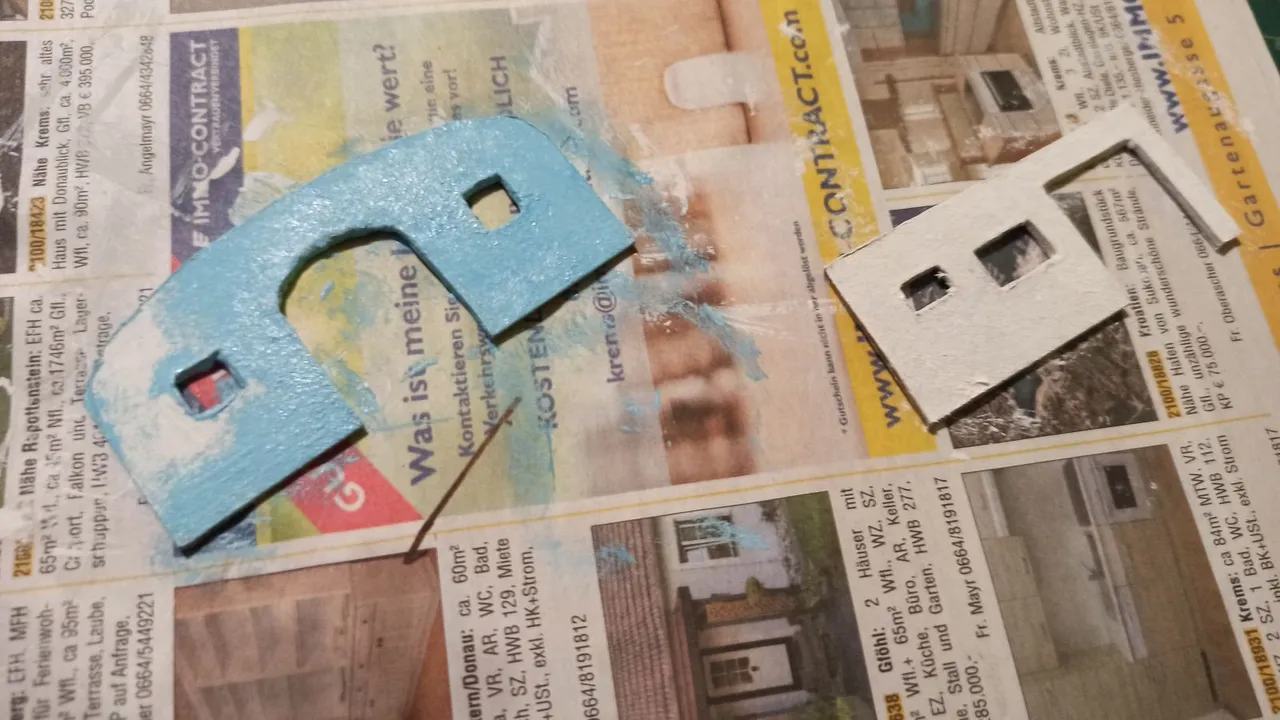
Then I painted the carton with opaque white, respectively blue water colour mixed with opaque white.
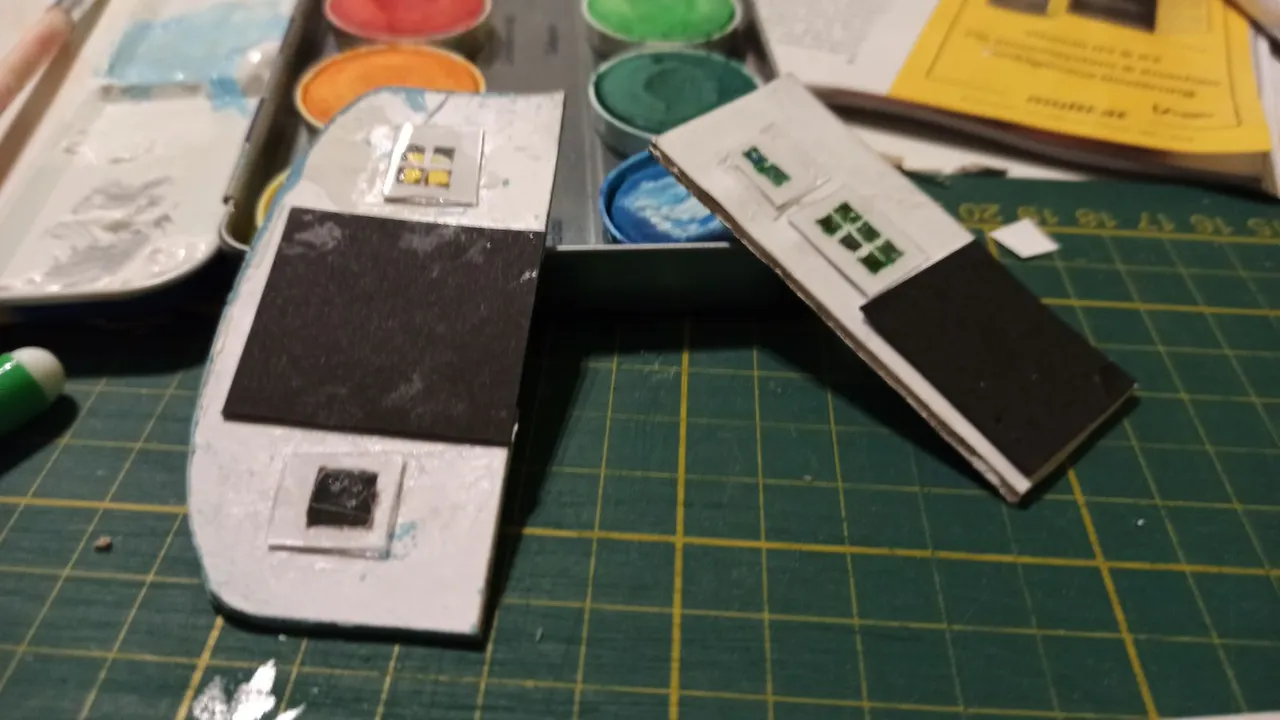
In the next step I glued the doors and windows on the backside.
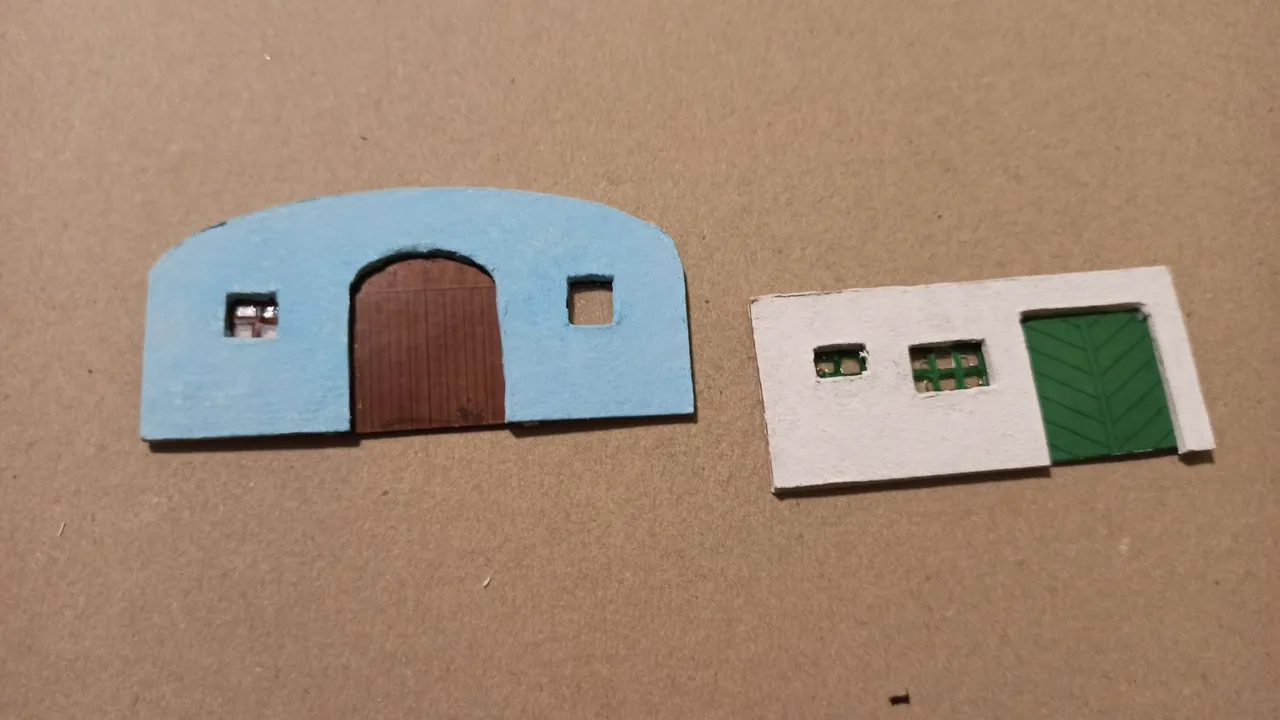
Then the front sides of the cellars were finished.
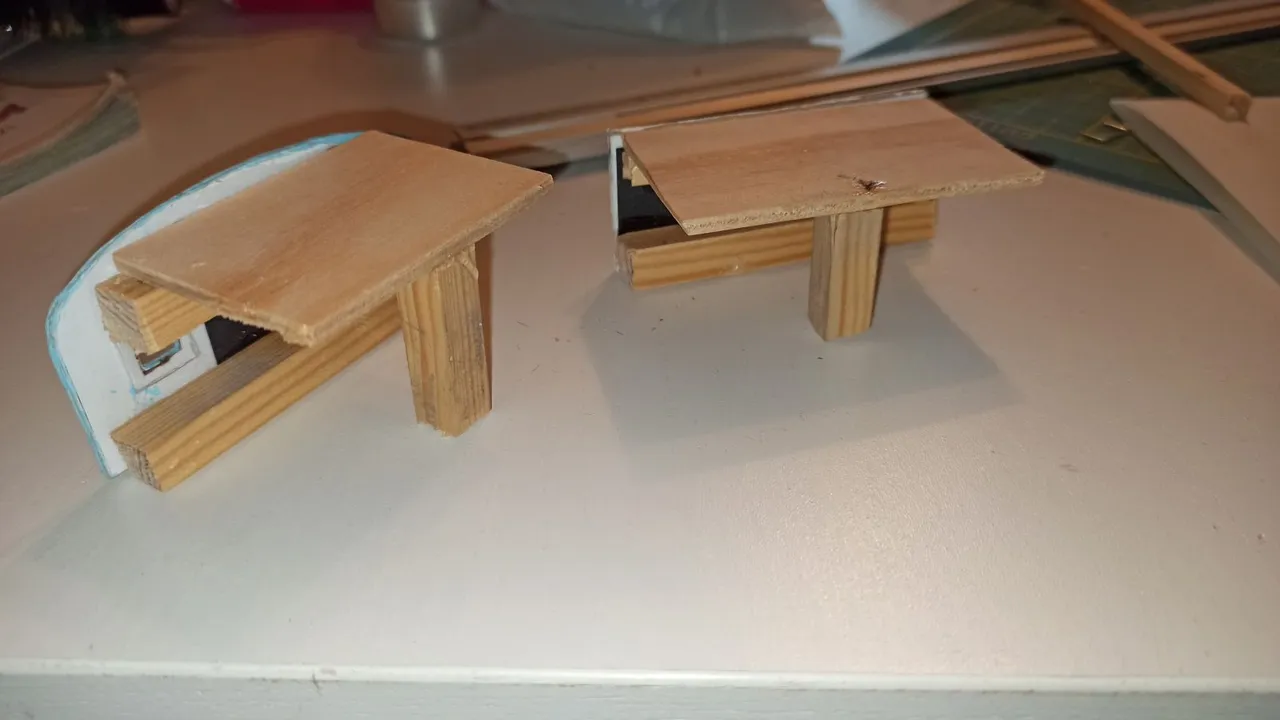
After that I created the backside construction. Since only the front should be visible, the backside construction just had to be stable. It was not necessary to make it beautiful. But I had to use wood for this construction because paper would probably suck the water from the gypsum I used in one of the next steps.
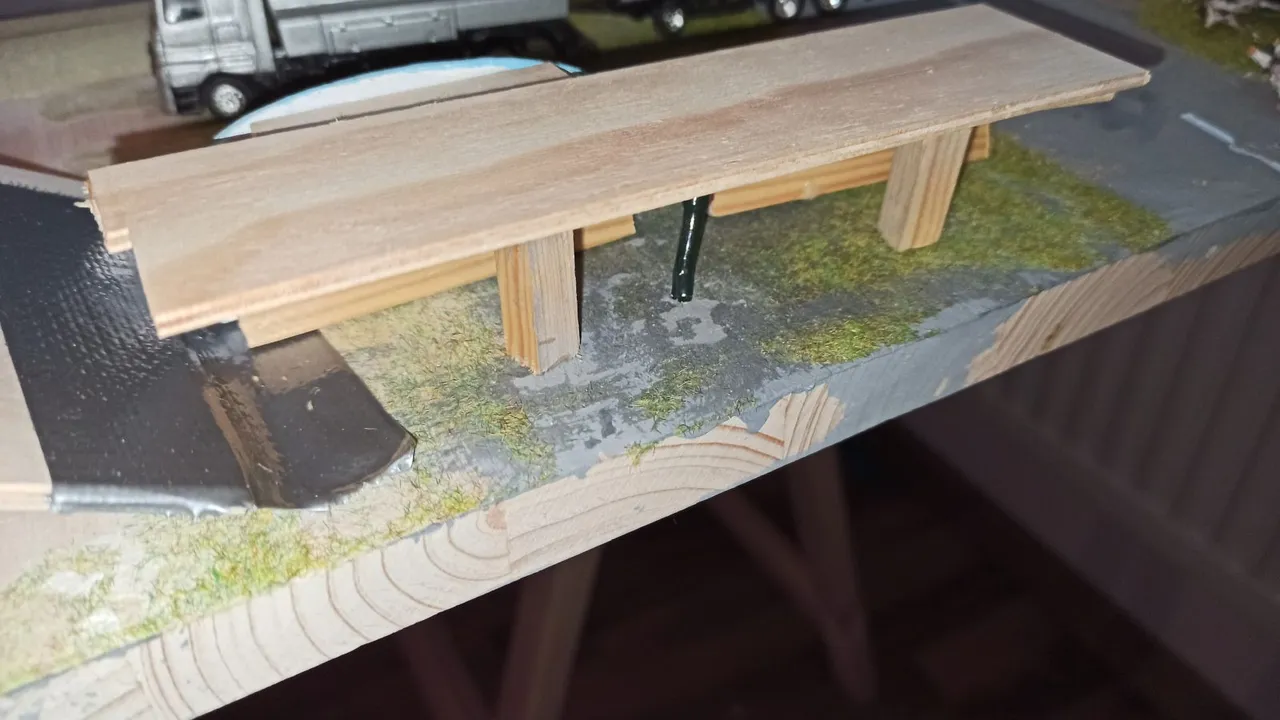
Then I placed everyting on the model train layout and already placed a LED in it.
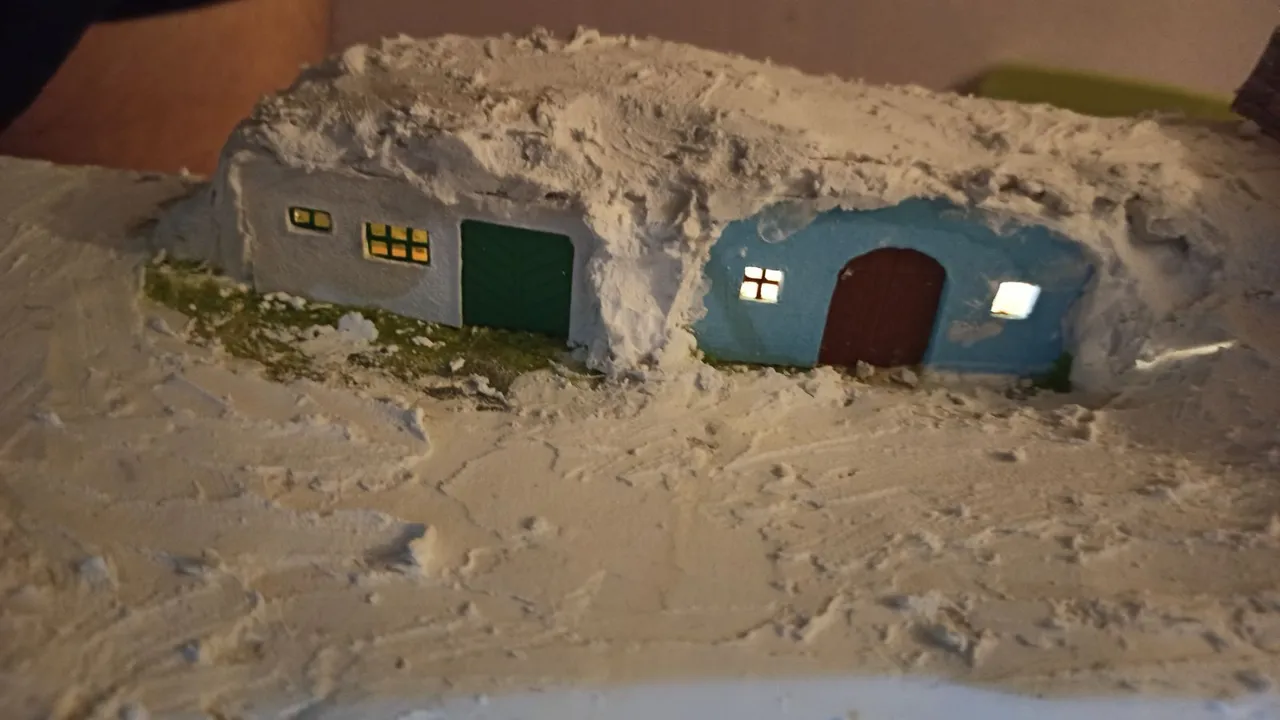
Then it was time to create the "hill" above the wine cellars. For that I used gypsum. Later I used filler for working out the details.
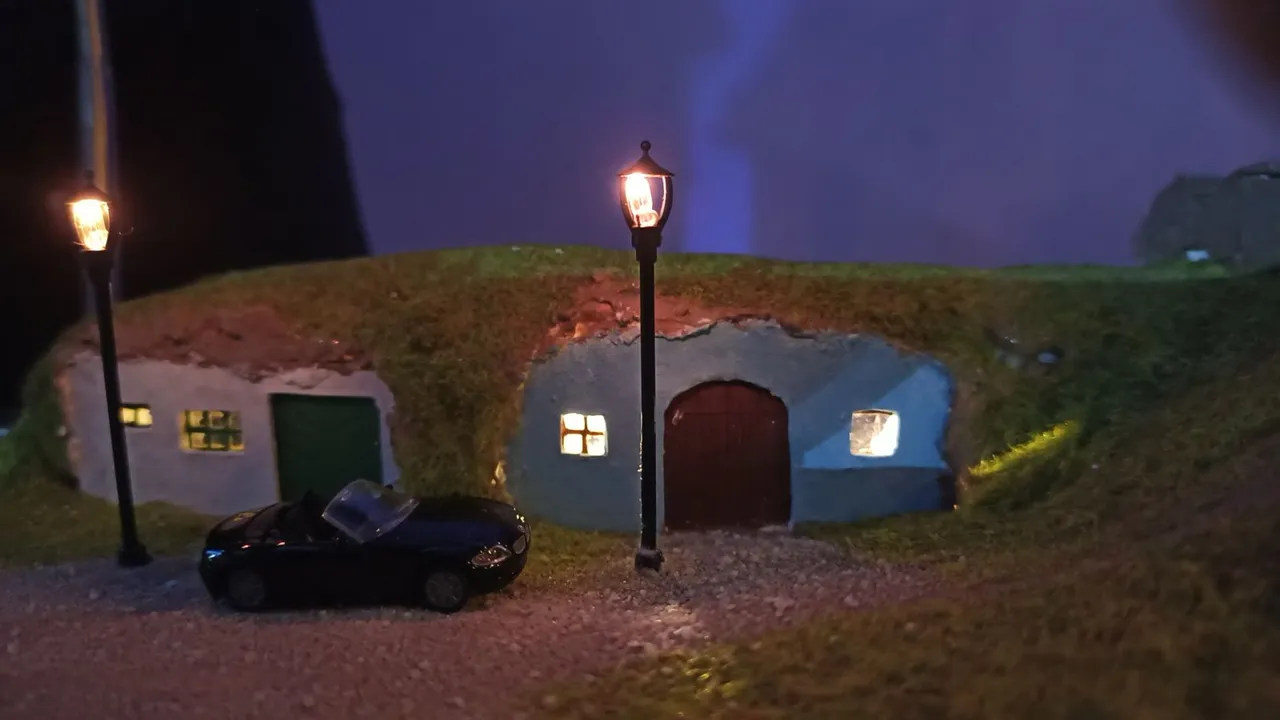
When the filler was dry I first painted everything with ground coat, and then with brown acrylic colour. I mixed some brown that should look like the loess in our area. Finally I put scatter grass from NOCH on top of the hill and positioned two street lights in front of them.
I love the result and I hope you like it as well!
Previous posts:
Part 1: The Christmas present
Part 2: The petrol station
Part 3: How it all started
Part 4: My model car collection
Part 5: The farm
Part 6: My GDR collection
Part 7: The base plate
Part 8: Basic electricity
Part 9: Mounting the tracks
Part 10: DR railroad cars
Part 11: Electrifying the railway switches
Part 12: Electricity for the lights
Part 13: Another DR passenger car
Part 14: An electric drive for the second railway switch
Part 15: My website "scalemodel.photography"
Part 16: The self-made protective pad
Part 17: Moving the base plate to the final position
Part 18: The campground
Part 19: The petrol station and the farm
Part 20: The railway crossing
Part 21: Our PIKO Junior set
Part 22: Creating a charging station for electric cars
Part 23: The Flemish houses
Part 24: More street lights
Part 25: Interior lighting for the farm
Part 26: The USB vacuum cleaner