Building the mountain with the tunnel was the most time-consuming part of our model train layout.
I used tunnel portals that I already had when I was a child. I printed out a grey brick wall on a DIN A4 paper (160 g/m²) and fixed it with tape.
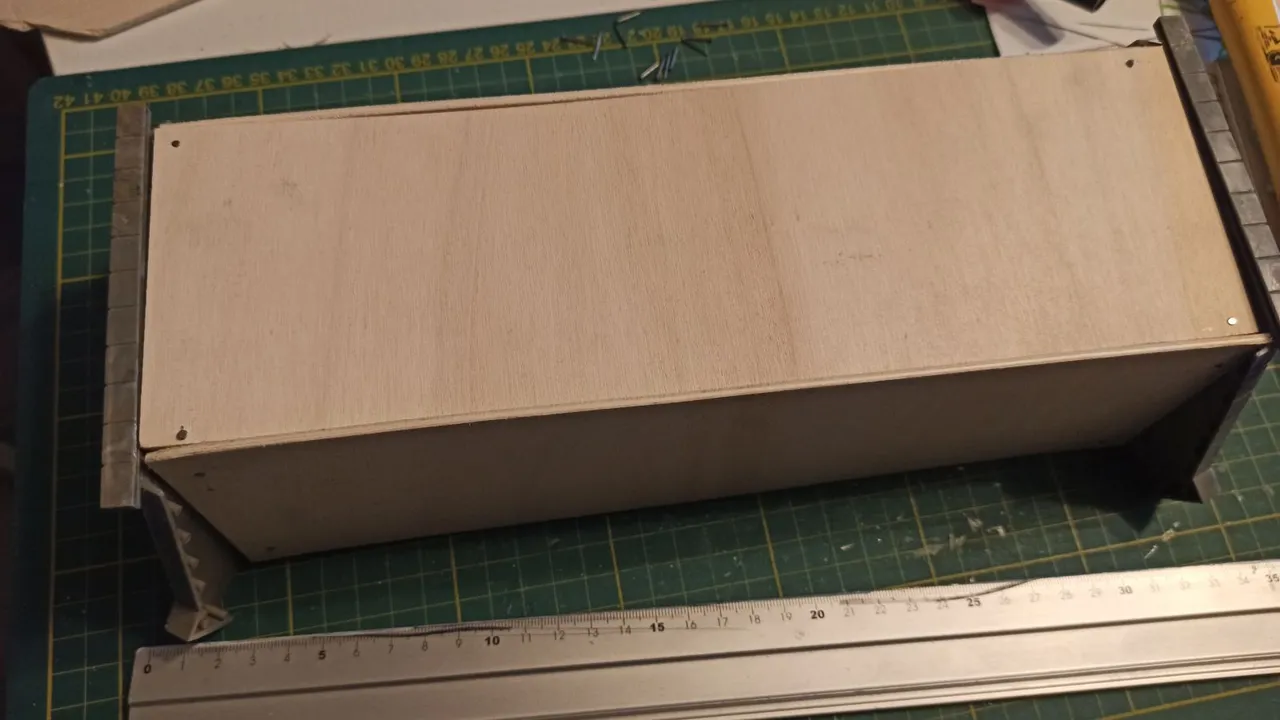
Then I created a wooden top and wooden sidewalls around it so that it gets more stable and doesn't suck water from the plaster.
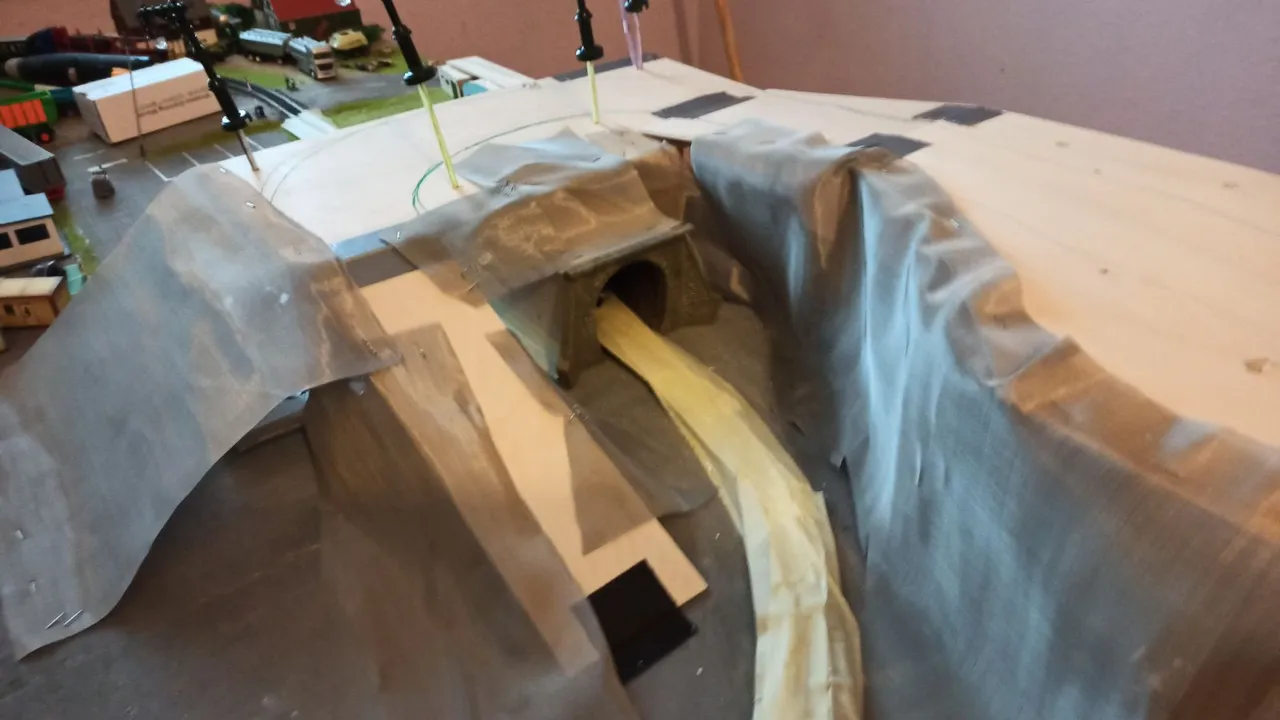
Then we put tape on the tracks so that they don't get dirty. We created the basic layout of the mountain with wood and steel mash.
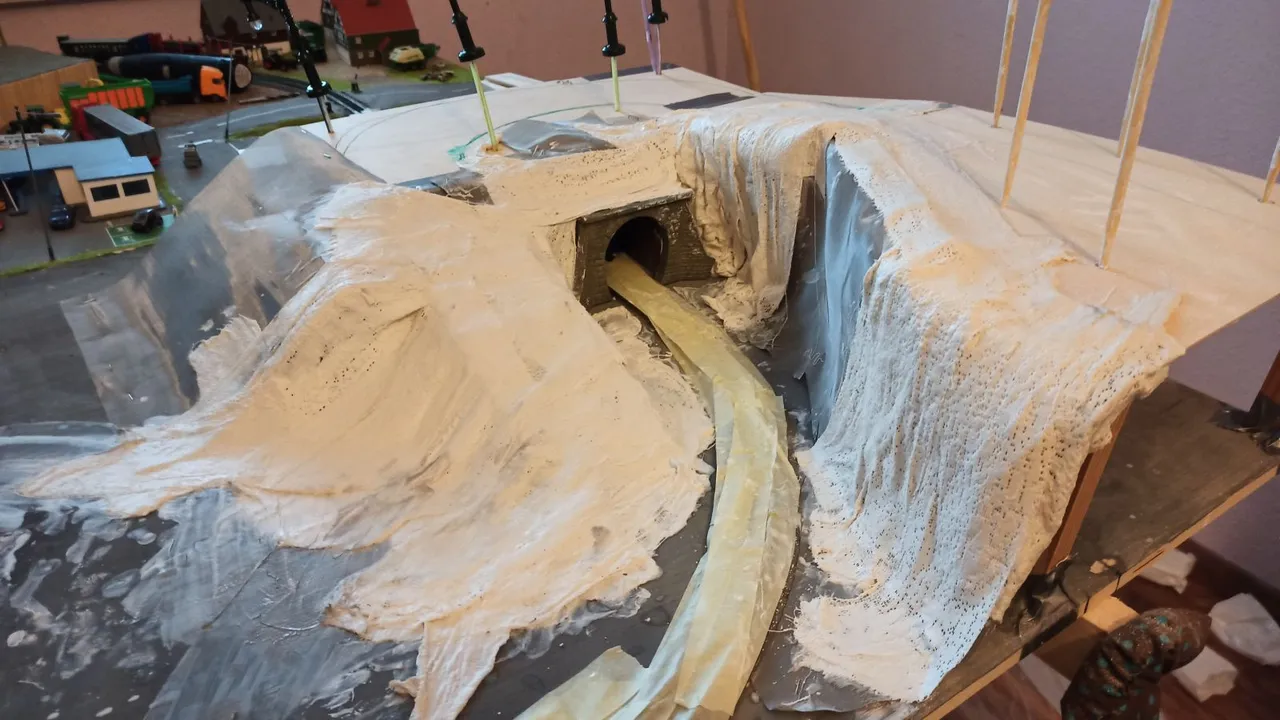
With a lot of plaster bandages we created a stable structure of the mountain. I guess we used around 100 meters of plaster bandages!
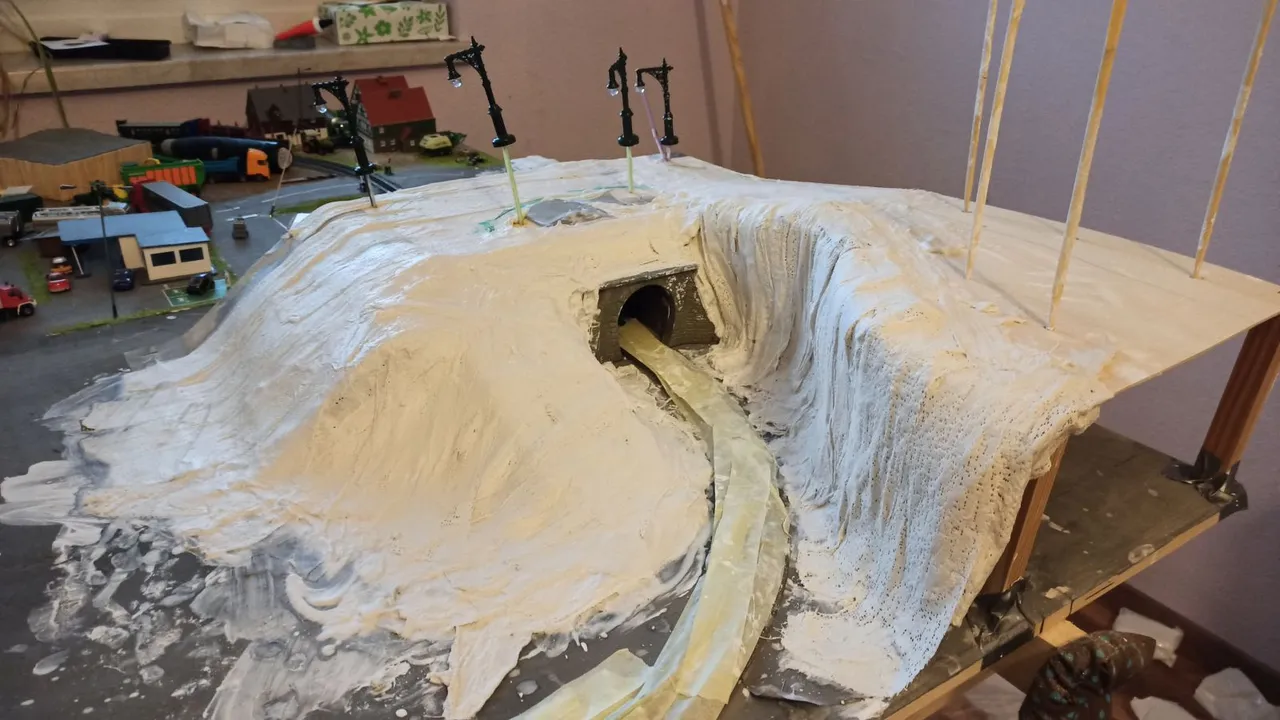
Then we used modelling plaster to further build up the mountain. We shaped the streets and put a lot of plaster on that places where we later wanted to have a cliff. We used about 5 kg of plaster!
But before we did that we made holes in the wooden boards for the electricity. We then put drinking straws or chopstick in the walls to get some "cable channels".
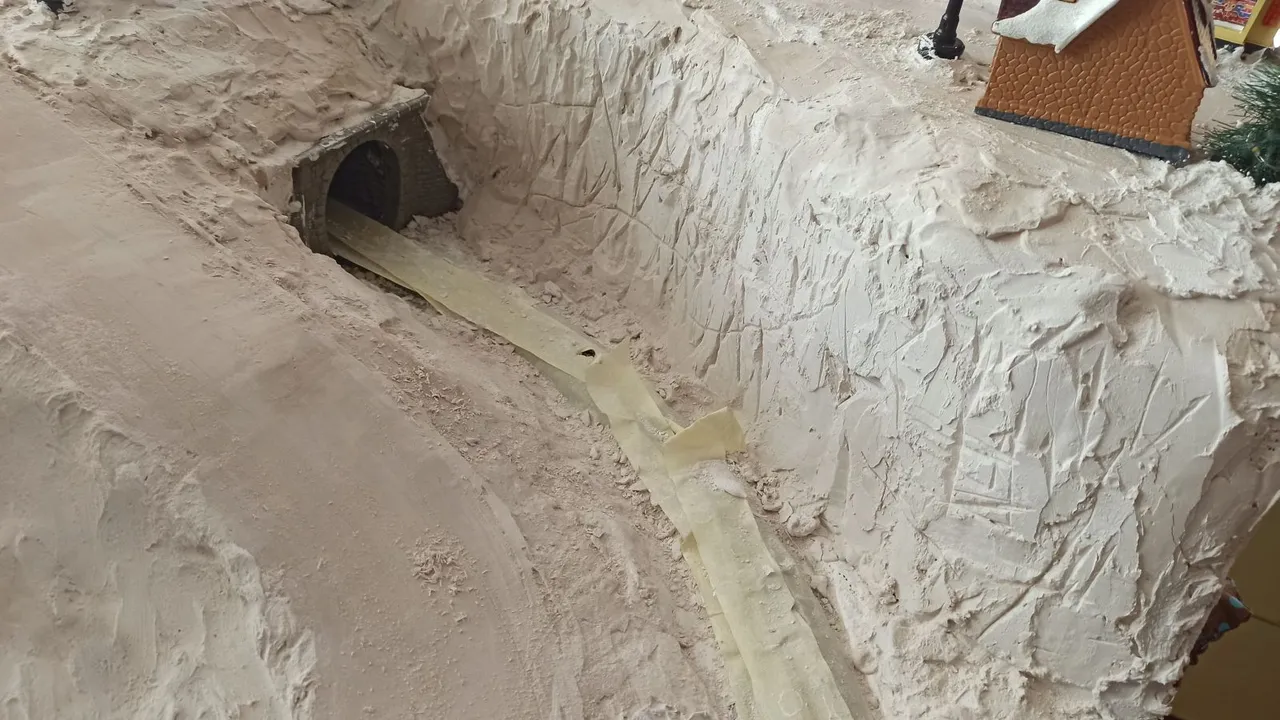
After everything was dry we used a chisel to create the fine structure of the cliff. With a lot of filler we further smoothened the street. I recommend buying filler powder and mixing it yourself and not using ready-to-use filler.
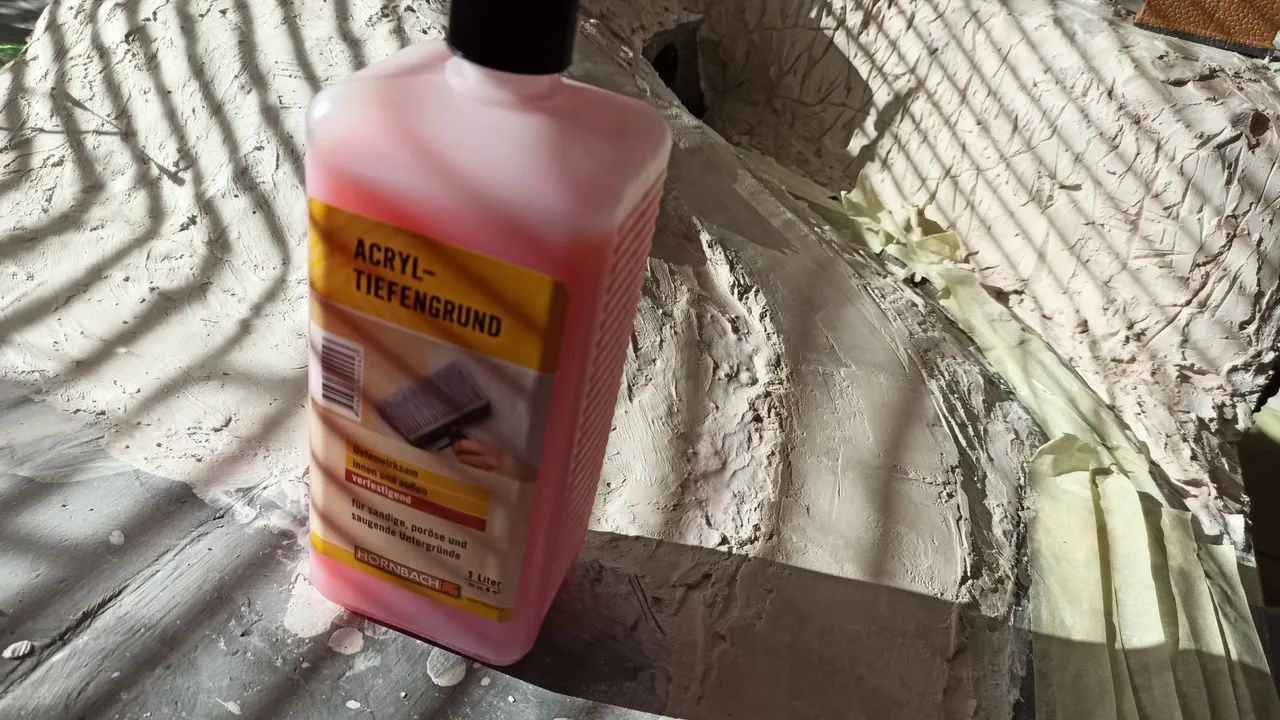
On the next day, everything was dry and we were able to paint everything with ground coat. Take care! This stuff has a really ugly smell.
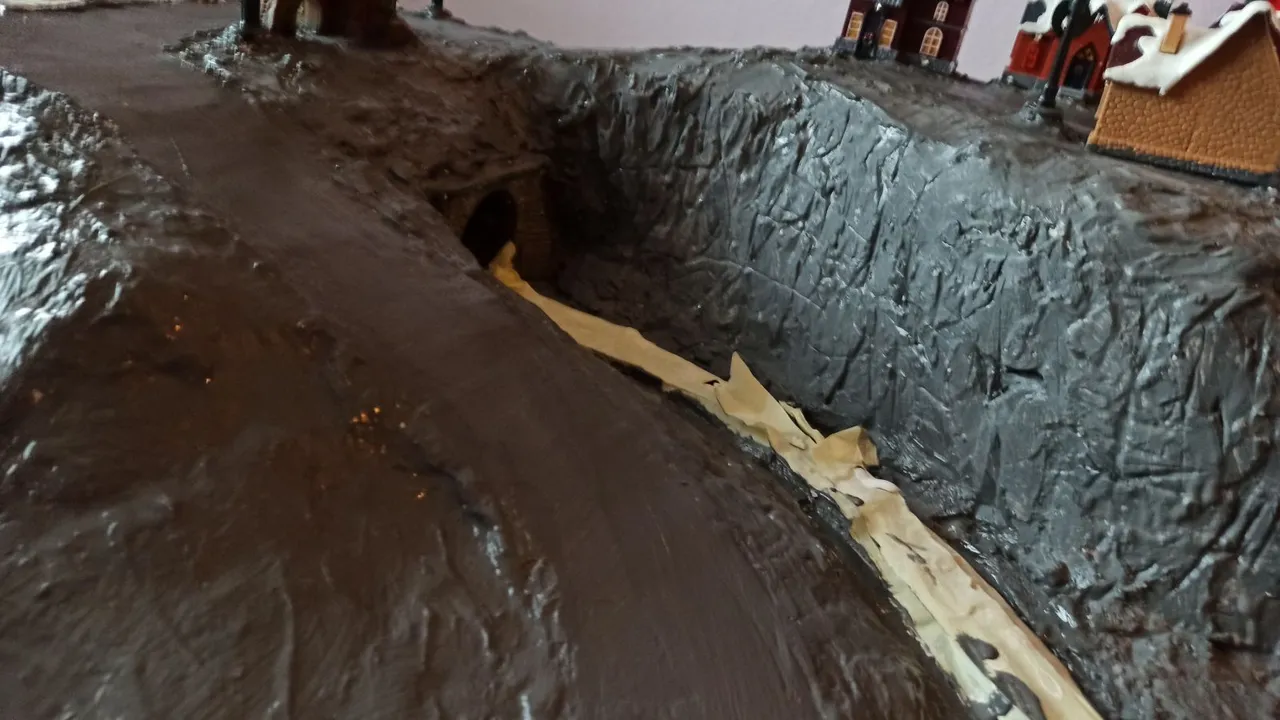
The ground coat needed approximately half a day for getting dry. After that we painted everything with grey acrylic colour. I guess for our mountain we needed more than 200 ml of acrylic colour.
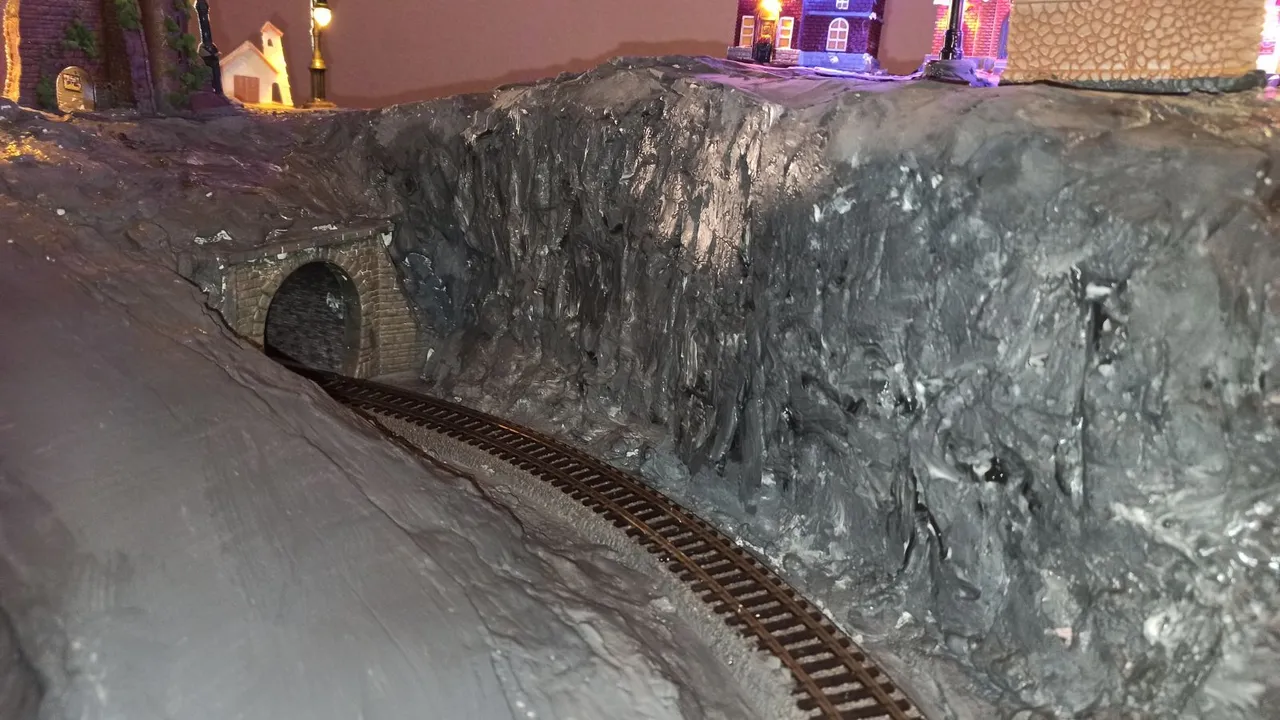
We painted some areas of the cliff with darker colour, some areas with lighter colour and we also used a simple household sponge to blur some areas.
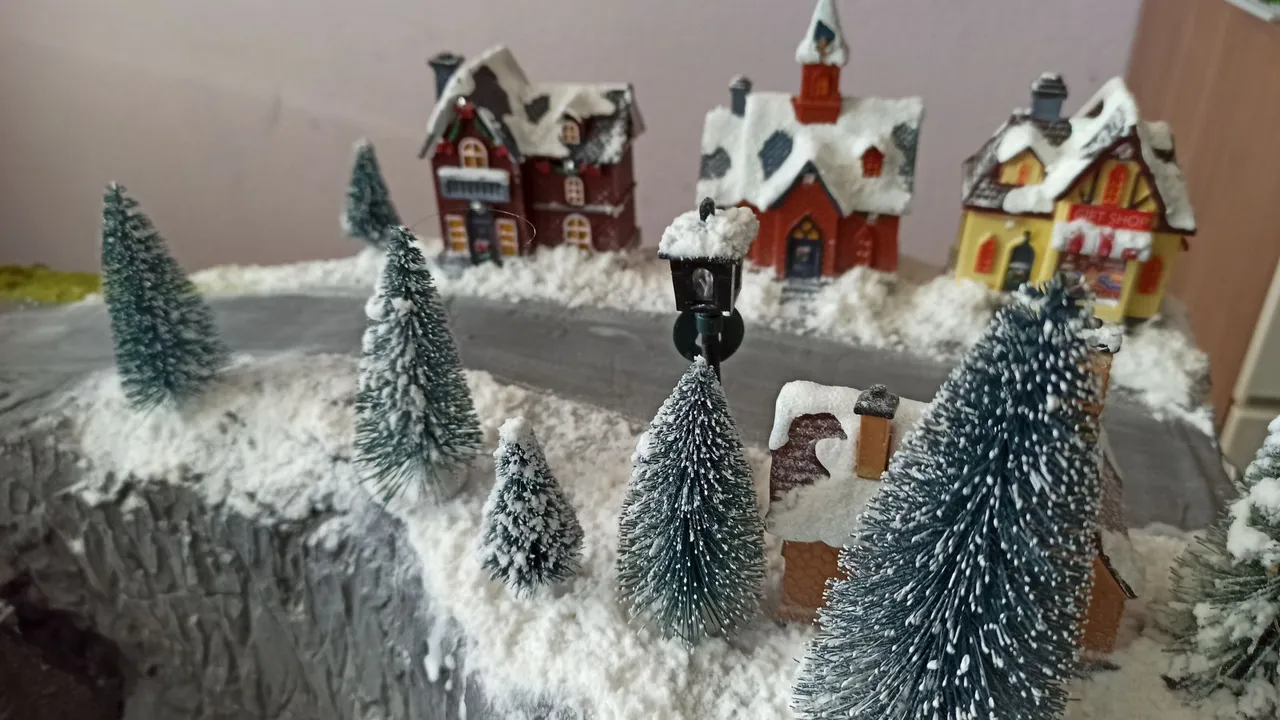
As soon as the colour was dry, we mounted the houses of our winter village (more about our winter village in this story) and the winter trees on the top of the mountain. As snow we used powder snow by NOCH (08750).
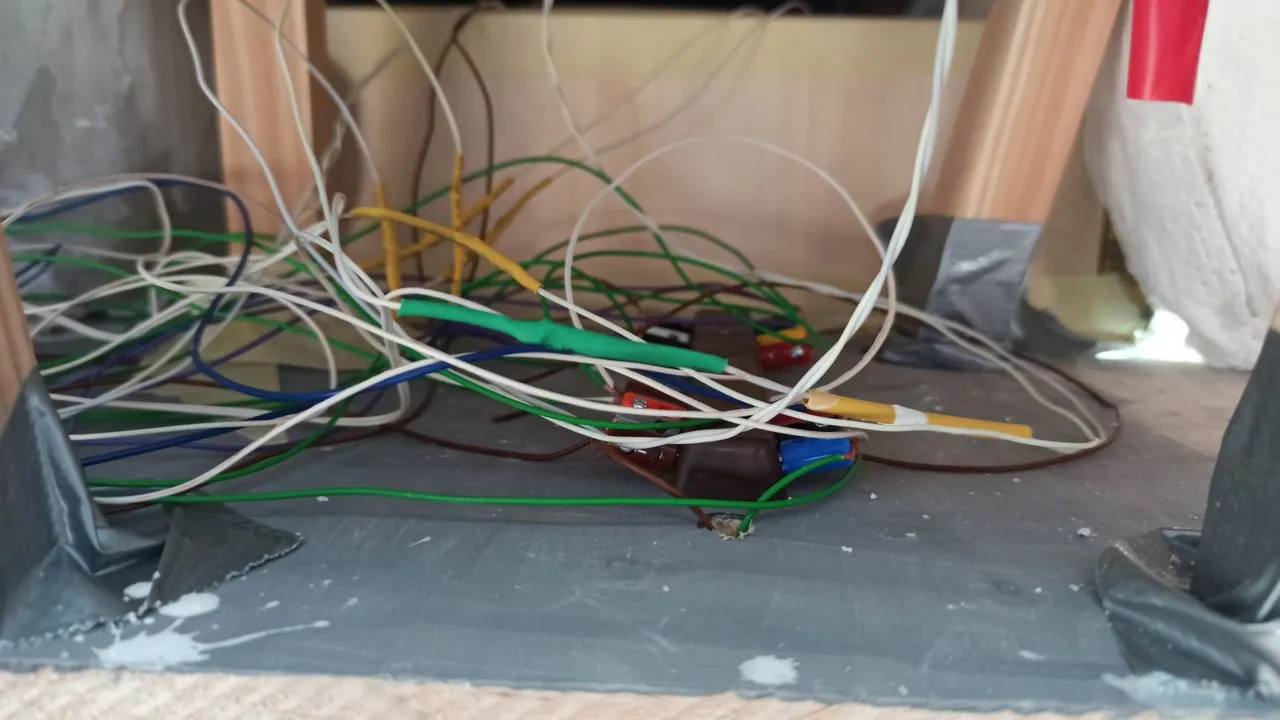
All electric installations are hidden on the backside of the mountain.
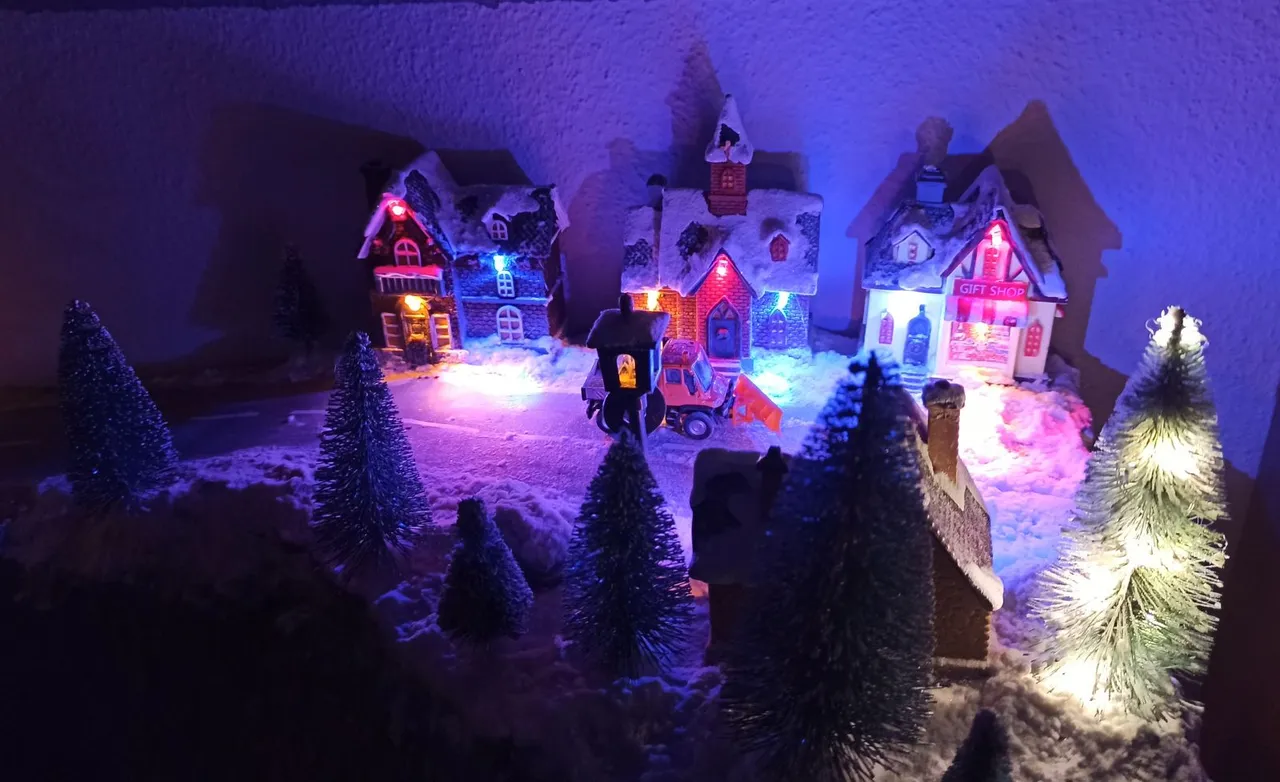
As you can see, everything is working fine.
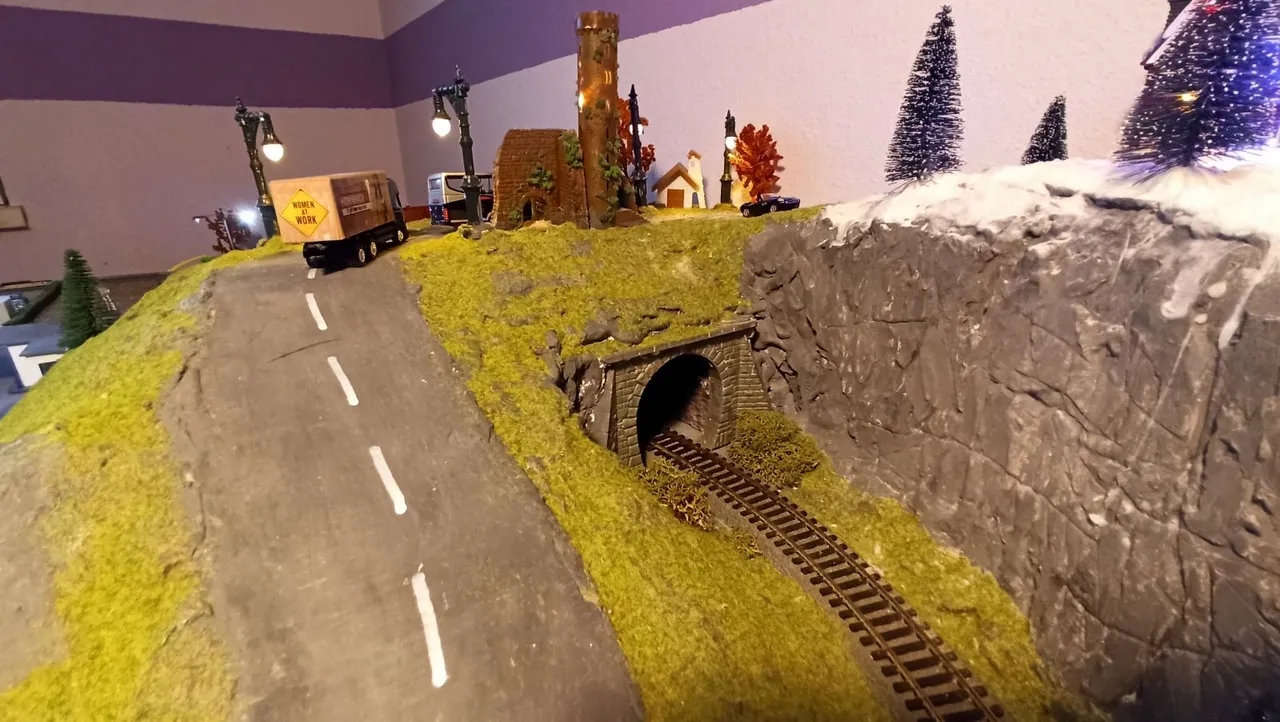
The other areas were covered with NOCH scatter grass. The small small chapel and the castle ruins are from FALLER and I got them more than 30 years ago, when I was a child. The lamps were cheap decoration from Action. They are of course too big for our model train layout, but my son likes them, so I installed them.
They were originally delivered with a AA battery case, but I cut the cables and connected the lamps to the electric circuit of our model train layout.
We worked around 10 days on the mountain and the tunnel and it was really hard work. Fortunately, it was not that costly. Most items (plaster, filler, paint, wood etc.) can be bought in a hardware store. You can of course also buy special items for model train layout building, but they would cost at least twice as much.
Well, after that the most annoying part started. We needed another two evenings to clean the floor and to tidy up the room. Then we were finally able to let the model train run.
Previous posts:
Part 1: The Christmas present
Part 2: The petrol station
Part 3: How it all started
Part 4: My model car collection
Part 5: The farm
Part 6: My GDR collection
Part 7: The base plate
Part 8: Basic electricity
Part 9: Mounting the tracks
Part 10: DR railroad cars
Part 11: Electrifying the railway switches
Part 12: Electricity for the lights
Part 13: Another DR passenger car
Part 14: An electric drive for the second railway switch
Part 15: My website "scalemodel.photography"
Part 16: The self-made protective pad
Part 17: Moving the base plate to the final position
Part 18: The campground
Part 19: The petrol station and the farm
Part 20: The railway crossing
Part 21: Our PIKO Junior set
Part 22: Creating a charging station for electric cars
Part 23: The Flemish houses
Part 24: More street lights
Part 25: Interior lighting for the farm
Part 26: The USB vacuum cleaner
Part 27: The wine cellars
Part 28: The wine press
Part 29: The winter village